🎄 Christmas-Themed UV Resin Earrings DIY Tutorial | Create Magical Holiday Accessories ✨
Introduction
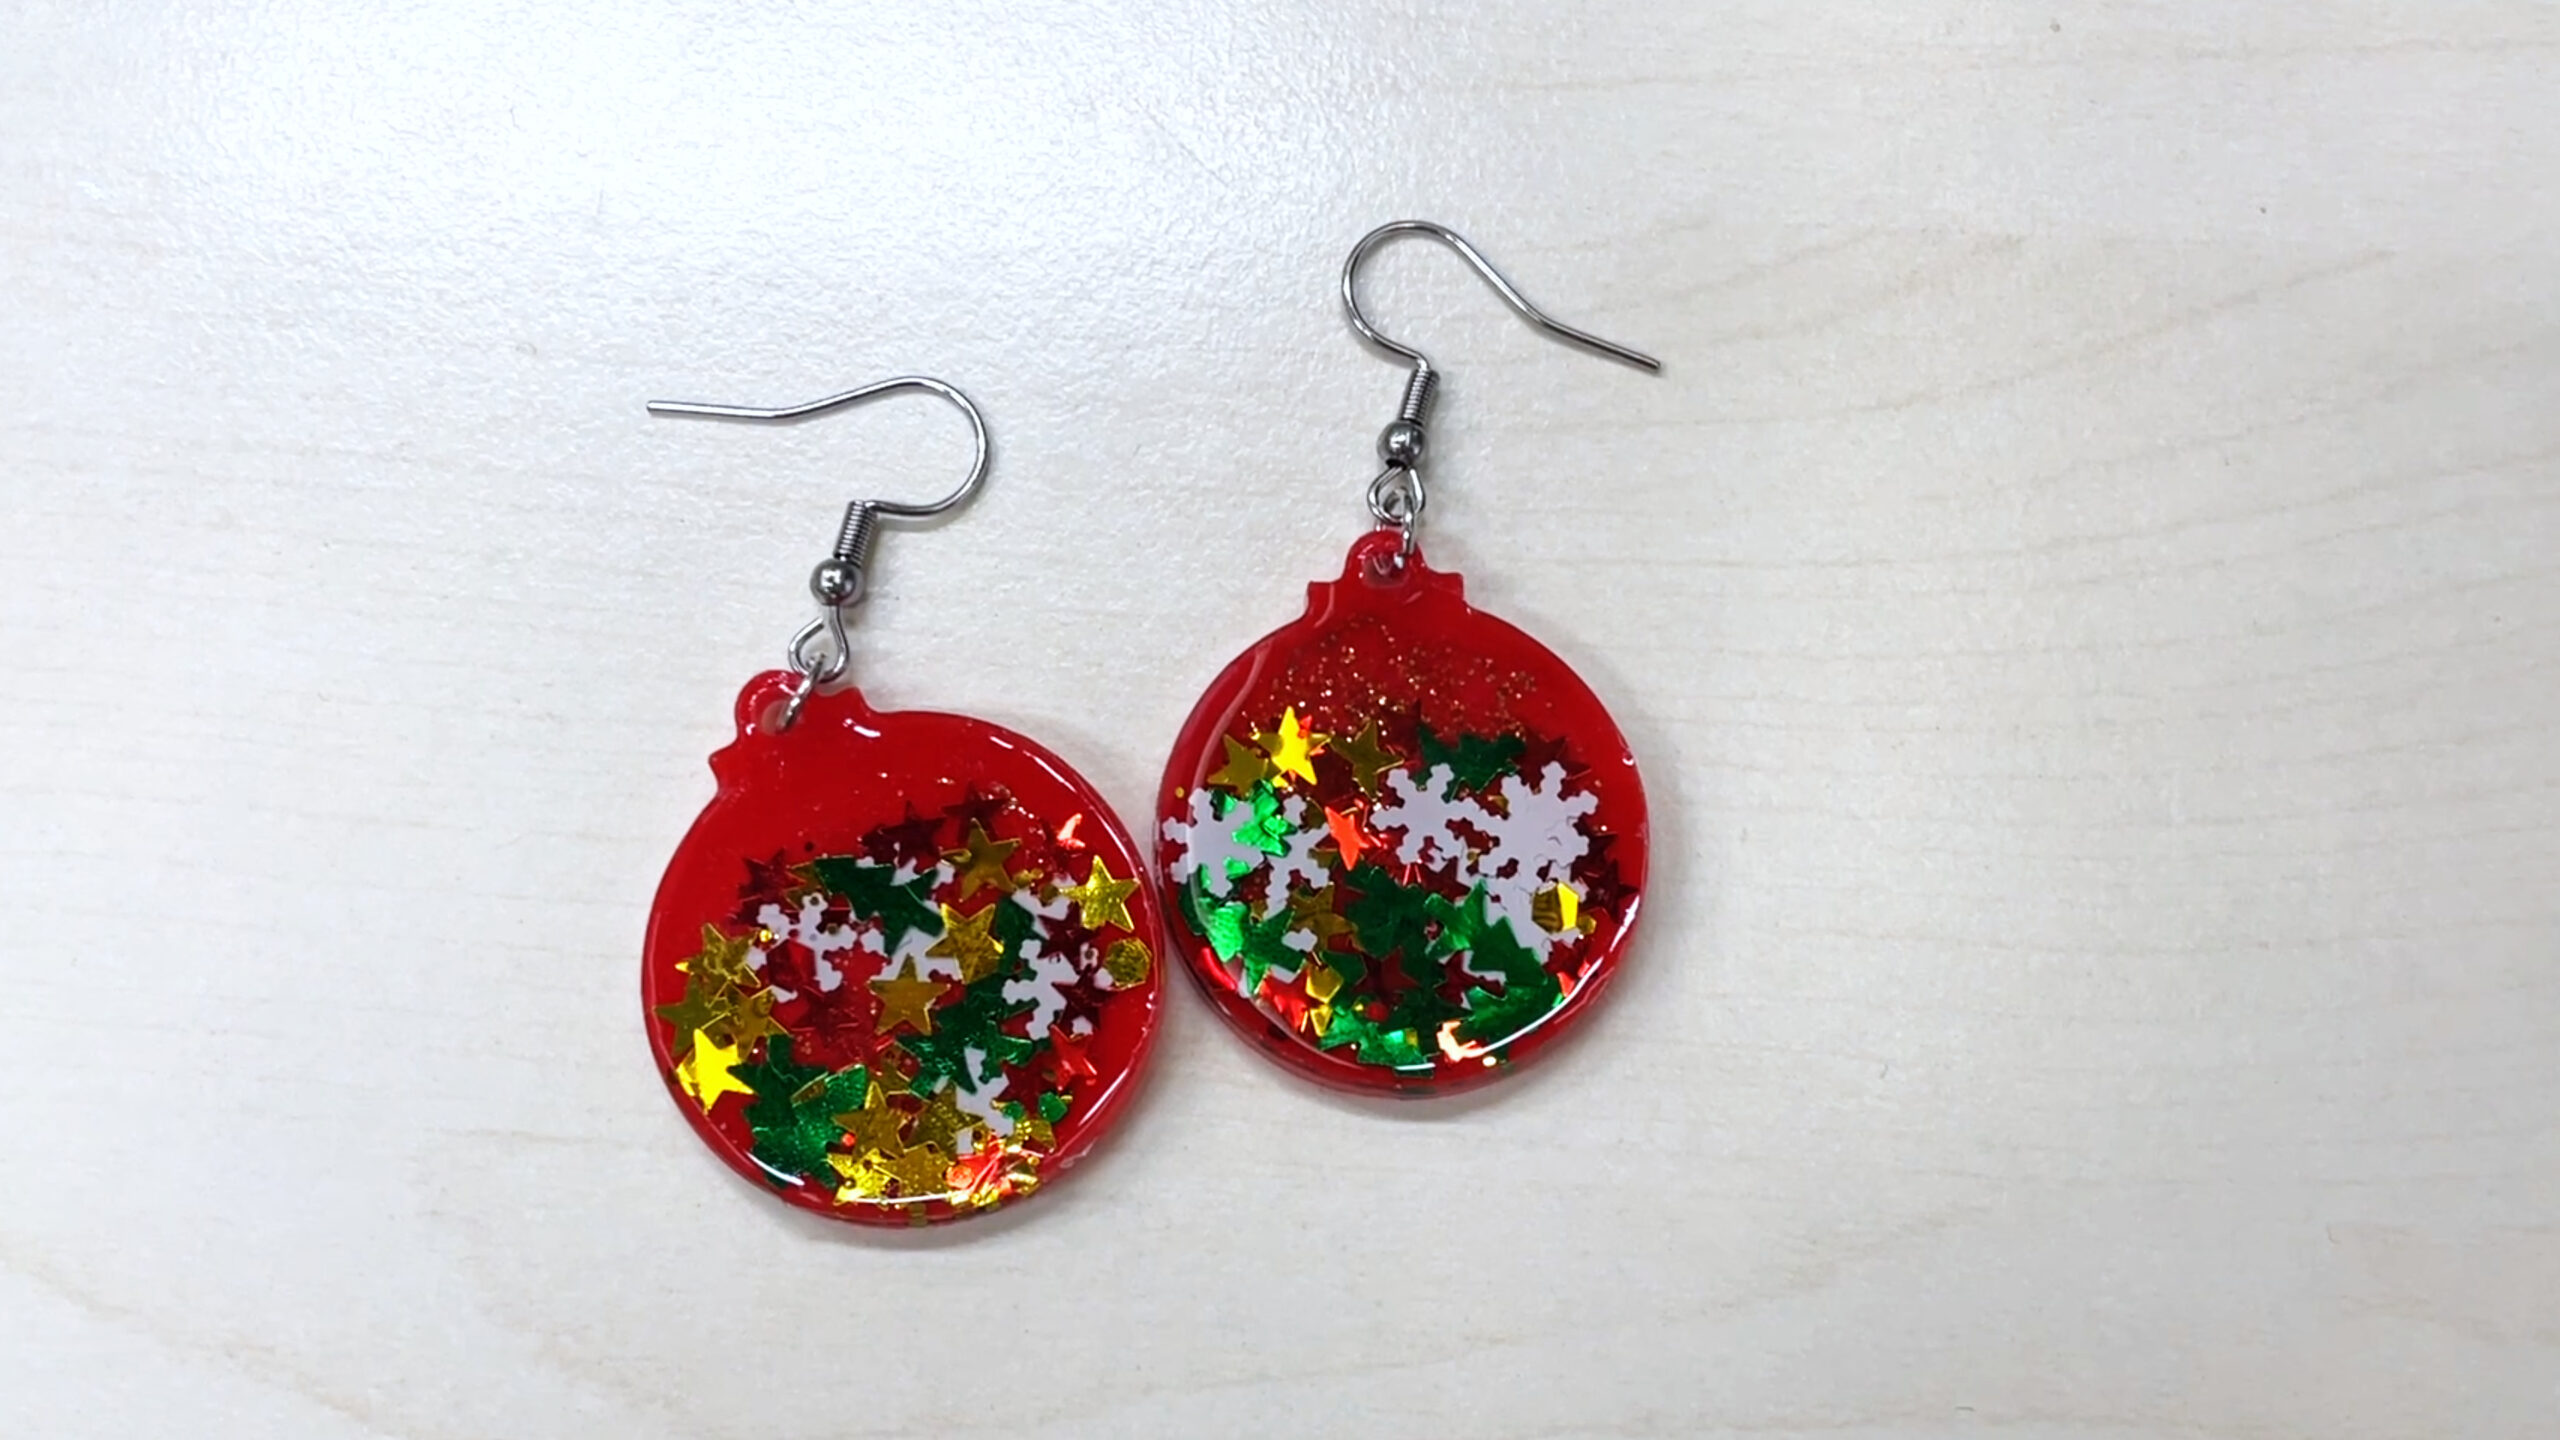
Christmas is coming! Handcraft a pair of festive resin earrings to elevate your outfits or gift to loved ones. This tutorial uses classic Christmas red, glitter, and confetti glitters, capturing the sparkle of holiday lights in your earrings. Perfect for beginners—no complex tools required!
Materials Needed
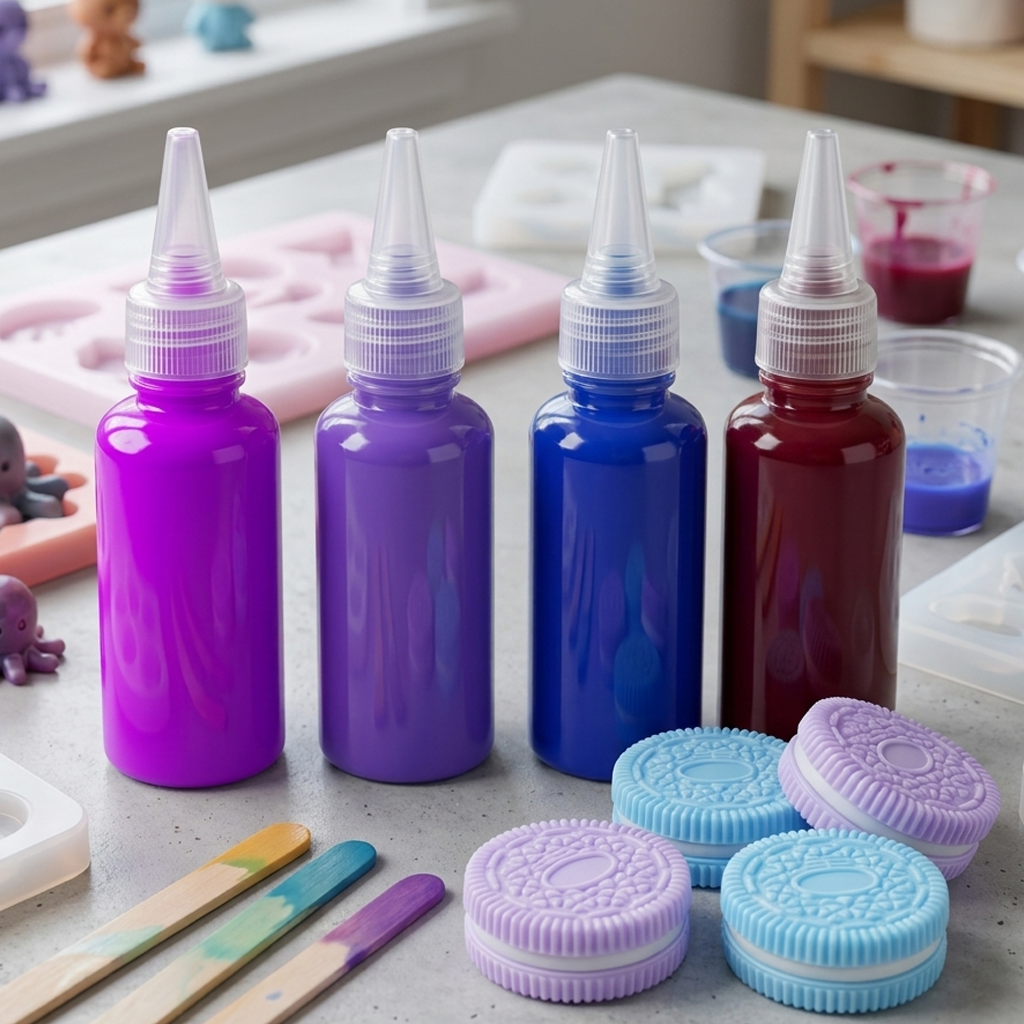
- UV resin (clear top coat + red UV resin)
- Christmas decorations: red/gold glitter, colorful confetti glitters (snowflakes/stars/bells preferred)
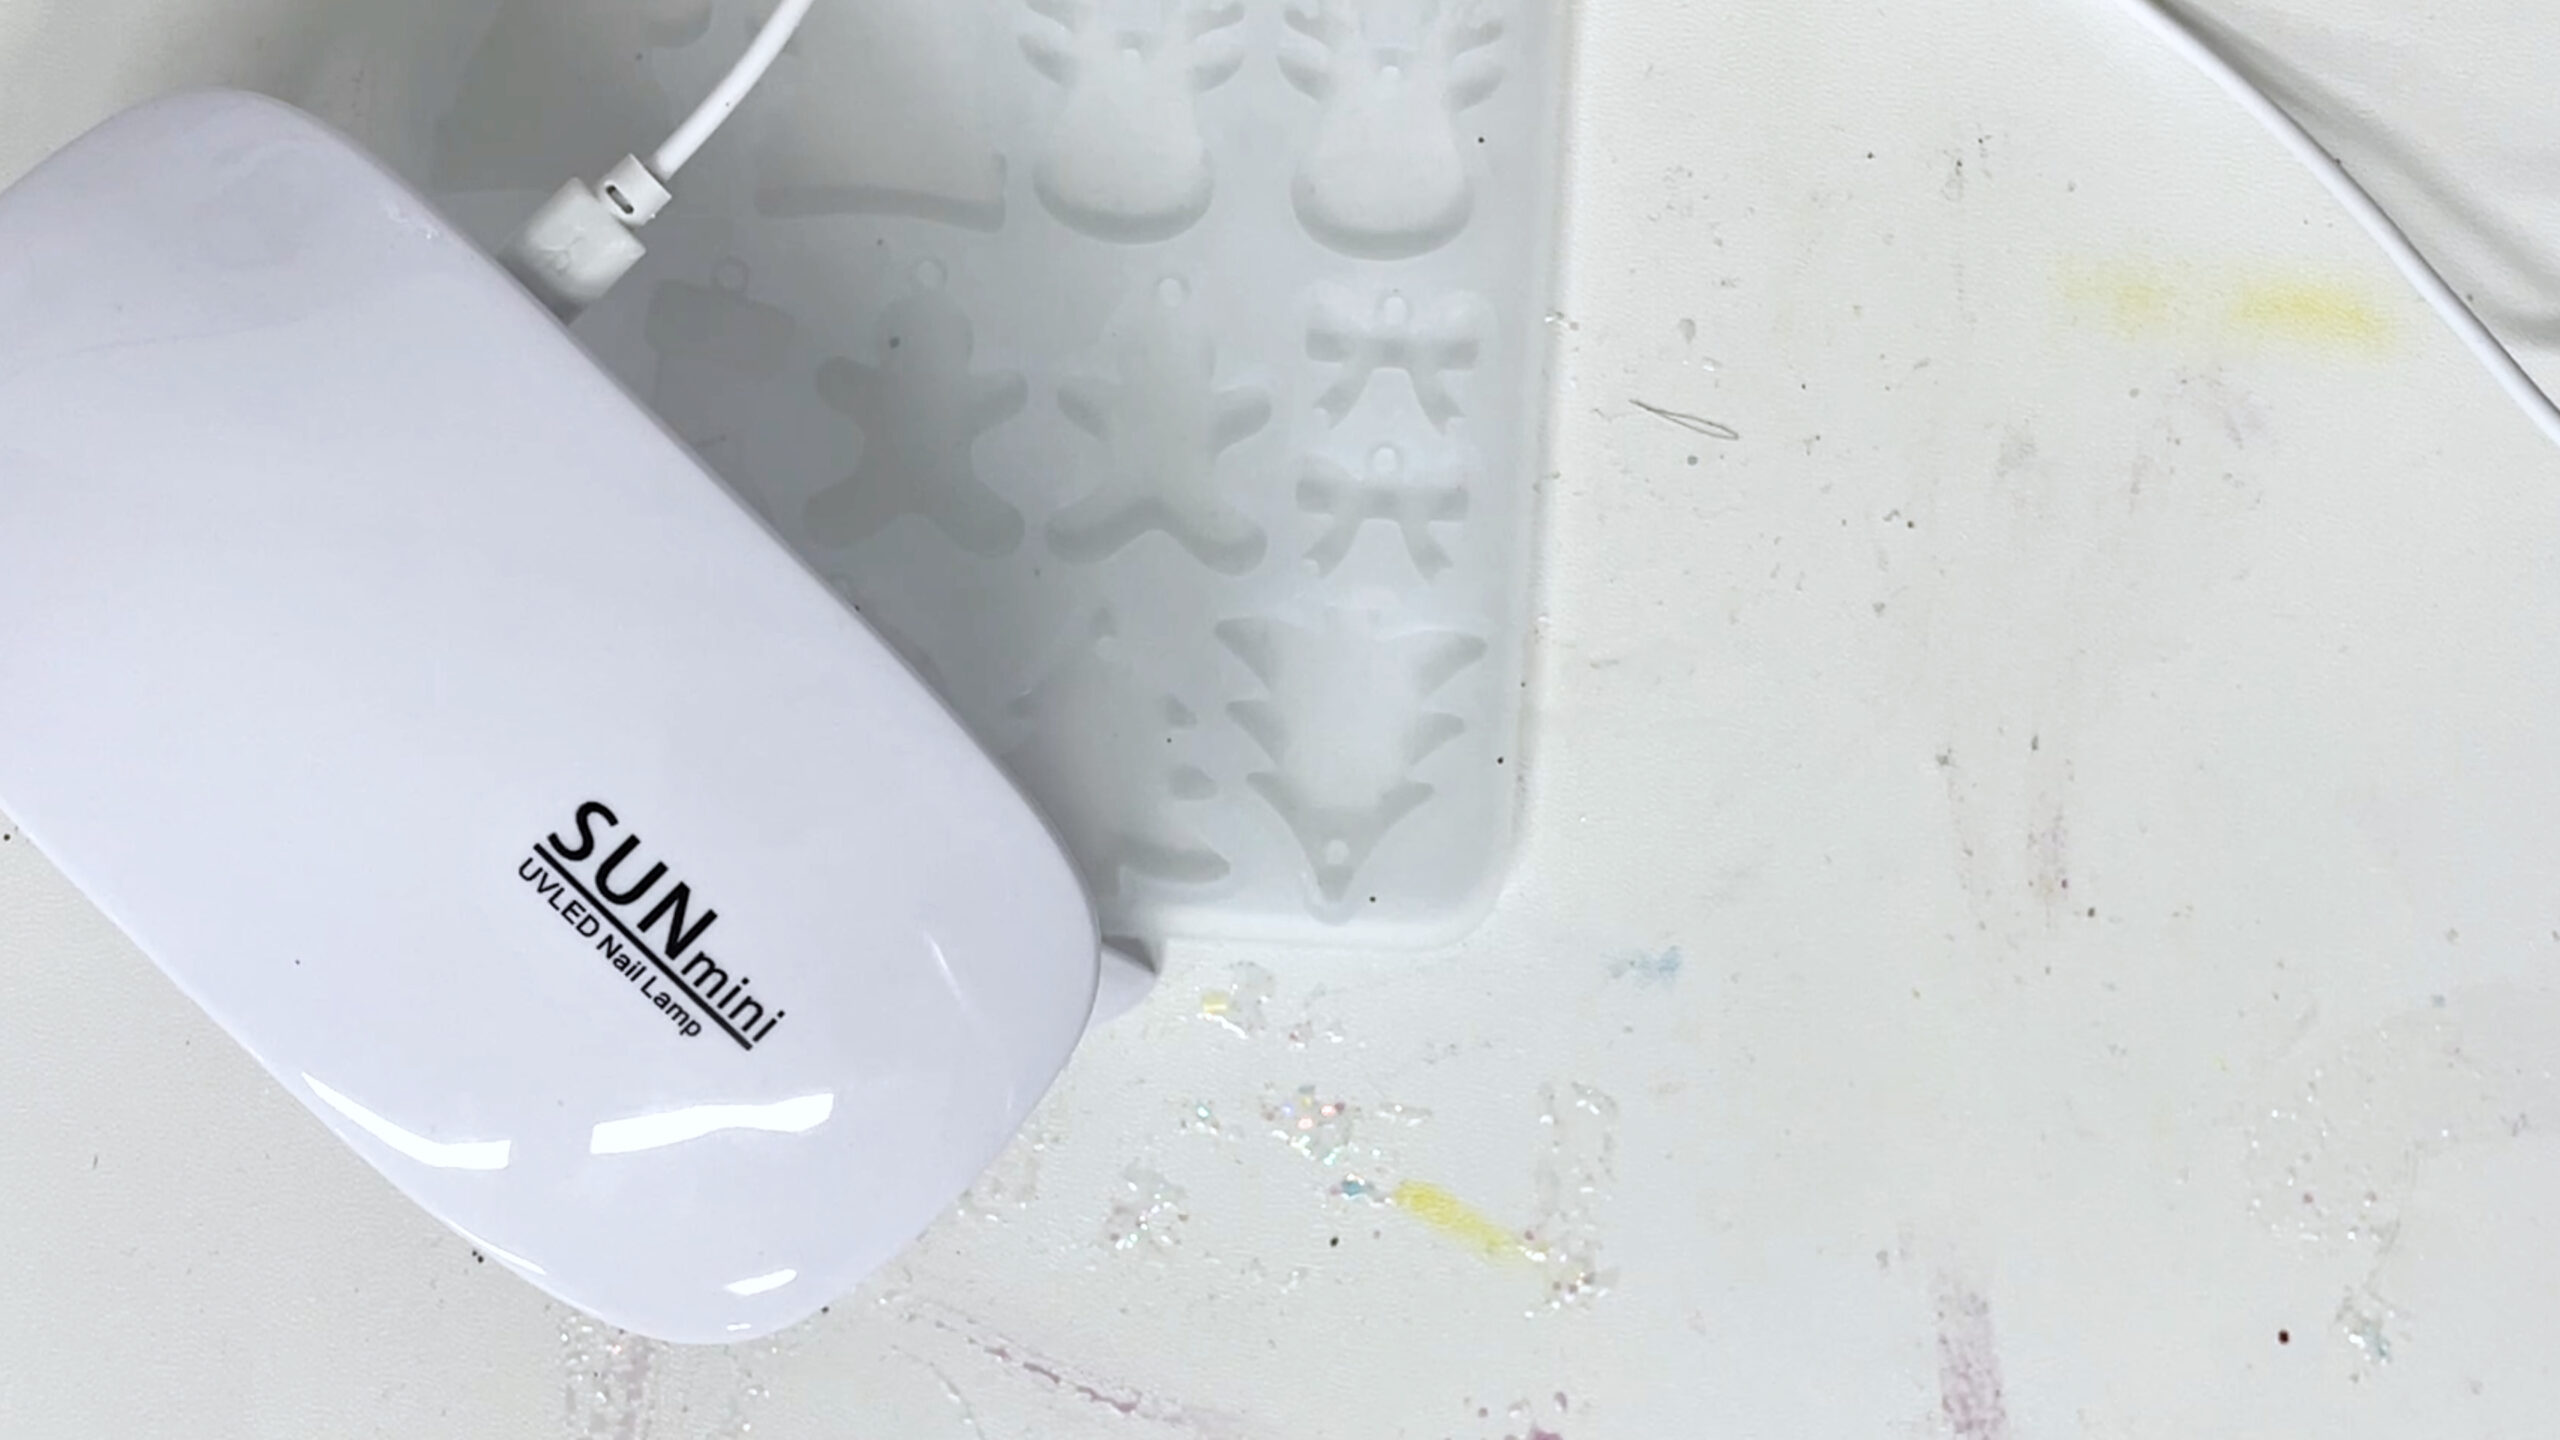
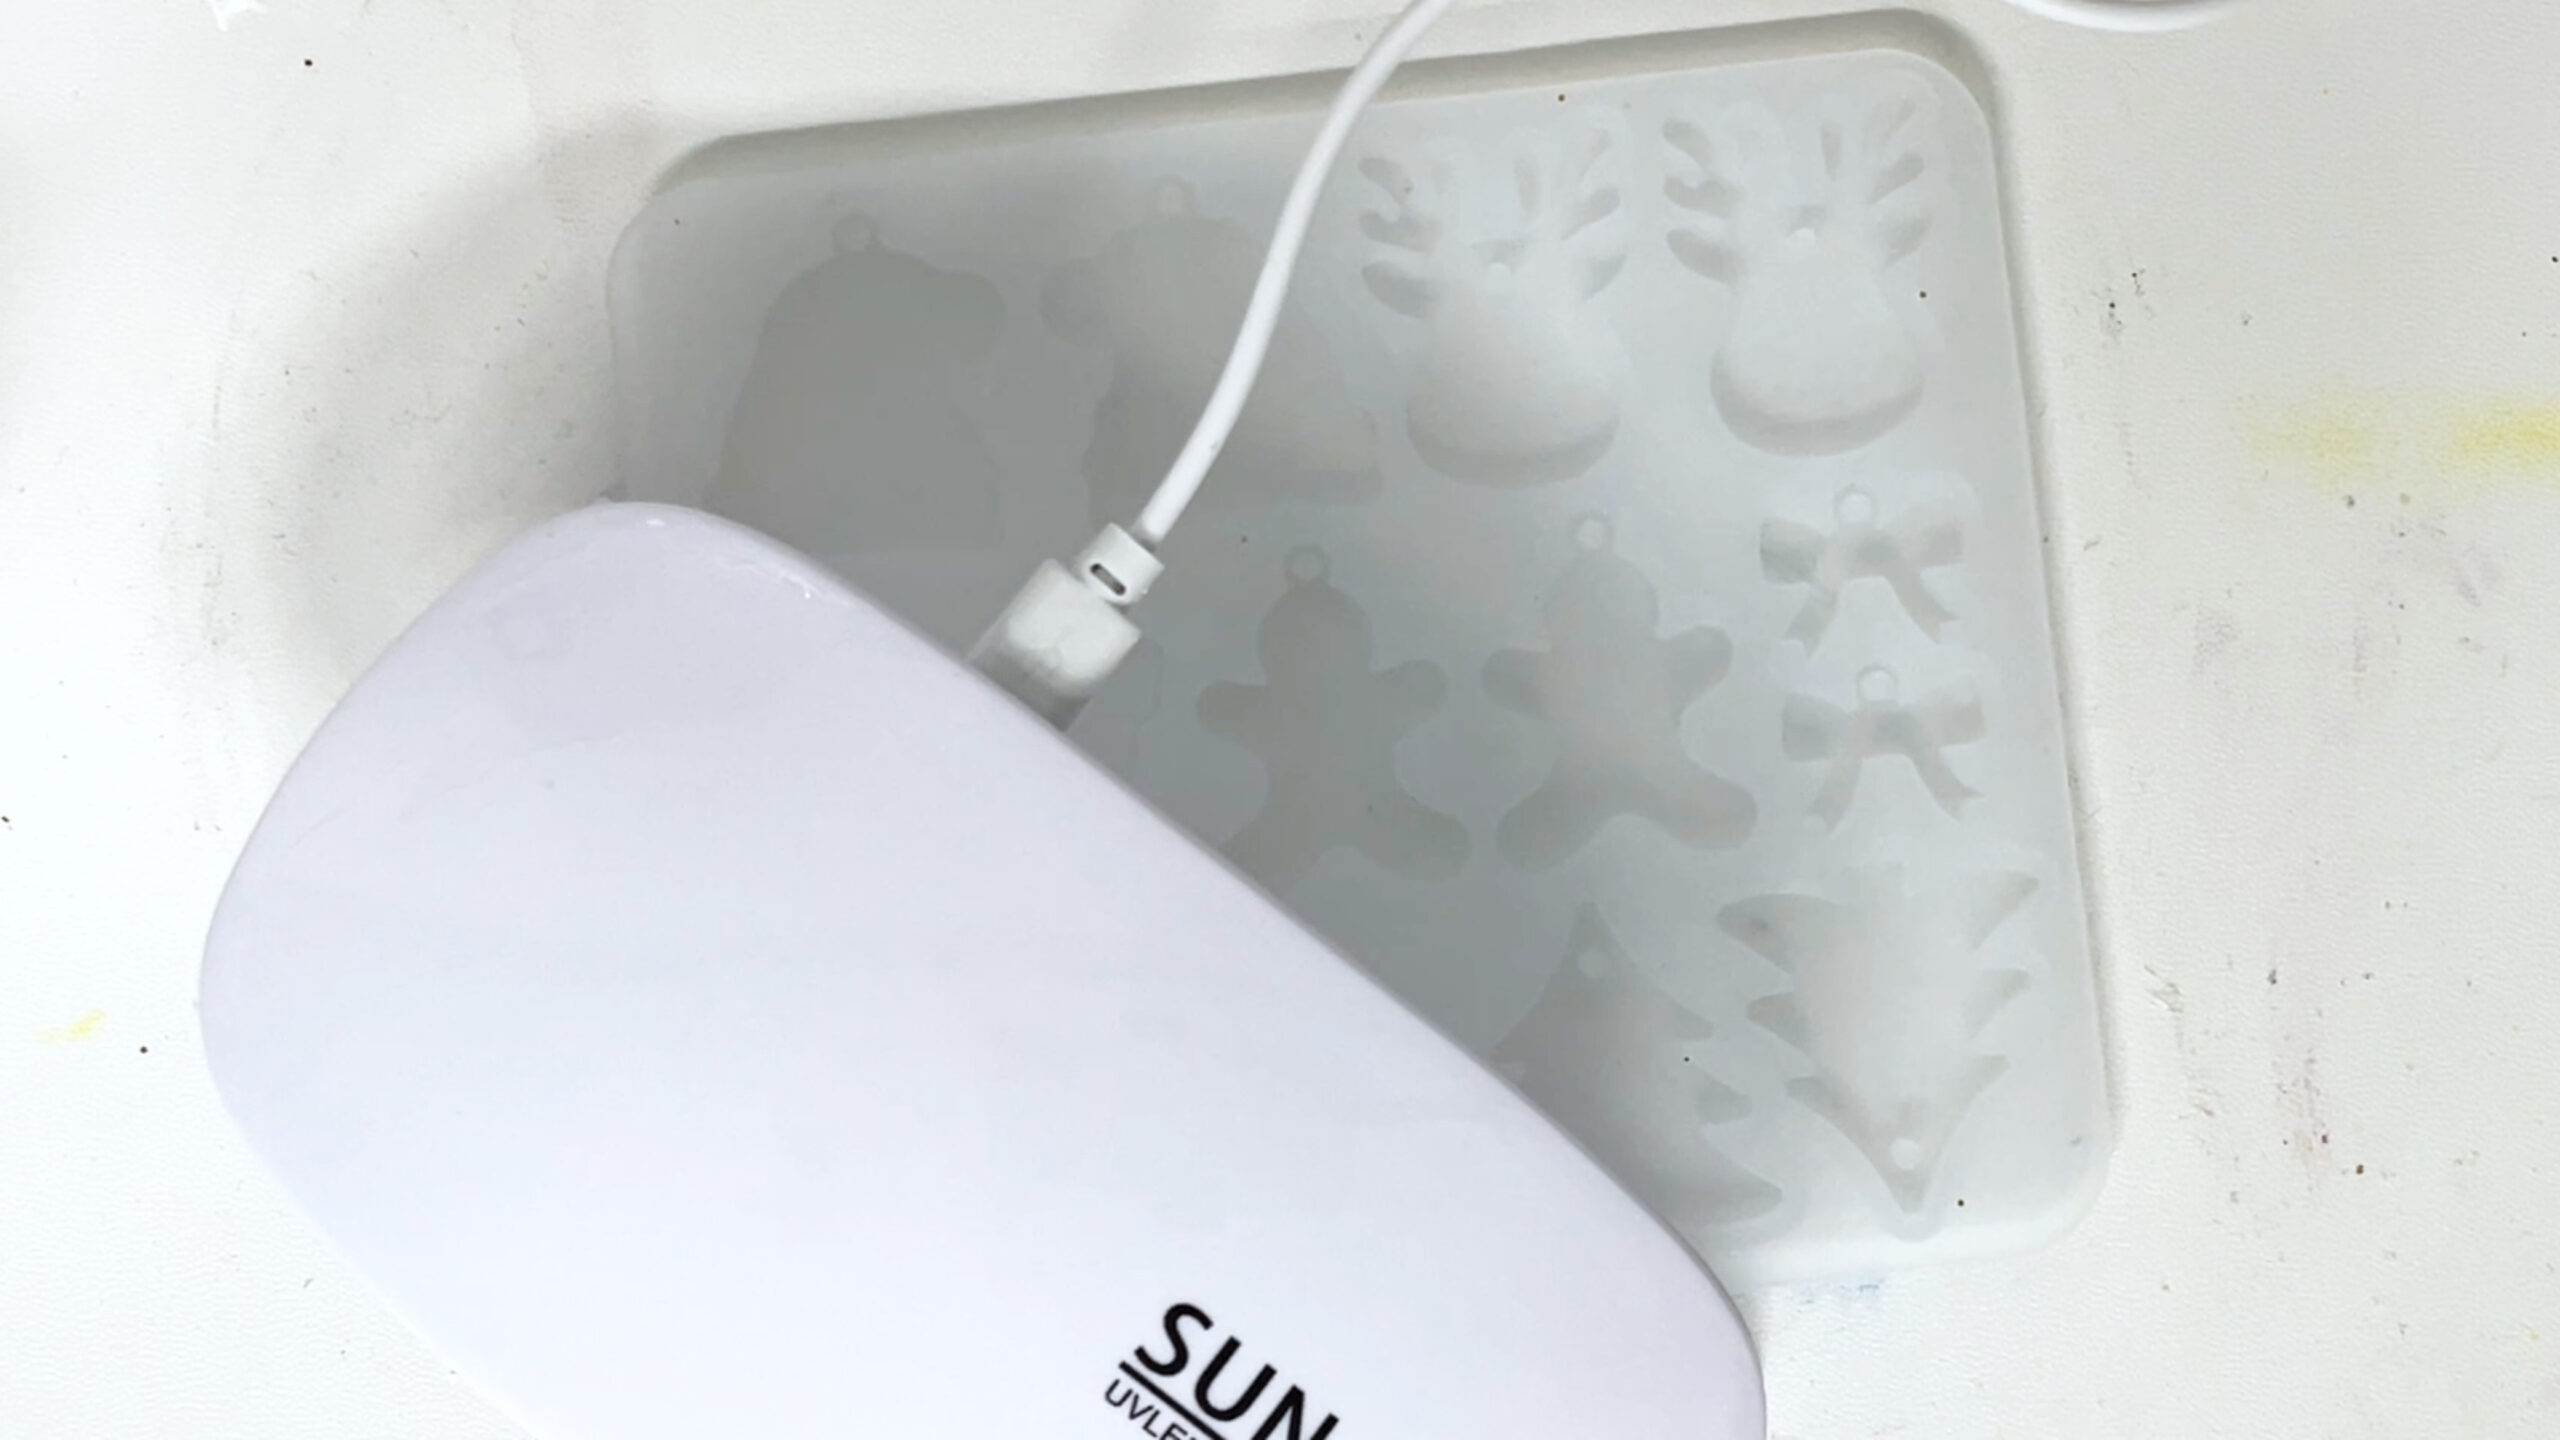
- UV nail lamp (or resin curing lamp)
- Silicone earring molds (e.g., tree/star/bell shapes)
- Ear hooks, jump rings, chain nose pliers
- Toothpick, disposable gloves, alcohol wipes
Step-by-Step Guide
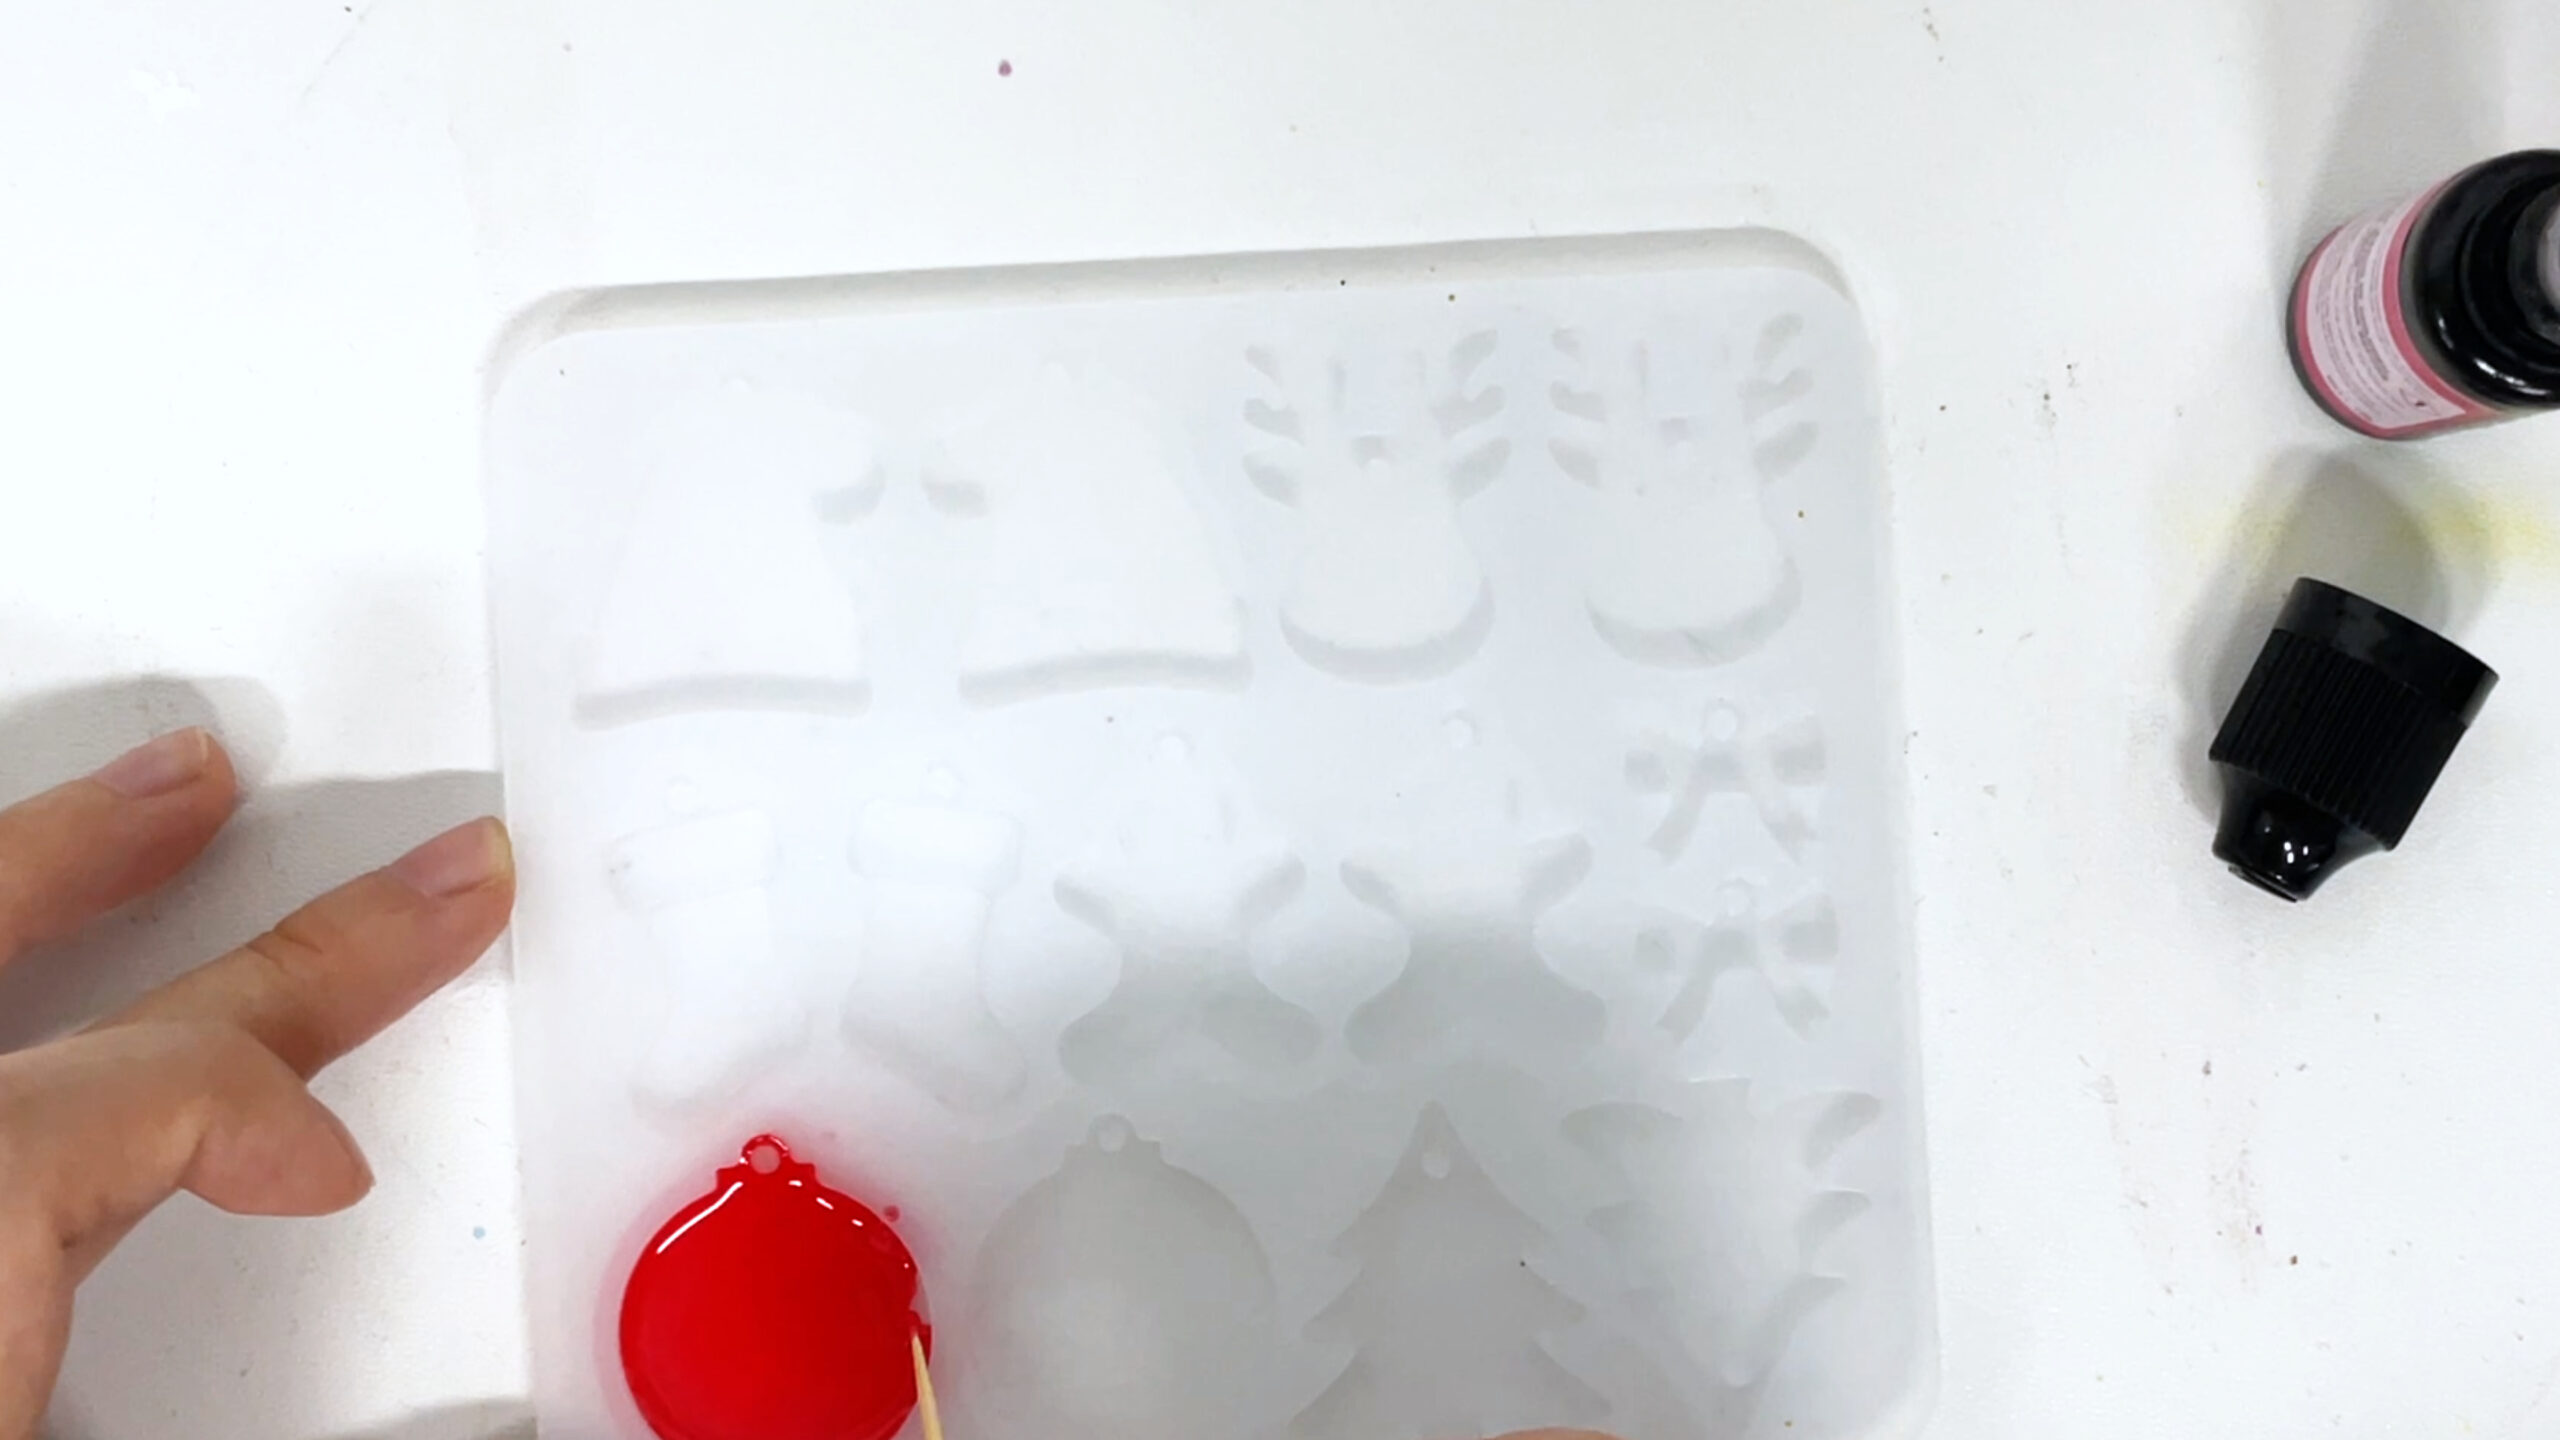
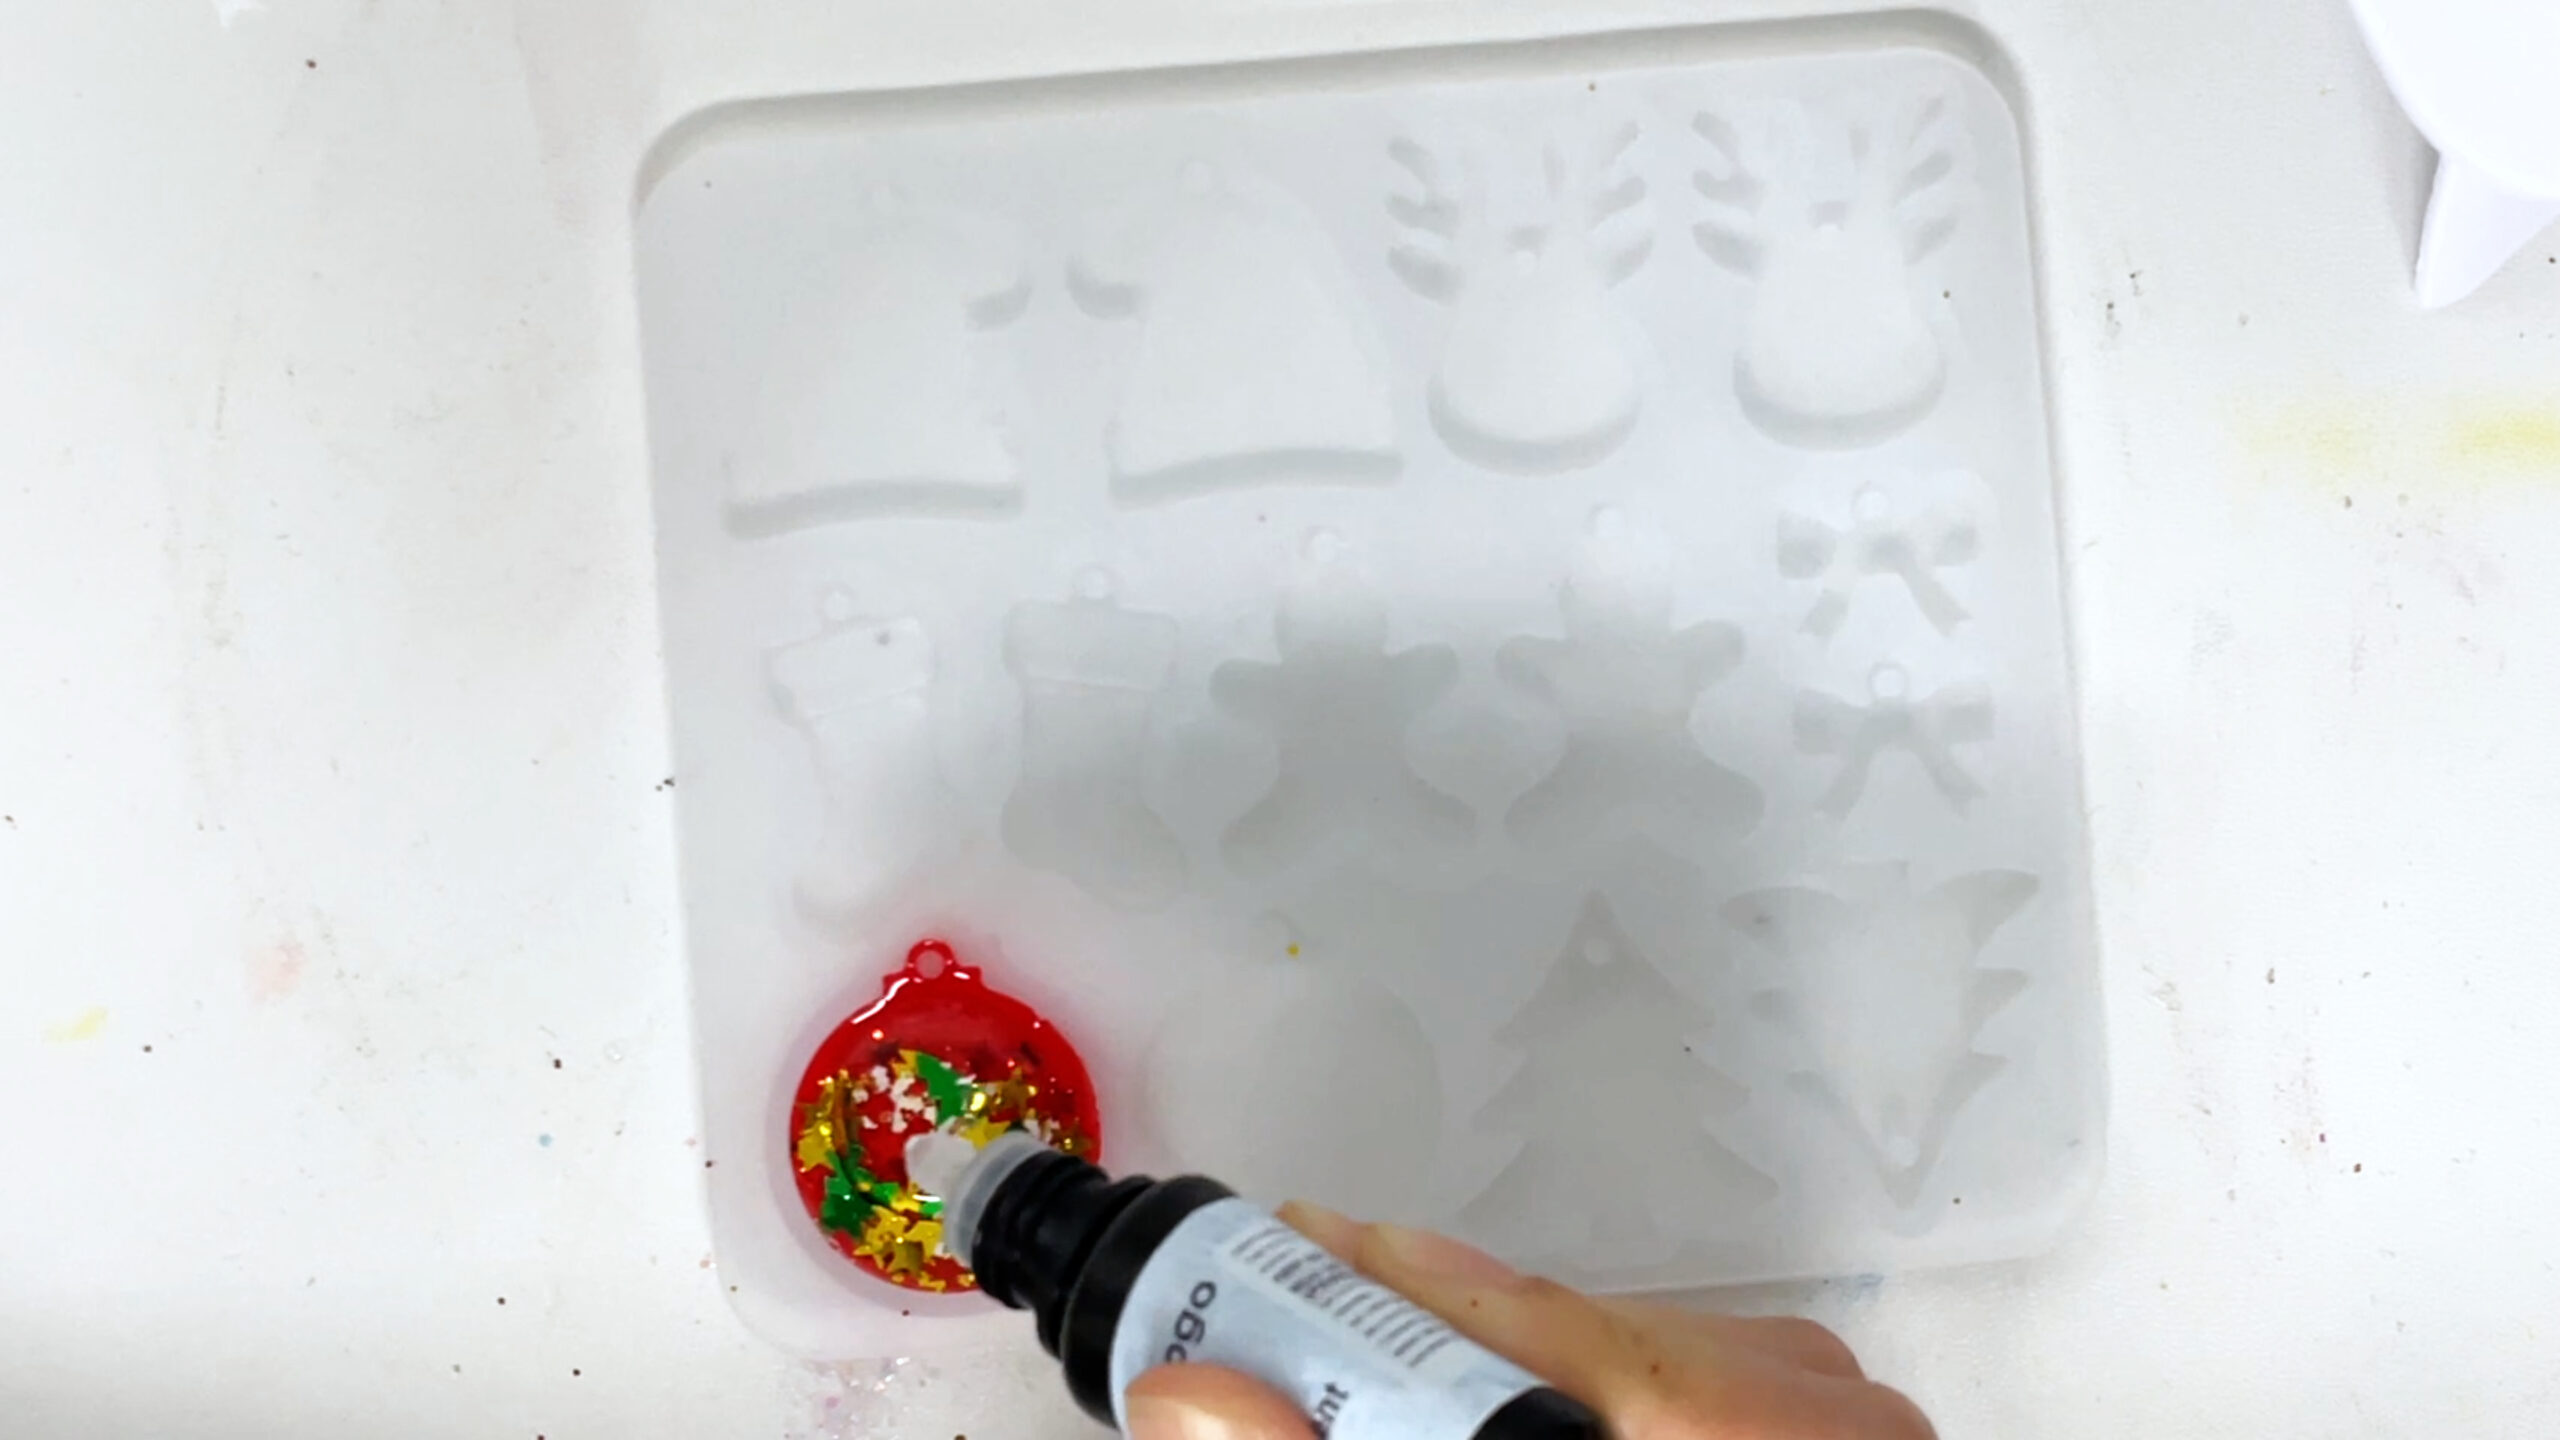
Step 1 | Layer Red UV Resin for the Base
① Wear gloves. Fill 1/3 of the mold with red UV resin.
② Use a toothpick to remove bubbles and let sit for 1 minute (resin will slightly settle).
**Pro tip:** Less is more! Start with a thin layer for better layering.
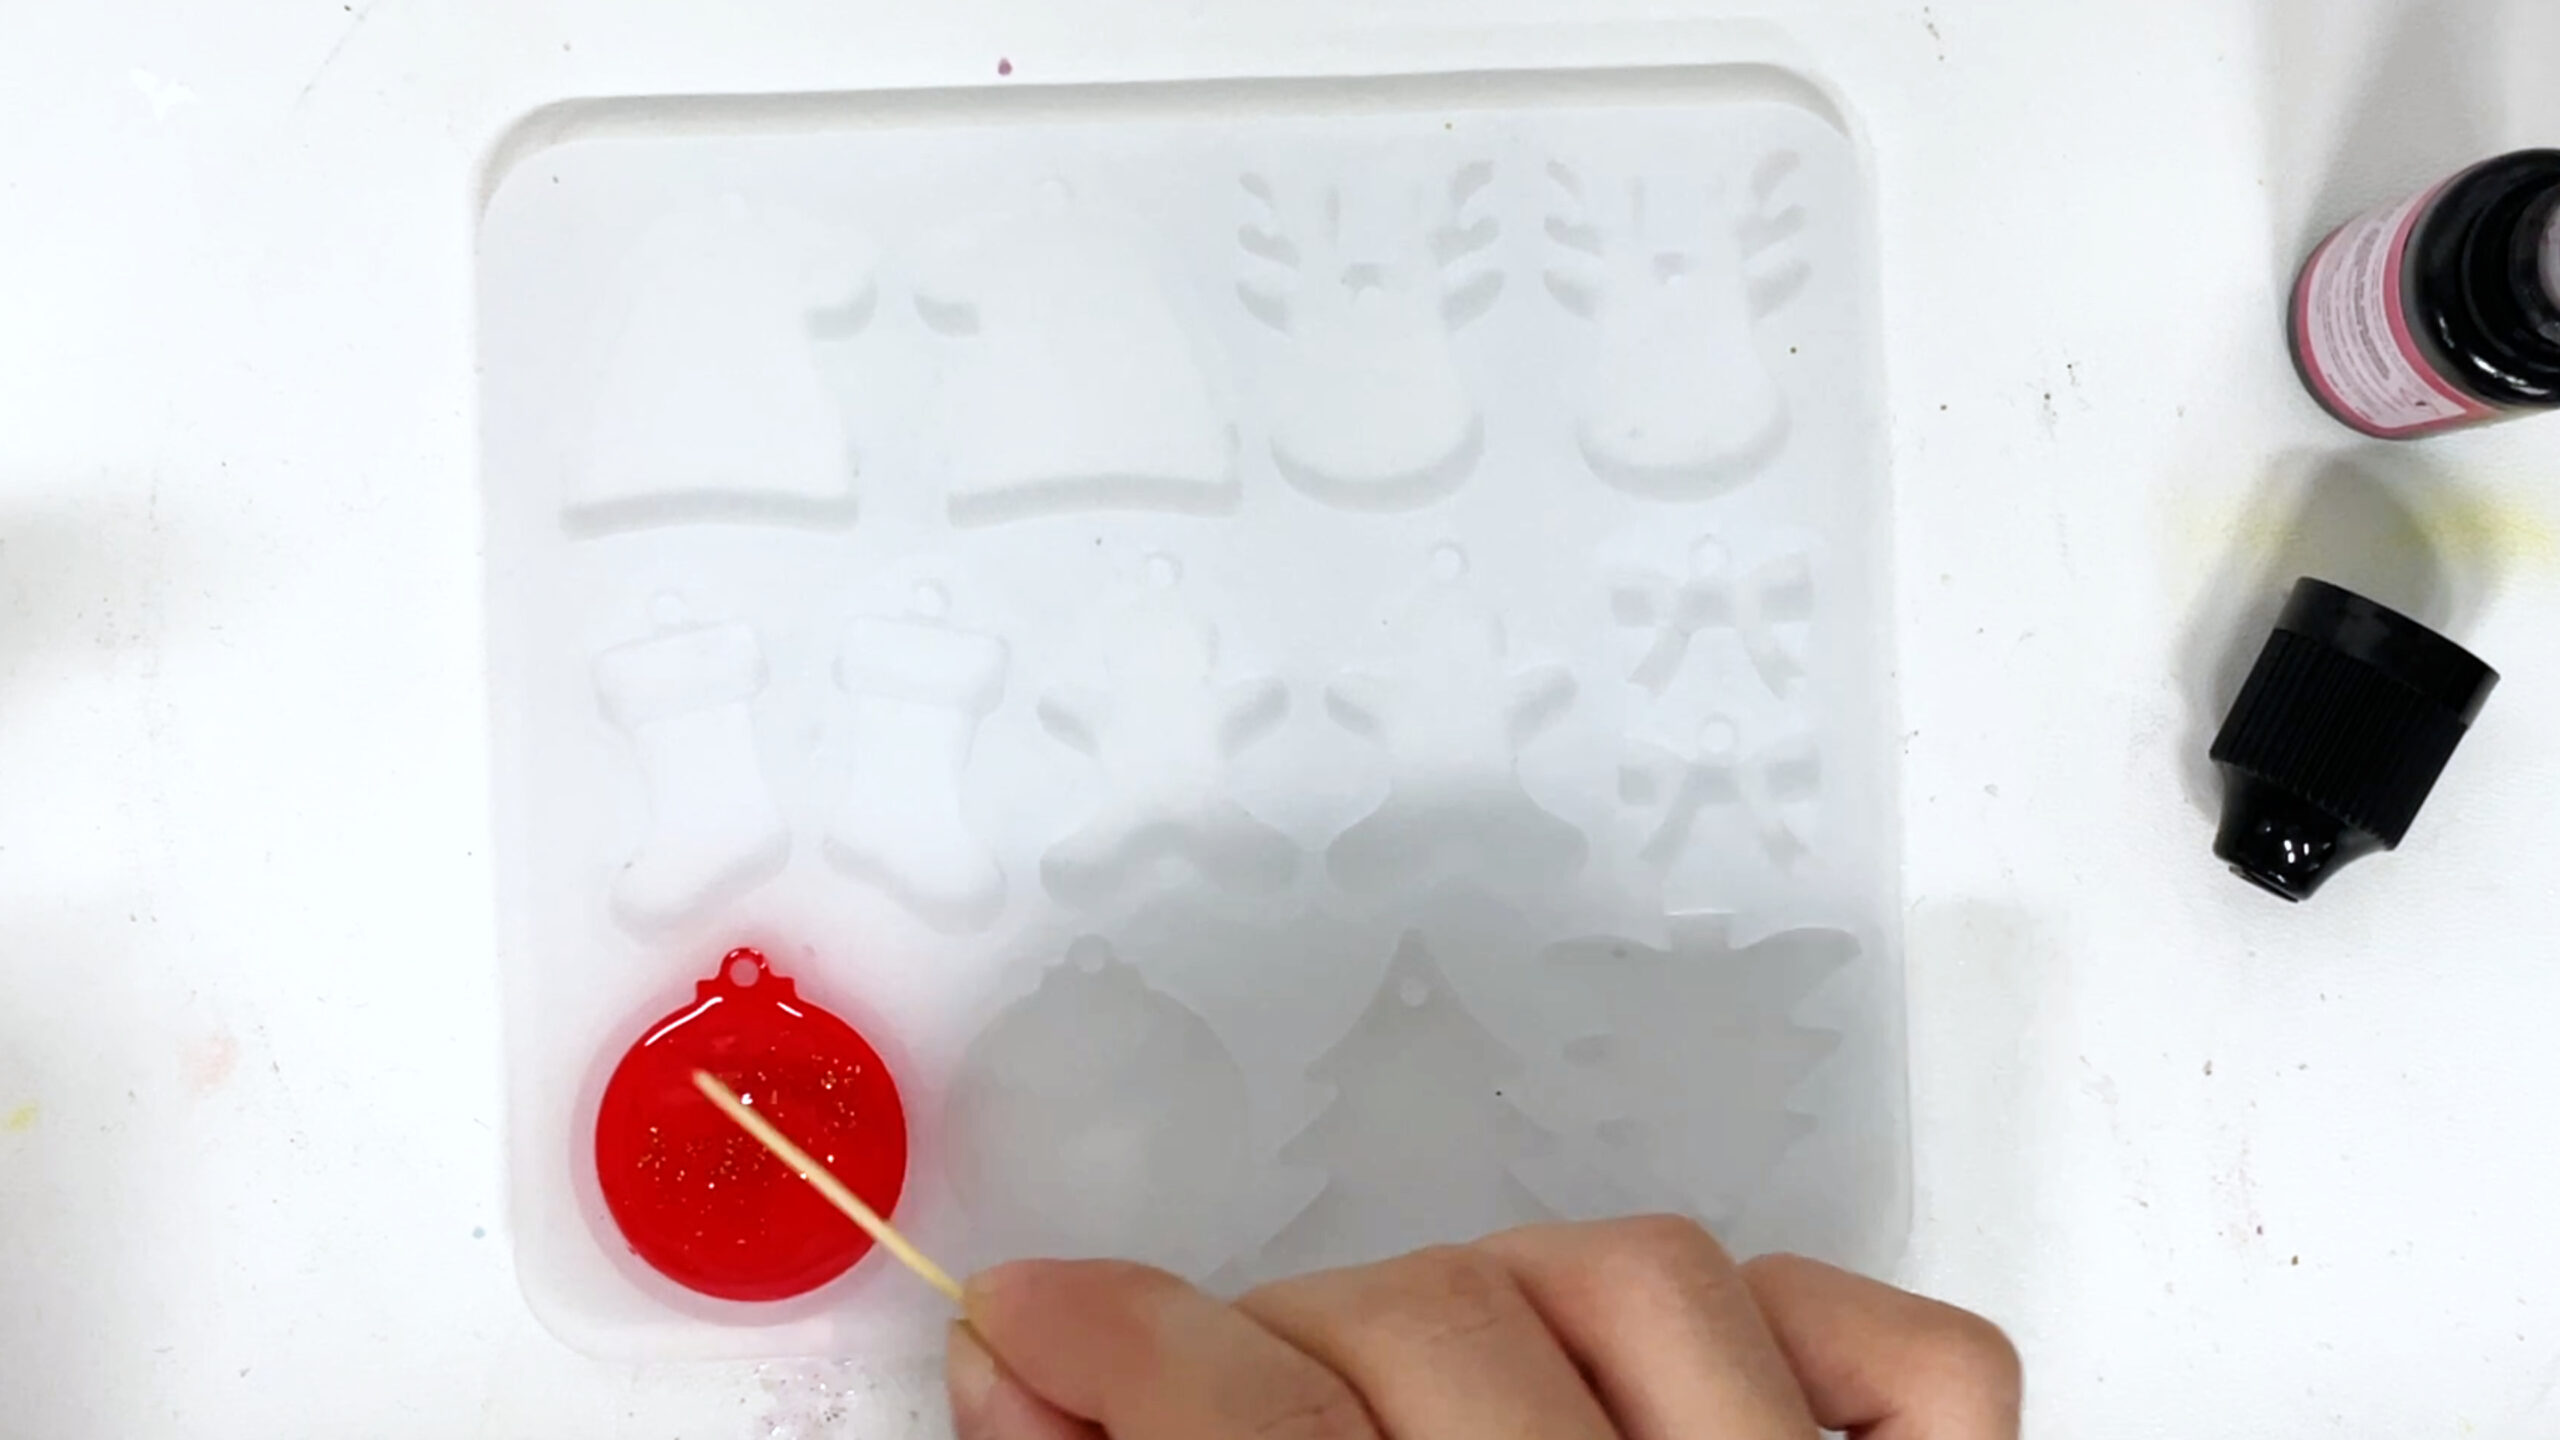
Step 2 | Add Glitter for a Snowy Sparkle
① Sprinkle gold glitter onto the wet resin. Focus on the center to mimic shimmering snow.
② Tilt the mold gently to spread glitter evenly.
Step 3 | First UV Curing
① Place the mold under a UV lamp in “auto mode” (3-5 minutes) until the light turns off.
② Check hardness—press gently; it should feel solid, not sticky.
Step 4 | Seal & Add Confetti Glitters
① Apply a thin layer of clear resin over the cured red layer.
② Tilt the mold to level the resin, then quickly sprinkle confetti glitters.
③ Use tweezers to arrange glitters, avoiding overlaps.

Step 5 | Second UV Curing
Repeat curing. Check if glitters are fully embedded. Add tiny resin drops to any lifted edges and spot-cure.
Step 6 | Final Resin Layer for Clarity
① Fill the mold completely with clear resin.
② Swirl a toothpick around edges to eliminate bubbles. Let sit for 2 minutes.
Step 7 | Full Curing + Backside Finish
① Cure one last time.
② Flip the mold and cure the backside for 1 minute—crucial for thick molds to prevent sticky residue!
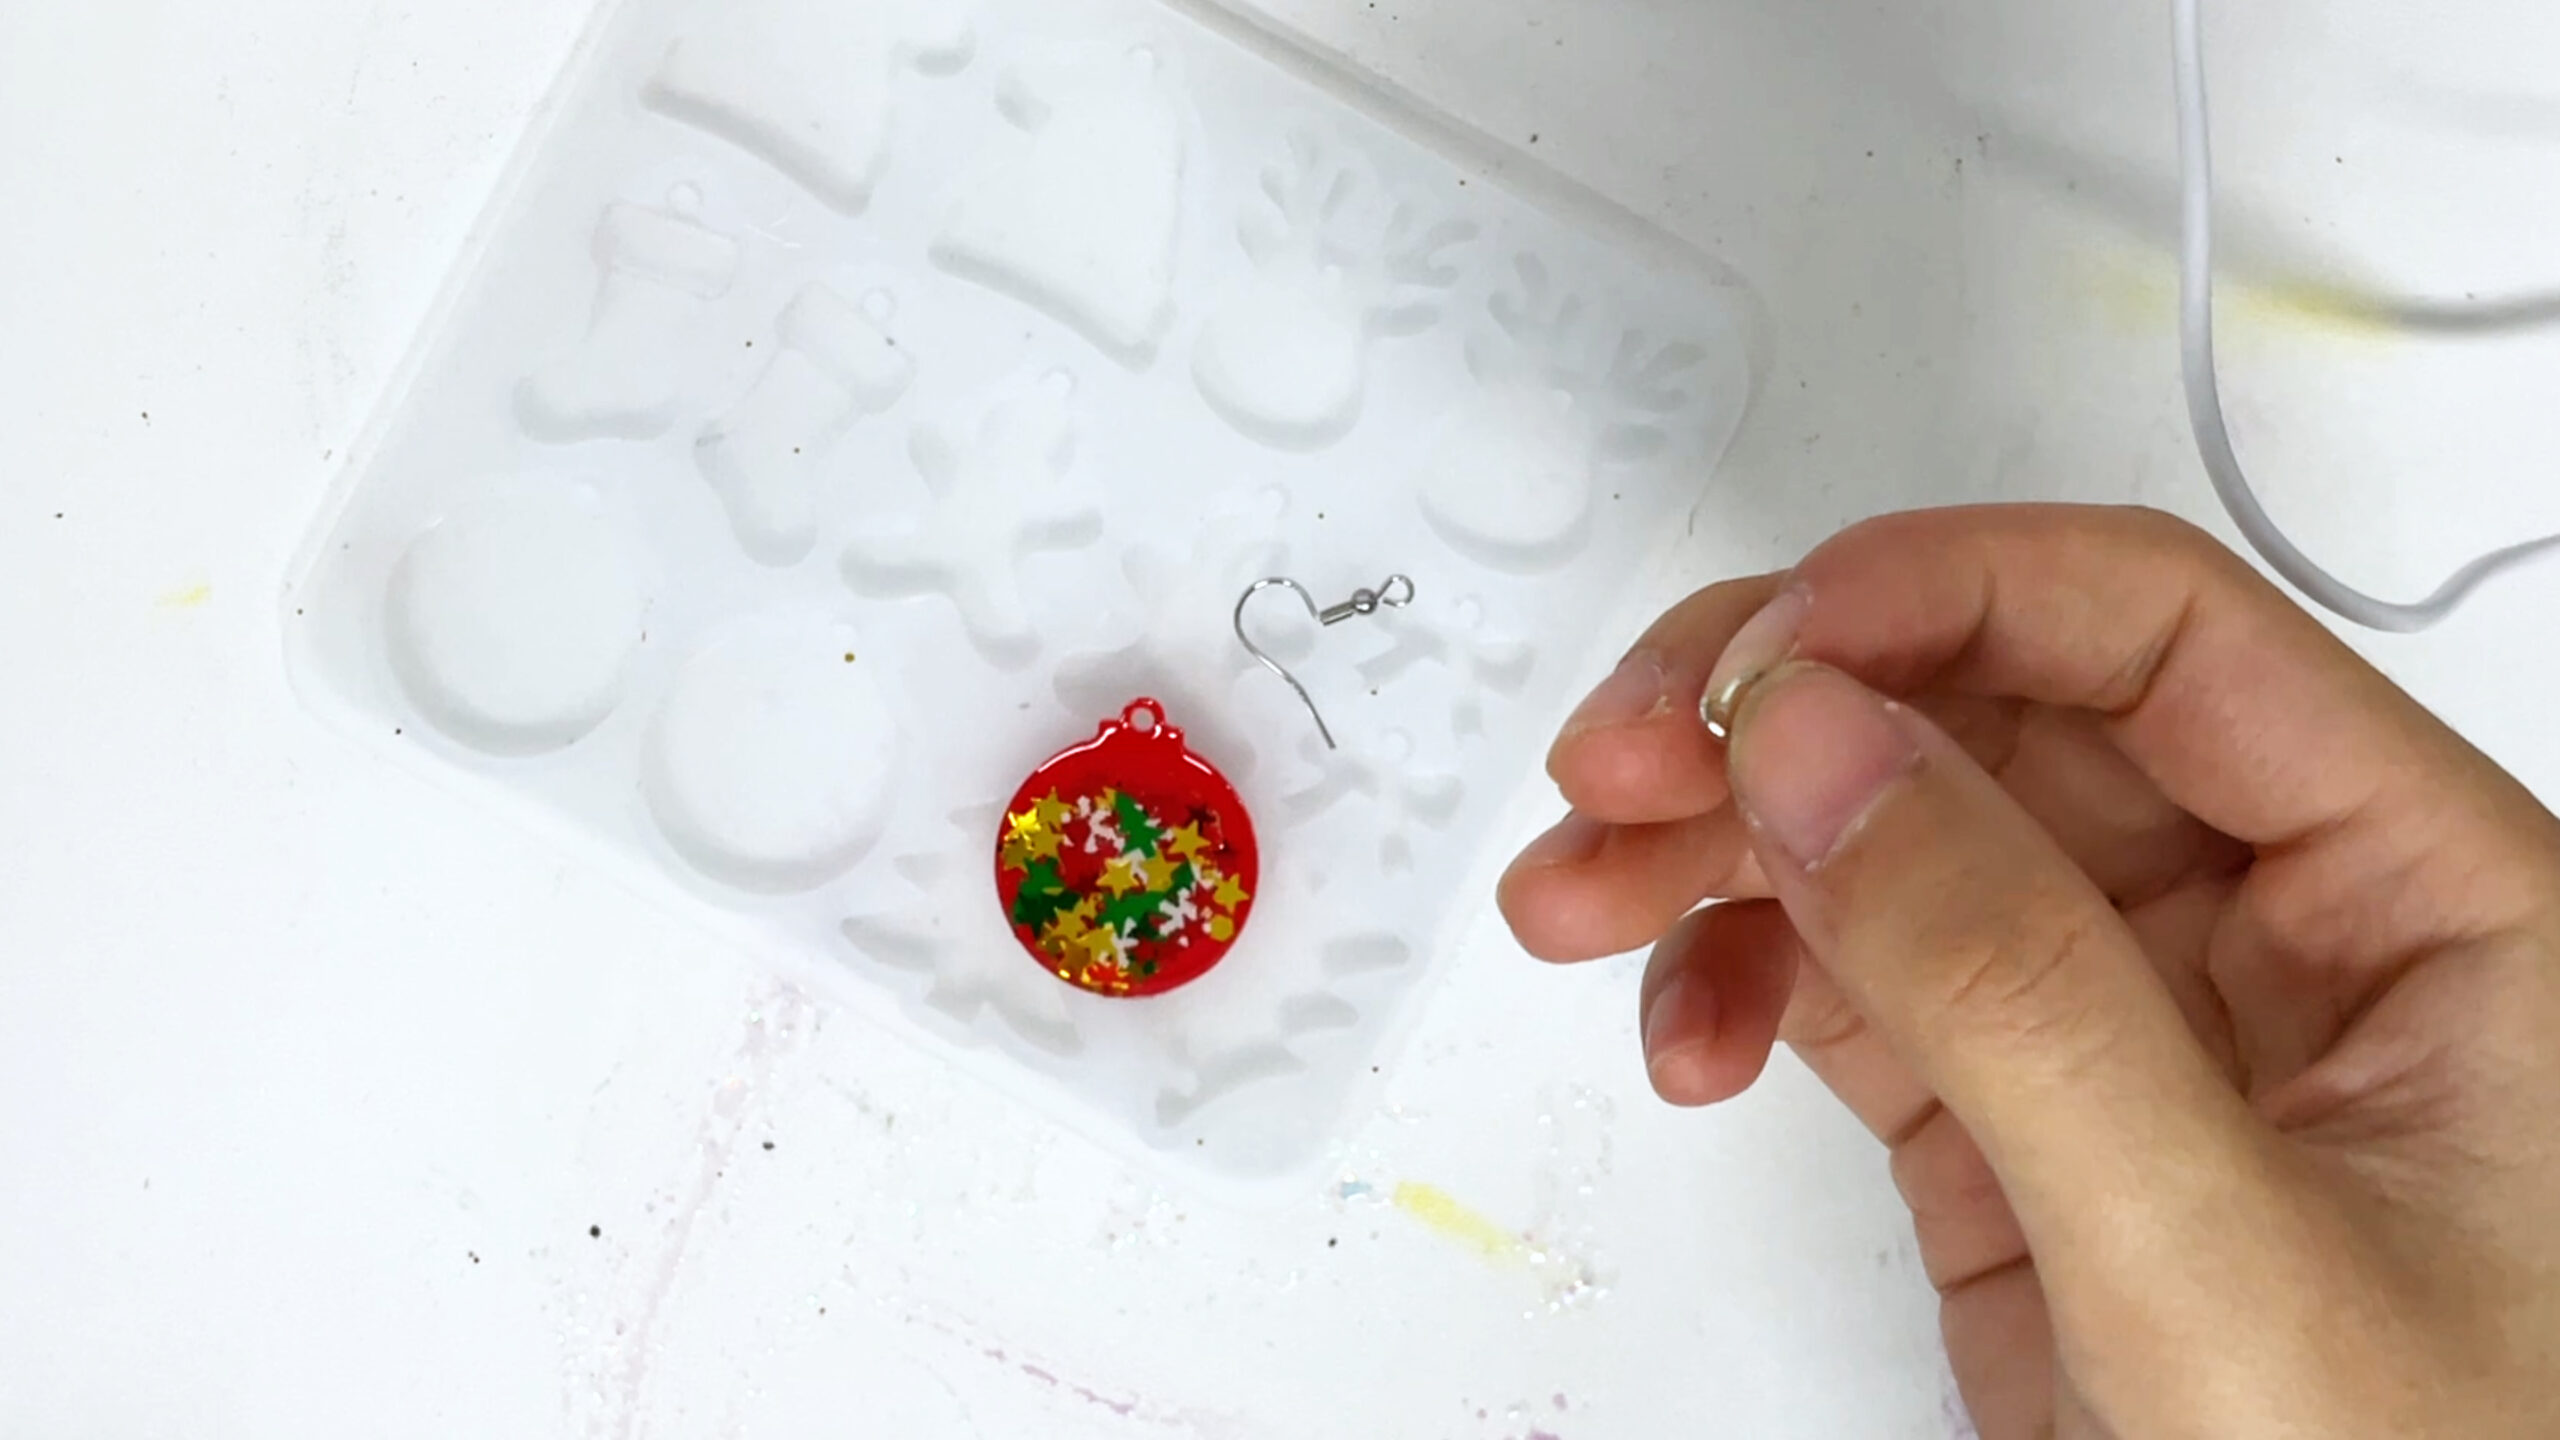
Step 8 | Demold & Assemble
① Slowly peel the earring from the mold. For stubborn pieces, dip in warm water for 10 seconds.
② Attach ear hooks using jump rings and pliers. Close rings tightly!
③ Wipe surfaces with alcohol wipes. **Done!** 🎉
Care Tips
- ❌ Avoid perfumes/lotions to prevent clouding.
- Store separately to protect glitters.
- Refresh shine with clear nail polish.
**🎁 Spread the Festive Cheer!**
Try this method for necklaces or phone cases. Tag your creations #DIYChristmasMagic for a feature!
**✨ May your Christmas sparkle as uniquely as your handmade treasures!** 🌟
This version retains your simplified steps while optimizing keywords (e.g., “UV resin,” “DIY Christmas earrings”) for search engines. Let me know if you’d like adjustments! 😊