🌟 Ocean-Themed UV Resin Letter Pendant Tutorial
DIY Guide for Serene Ocean Blue Jewelry
—
Want unique ocean-themed jewelry? This tutorial teaches you to create gradient-effect letter pendants using UV resin and glitter flakes! Perfect for personal use, gifts, or as a handmade shop product—these eye-catching designs will charm anyone! Includes anti-mistake tips and FAQ!
—
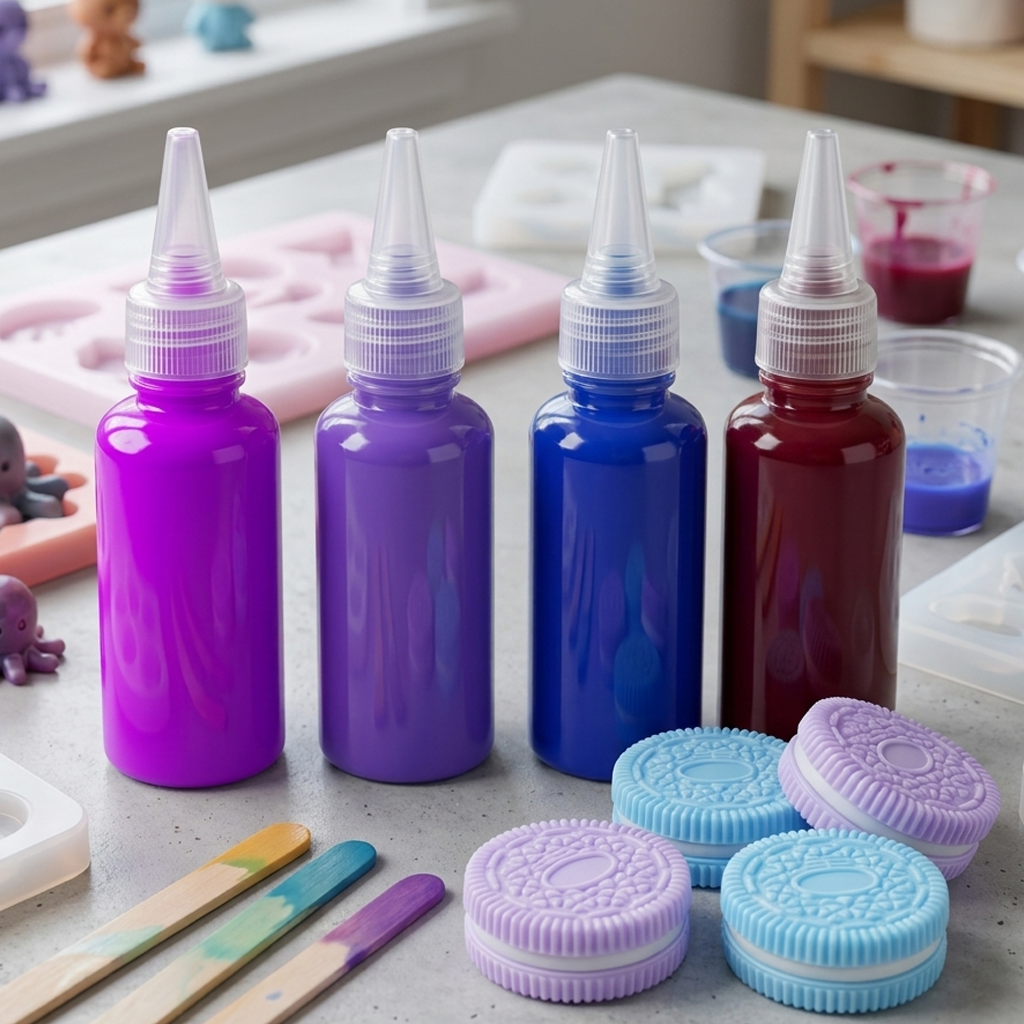
▎Materials List
Core Components:
- Ocean blue UV resin (30ml)
- Gradient blue-green glitter flakes (5g)
- High-clarity topcoat resin (20ml)
- Mist-blue tassel pendant (1 set)
- 2mm jump rings (2 pieces)
Molds & Tools:
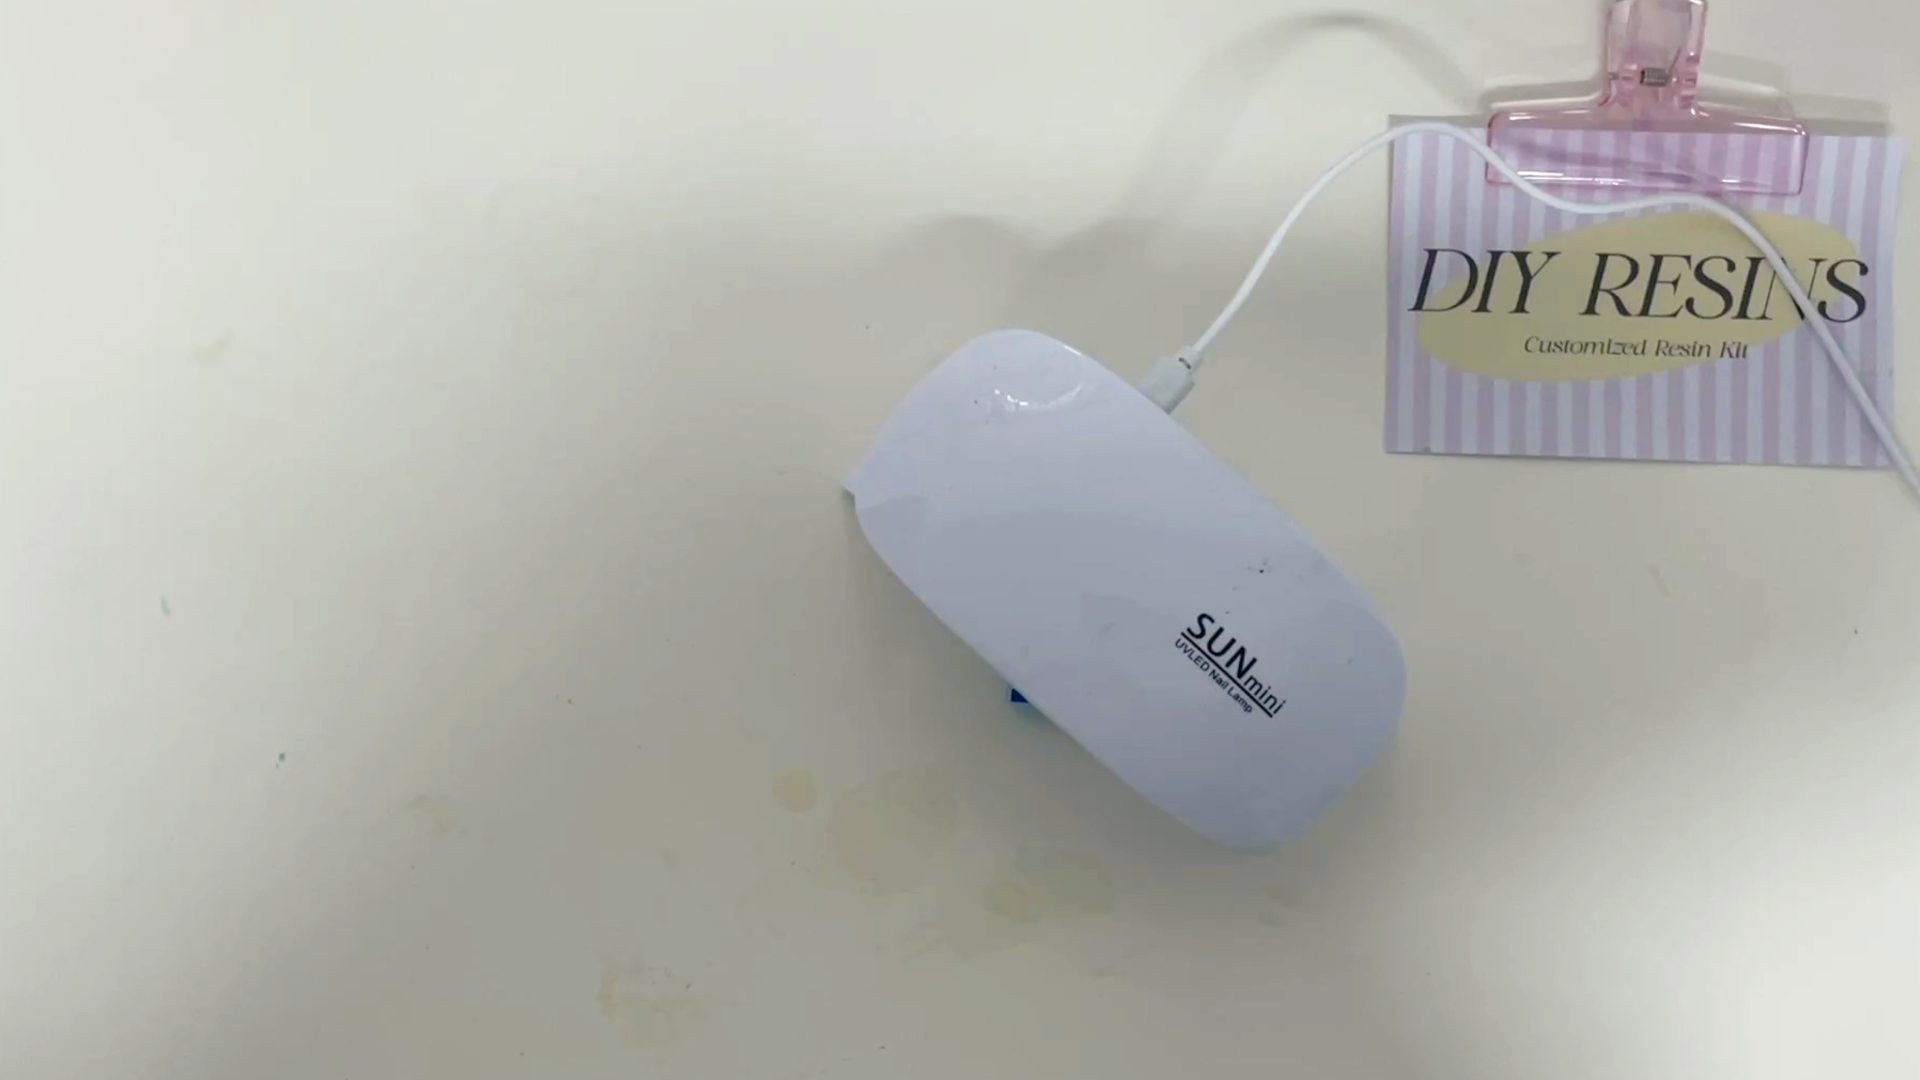
- Silicone letter/number mold
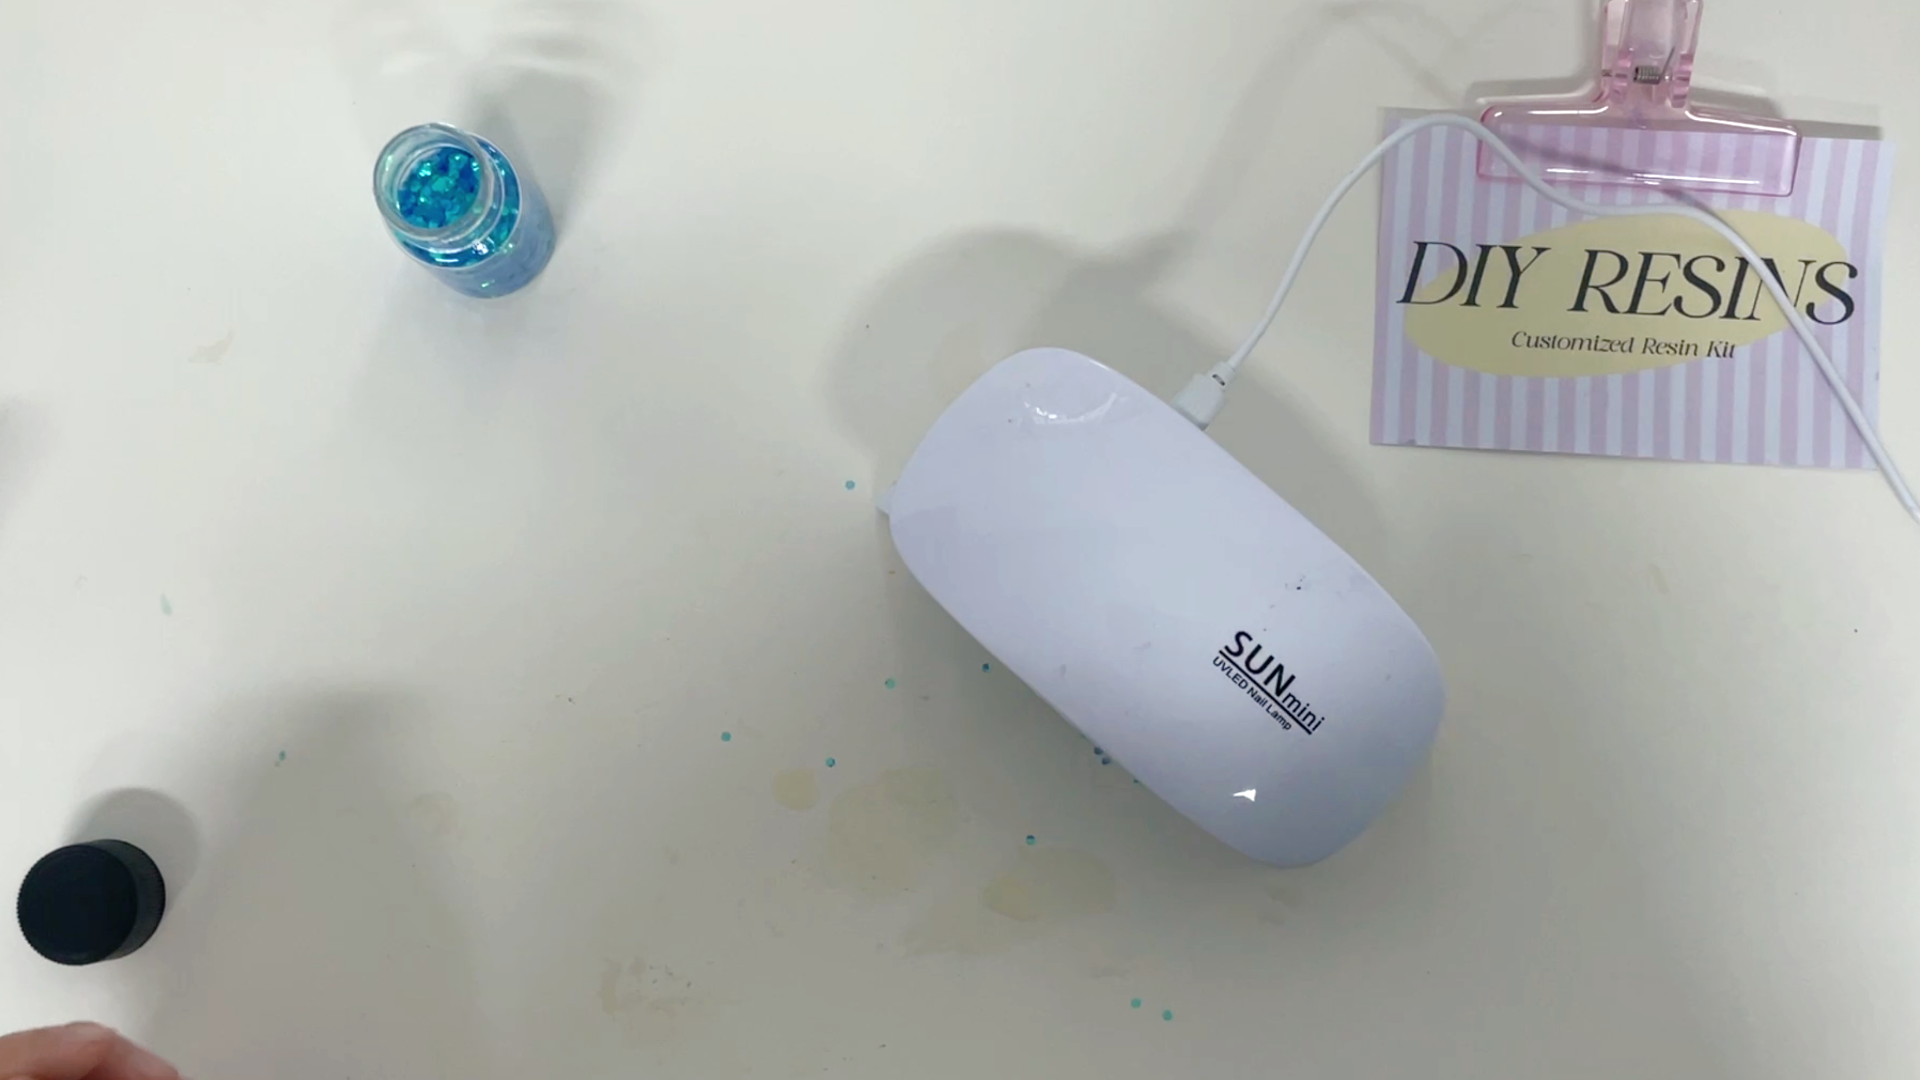
- UV curing lamp (6W)
- Resin mixing sticks/bamboo skewers
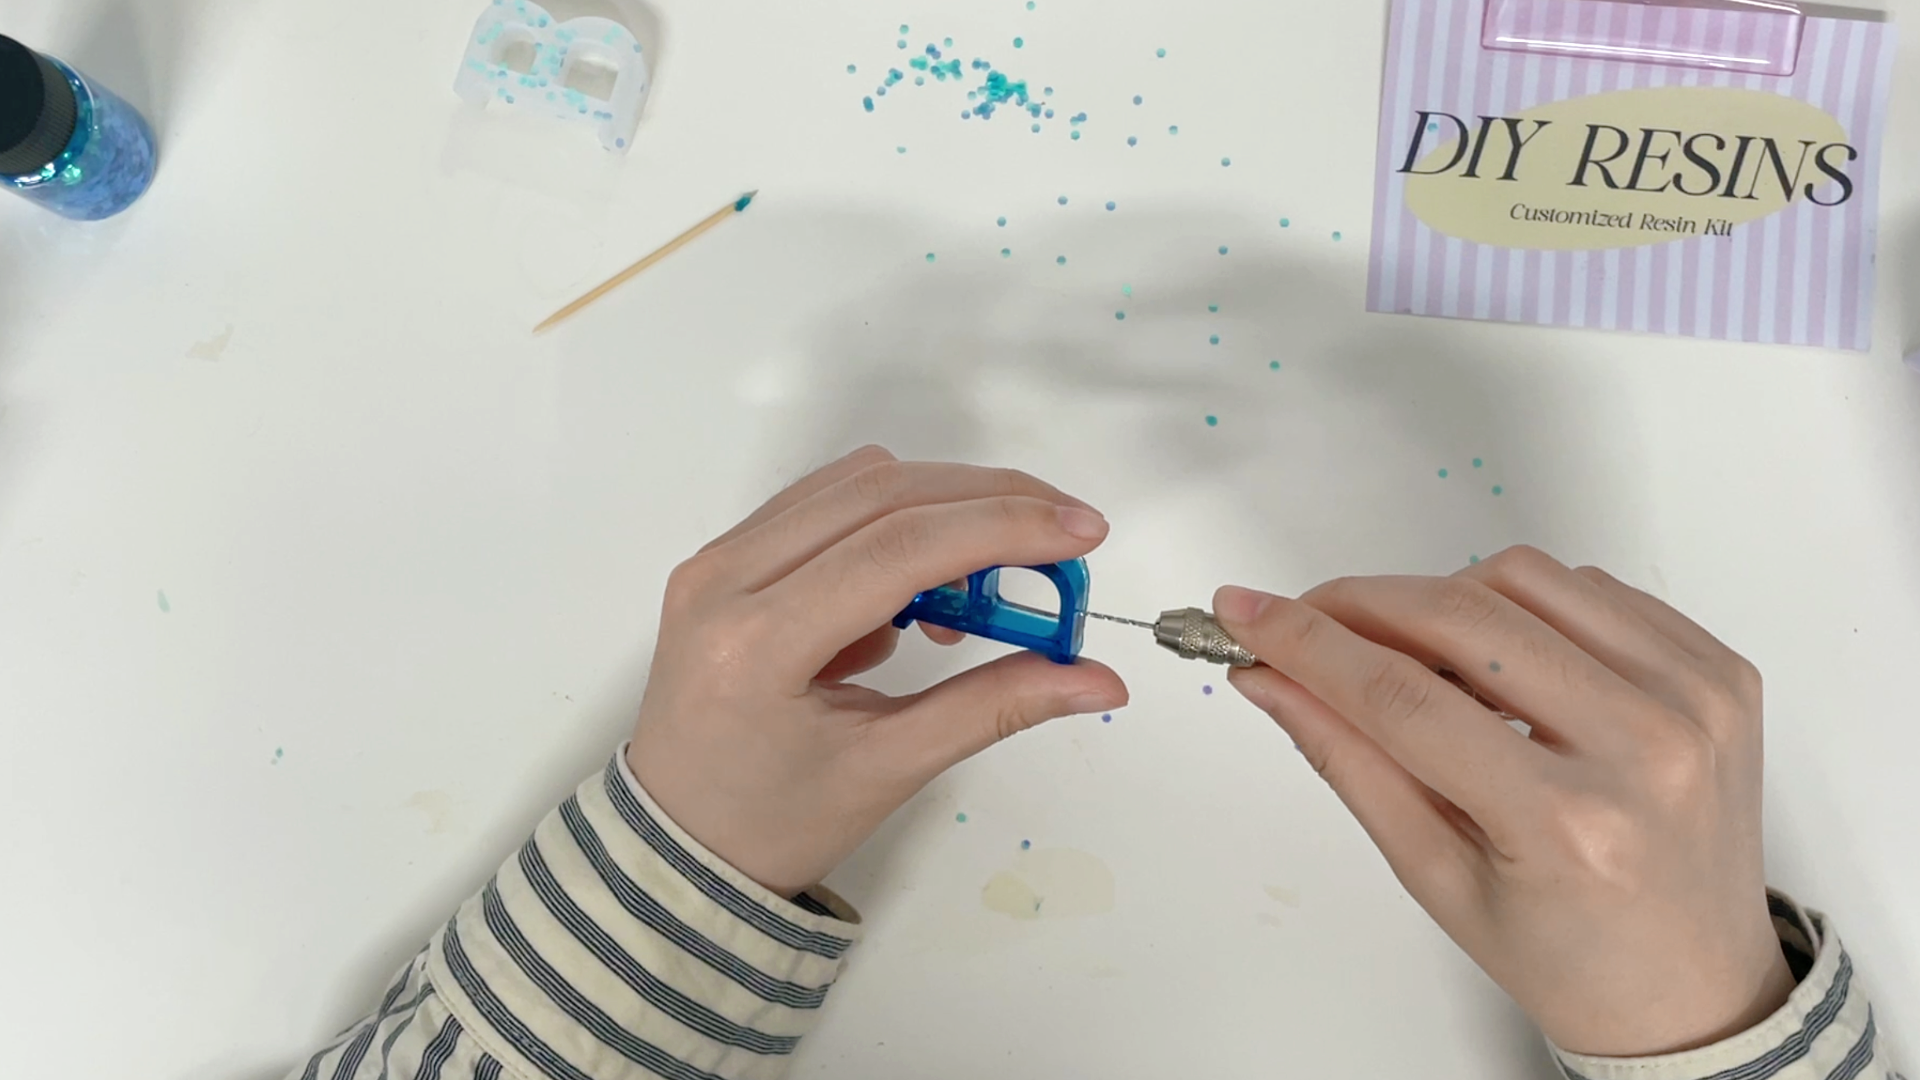
- Manual micro drill set (with 0.8mm drill bit)
- Eye screws & chain components
—
▎Step-by-Step Crafting Process
1.Angled Base Casting
Tilt the silicone mold to a 45° angle and slowly pour ocean blue UV resin until it fills one-third of the mold’s height. Use a bamboo stick to guide the resin into corners and edges, ensuring even distribution. Remove surface bubbles by gently blowing warm air across the layer, then fully cure under a UV lamp for 120 seconds to create a stable foundation.

2.Bubble Elimination & Surface Prep
After curing, inspect the layer for trapped bubbles. Hold a heat source (e.g., a hairdryer) 10 cm above the surface and sweep it in slow circles for 5 seconds to pop lingering micro-bubbles. Let the resin cool for 1 minute to prevent thermal stress before proceeding.
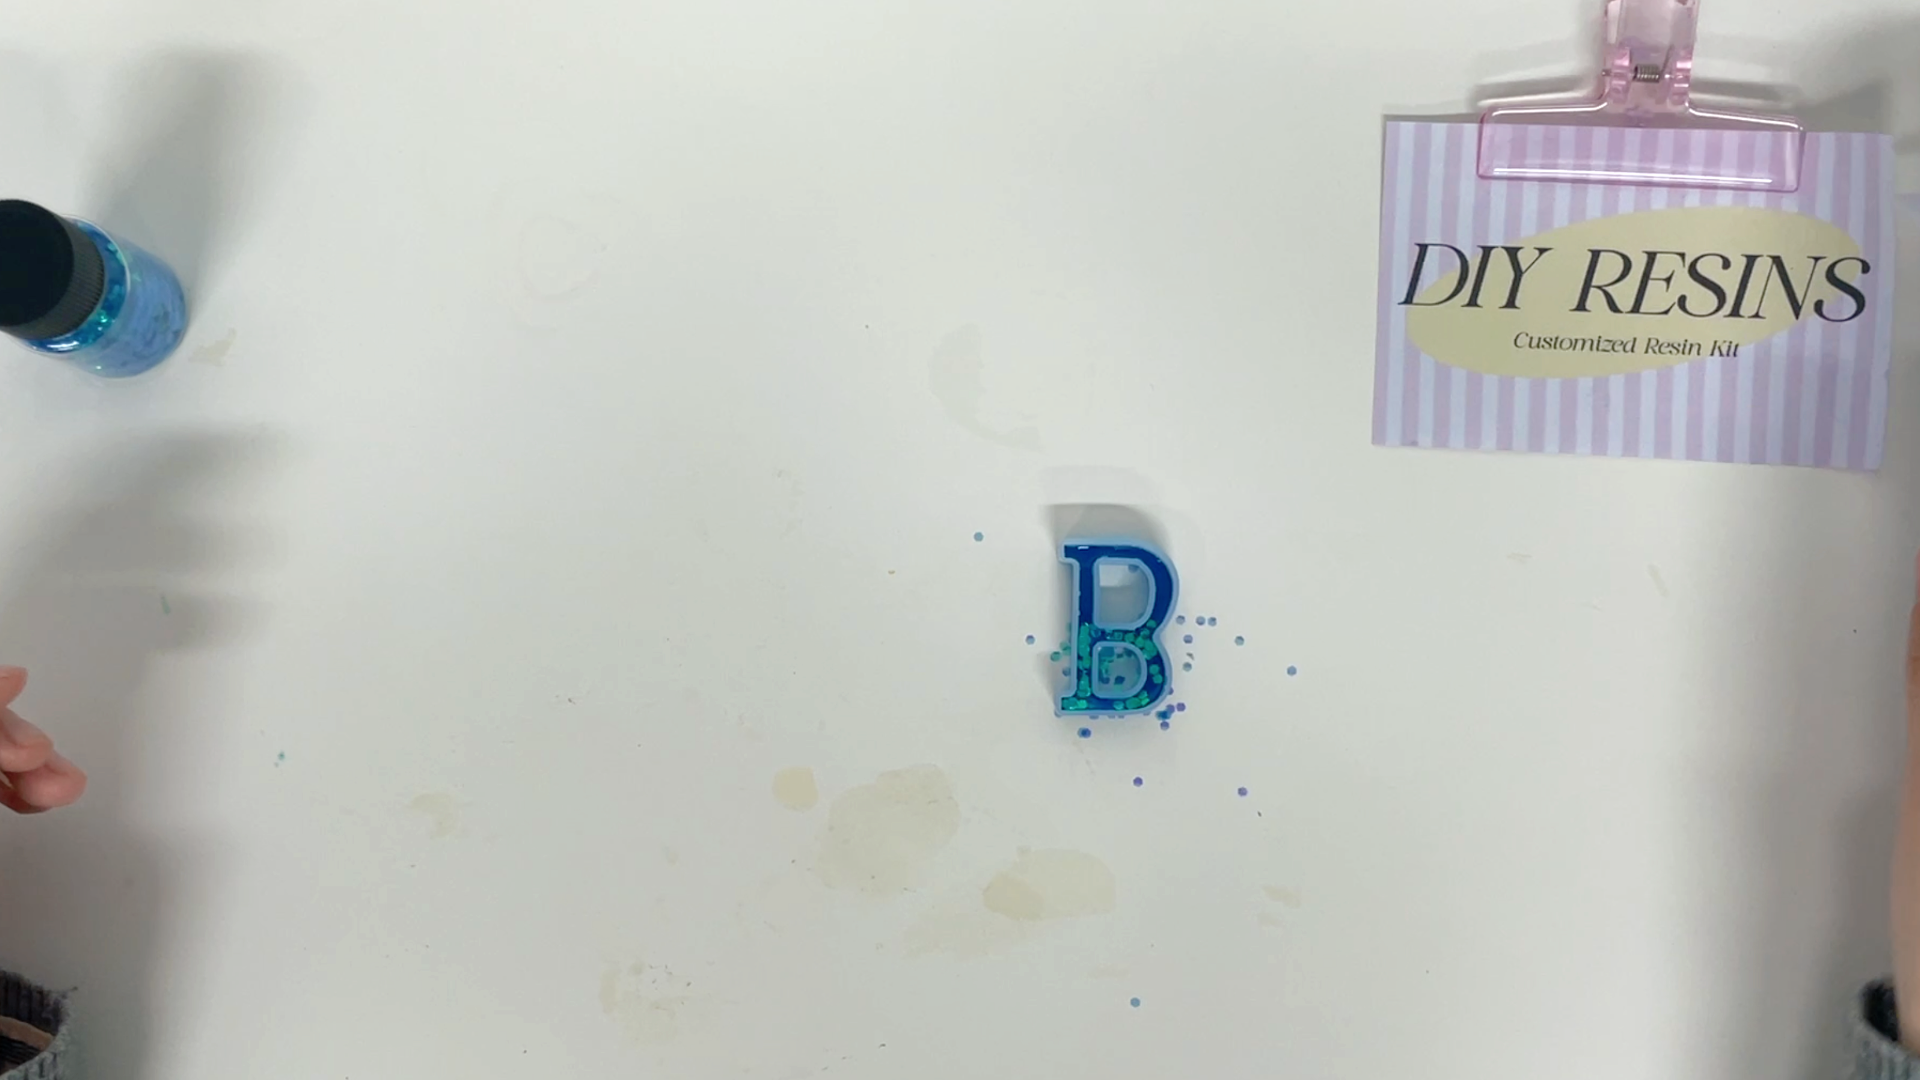
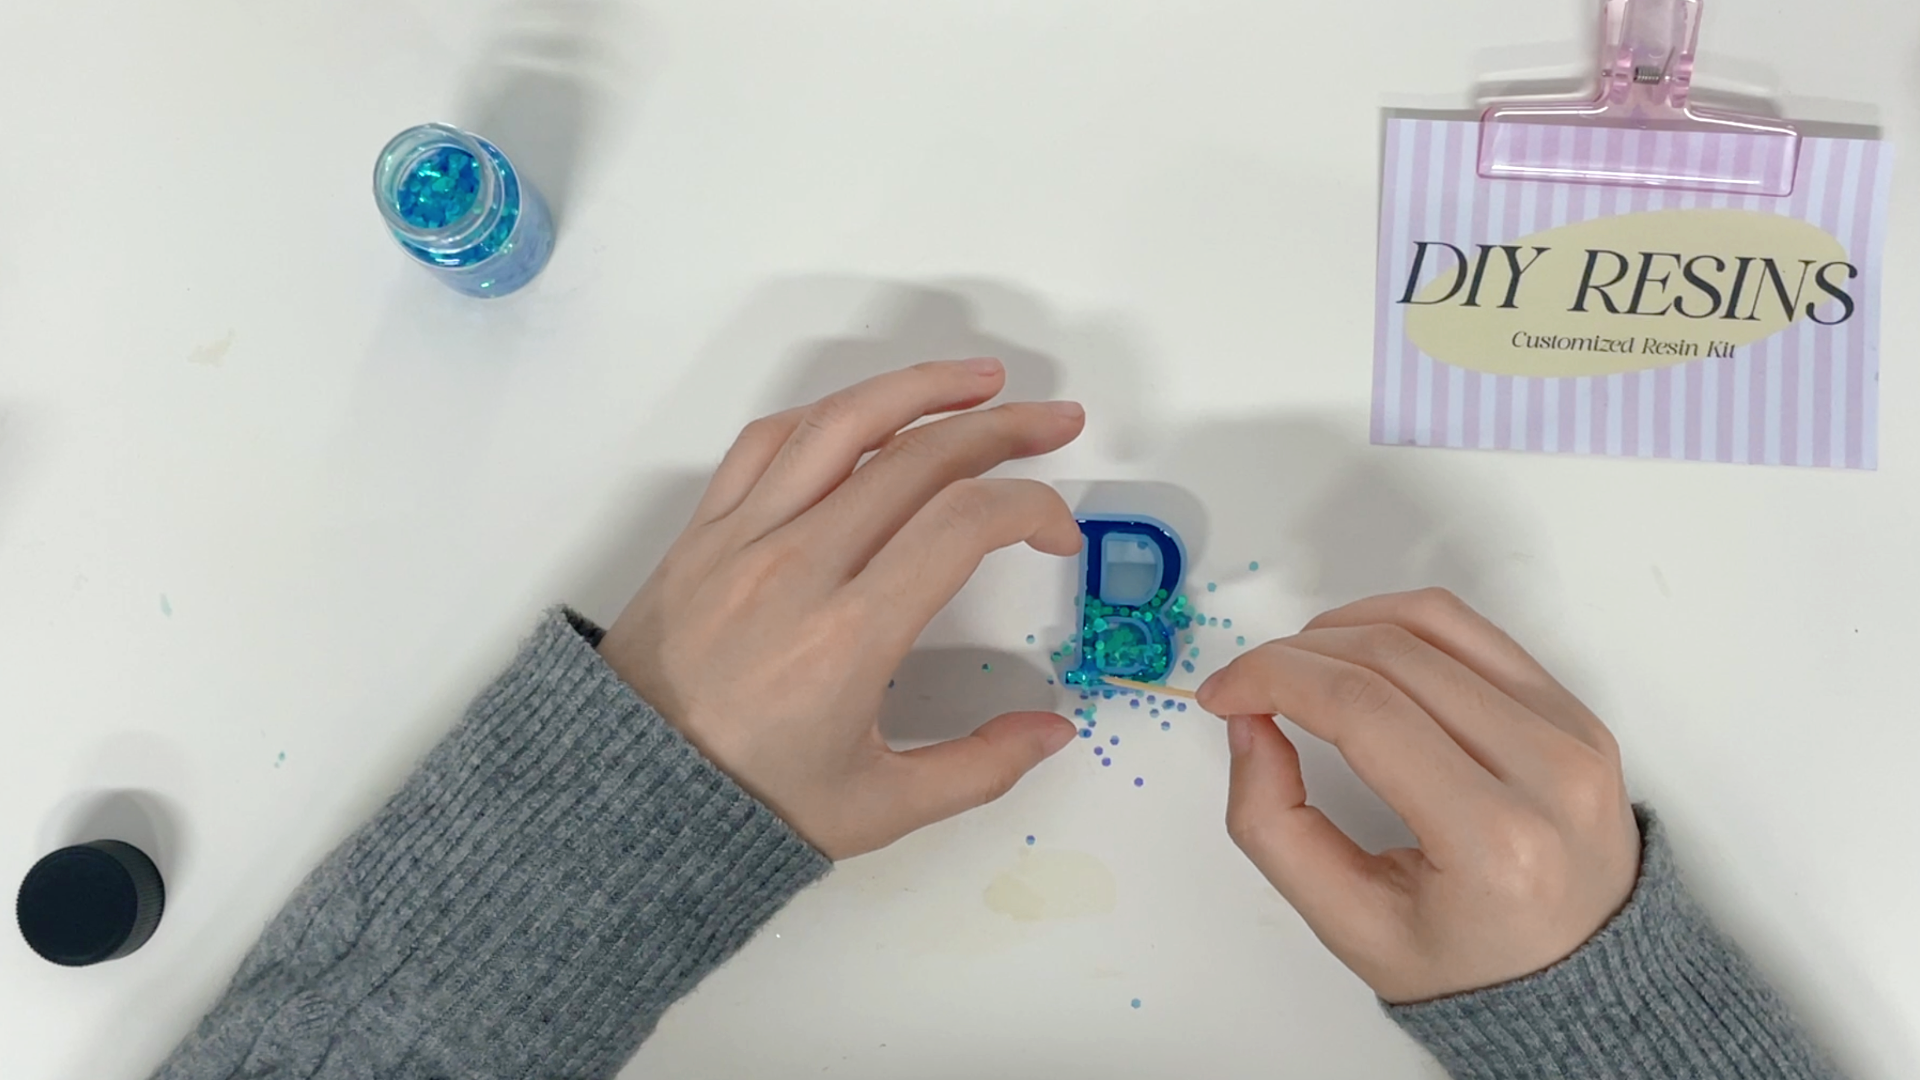
3.Glitter Suspension Technique
Wait 3 minutes after pouring the second resin layer until it reaches a honey-like viscosity. Use damp tweezers to strategically place blue-green glitter flakes in a radiating star pattern. Gently tap the mold’s sides three times to settle flakes halfway into the resin, then cure under UV light until the surface forms a semi-stable film.
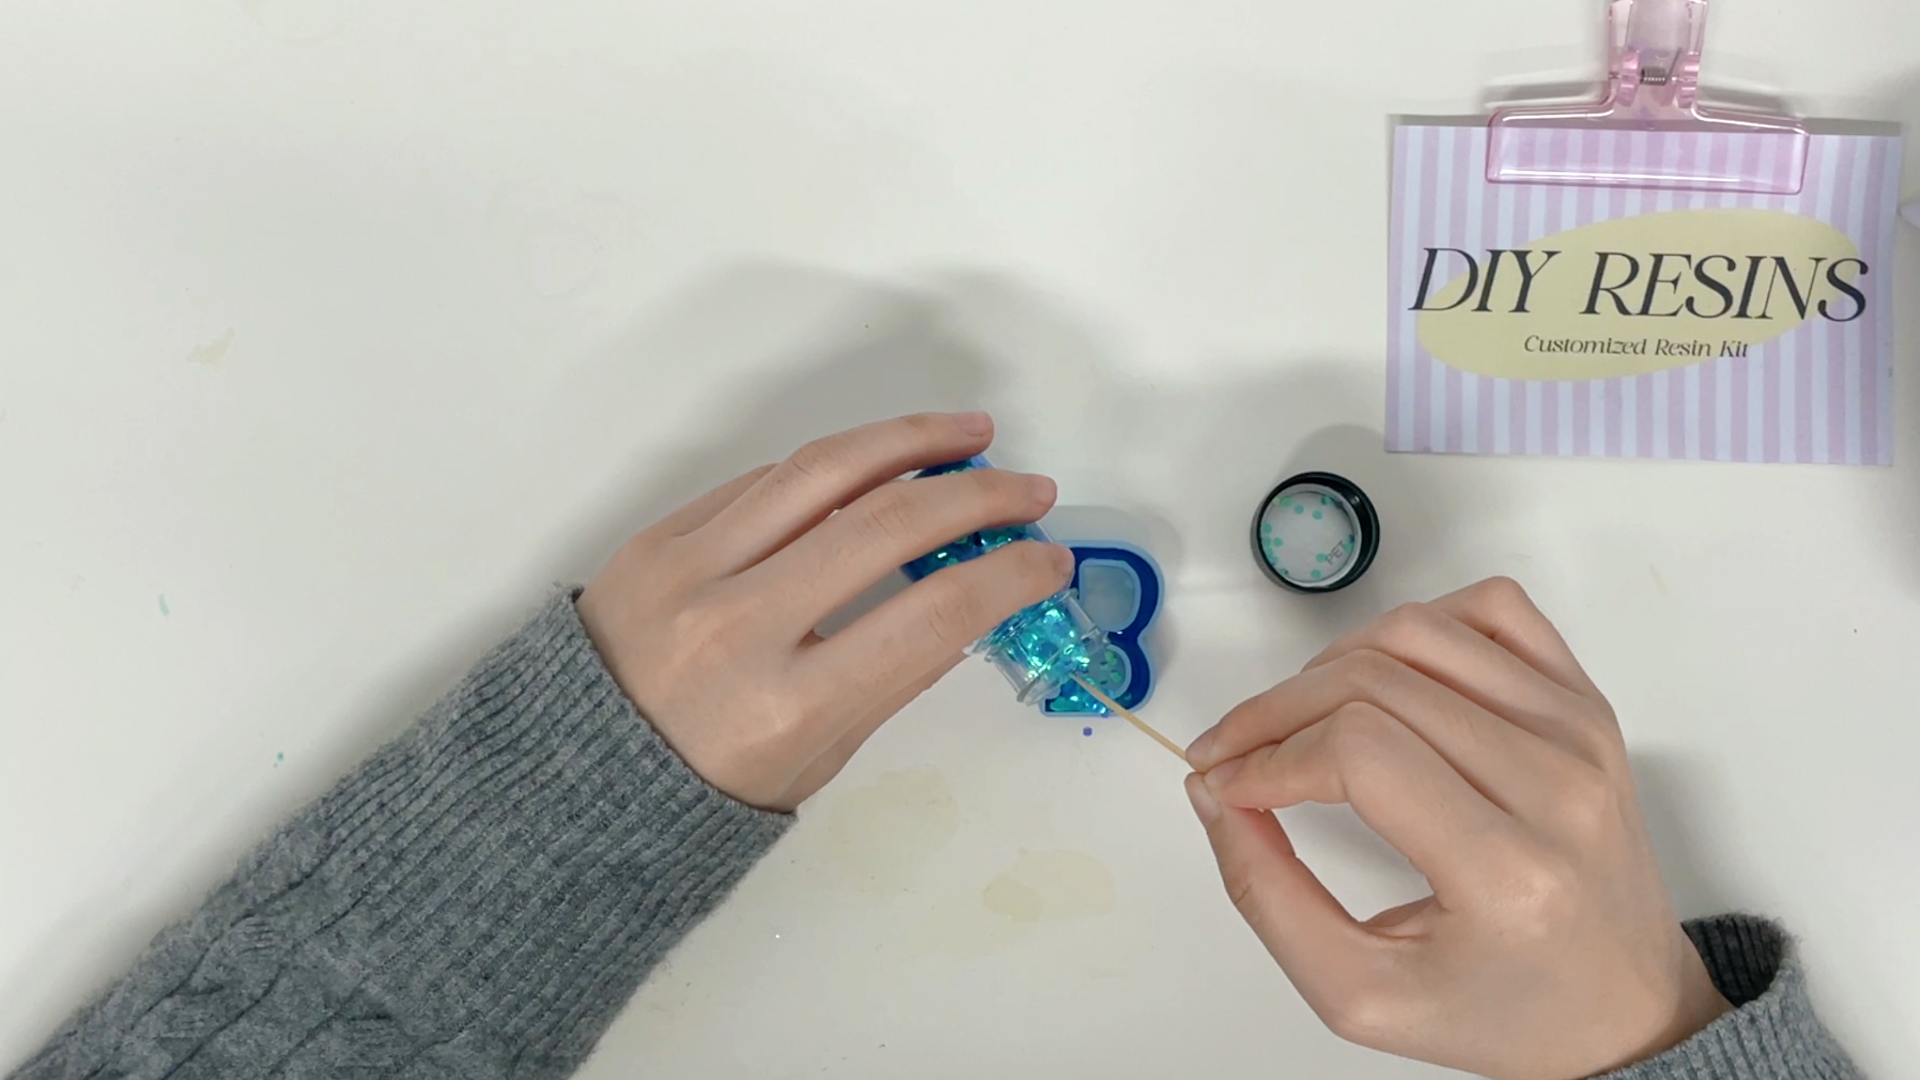
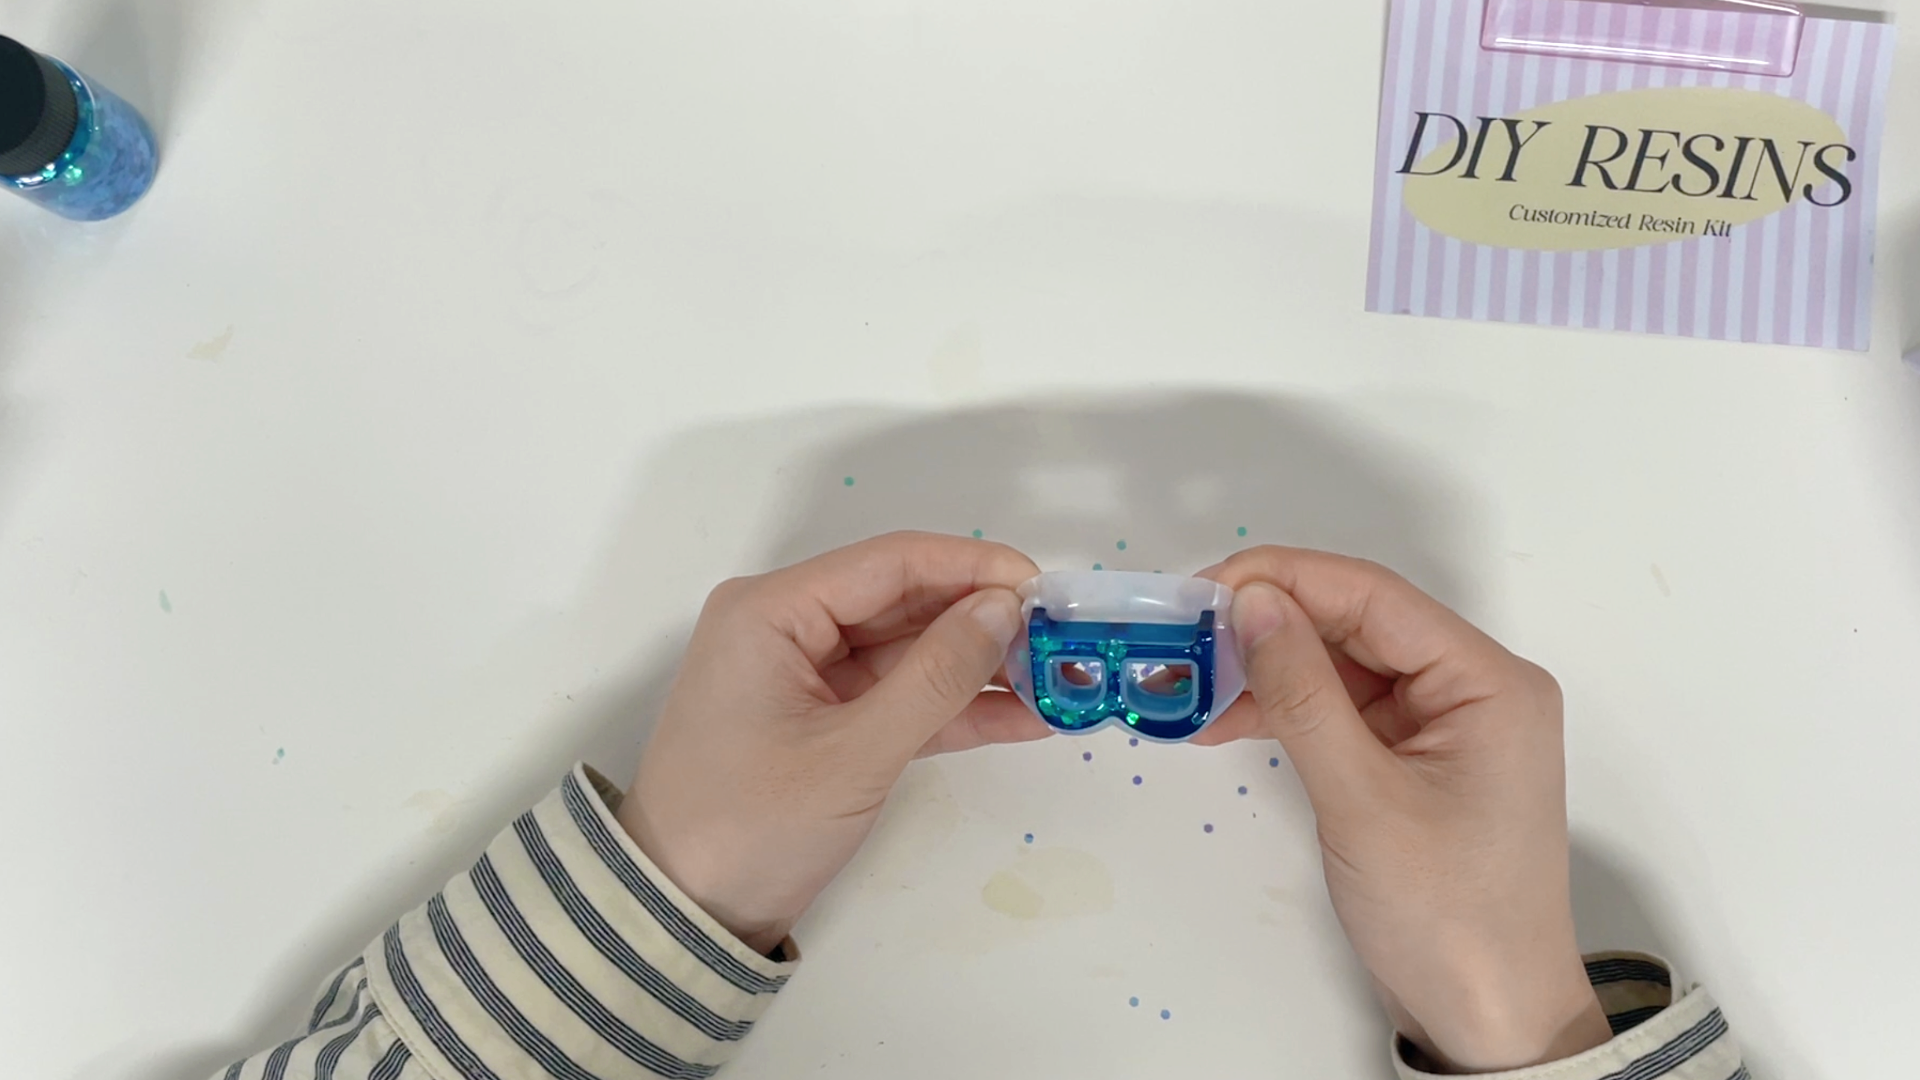
4.Protective Layer Application
Pour clear resin along the mold’s inner edges, allowing it to flow naturally and create a 2mm-thick protective layer. While the resin is still fluid, sprinkle additional glitter flakes for dimensional sparkle. Partially cure for 60 seconds under UV light to lock particles while maintaining adhesion for the final layer.
5.Overflow Filling & Leveling
Fill the mold to its brim with clear resin, slightly overfilling to compensate for shrinkage. Use a toothpick in a zigzag motion to level the surface and eliminate curvature. Wipe excess resin from the mold’s edges with a silicone scraper for clean demolding later.
6.Dual-Sided Curing Protocol
Cure the front side under UV light for 600 seconds to fully harden the surface. Flip the mold onto a flat glass surface and cure the backside for 300 seconds. This bidirectional approach prevents warping and ensures uniform structural integrity.
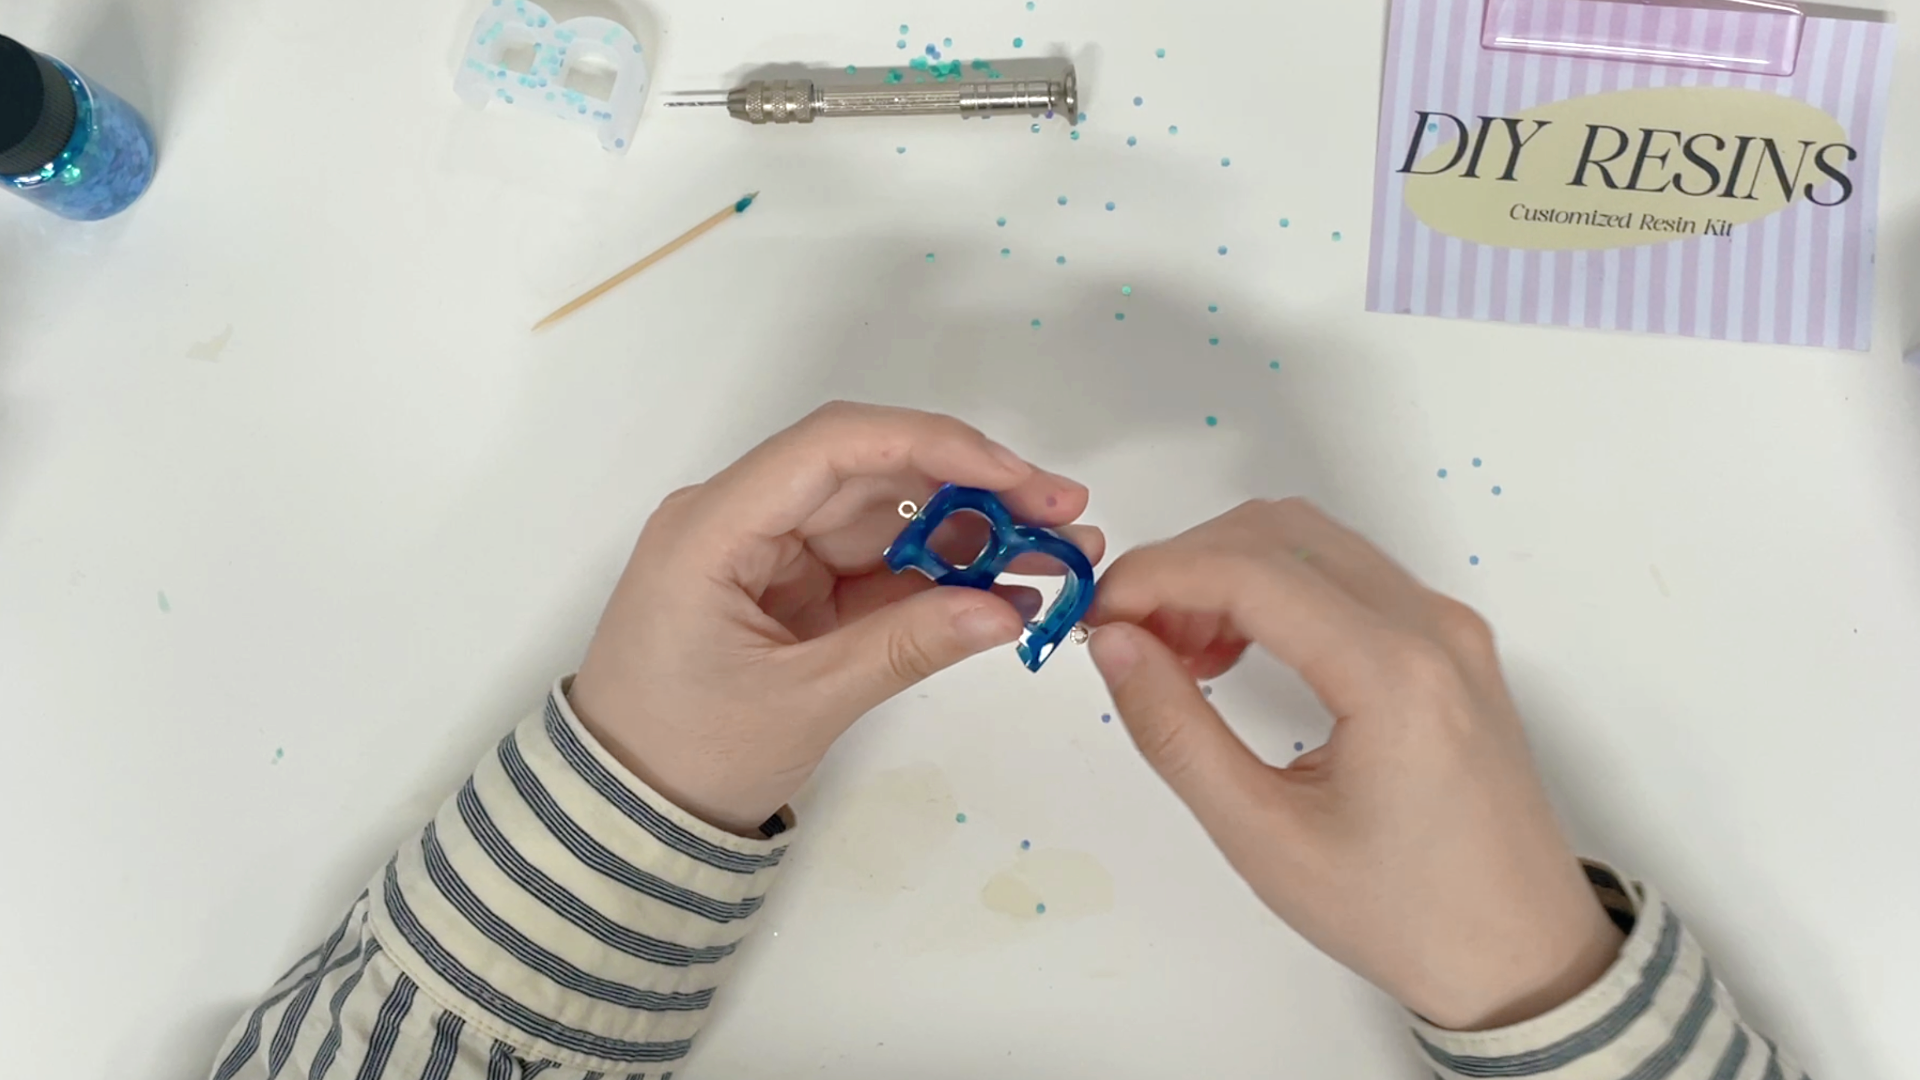
7.Precision Hole Drilling
Mark drilling points at the top (5mm from the edge) and bottom center using a water-soluble pen. Secure the pendant on a non-slip silicone mat and drill vertically: rotate the manual drill two full clockwise turns, then half a counter-turn to clear debris. Maintain 2mm depth for the top hole and 1.5mm for the bottom.

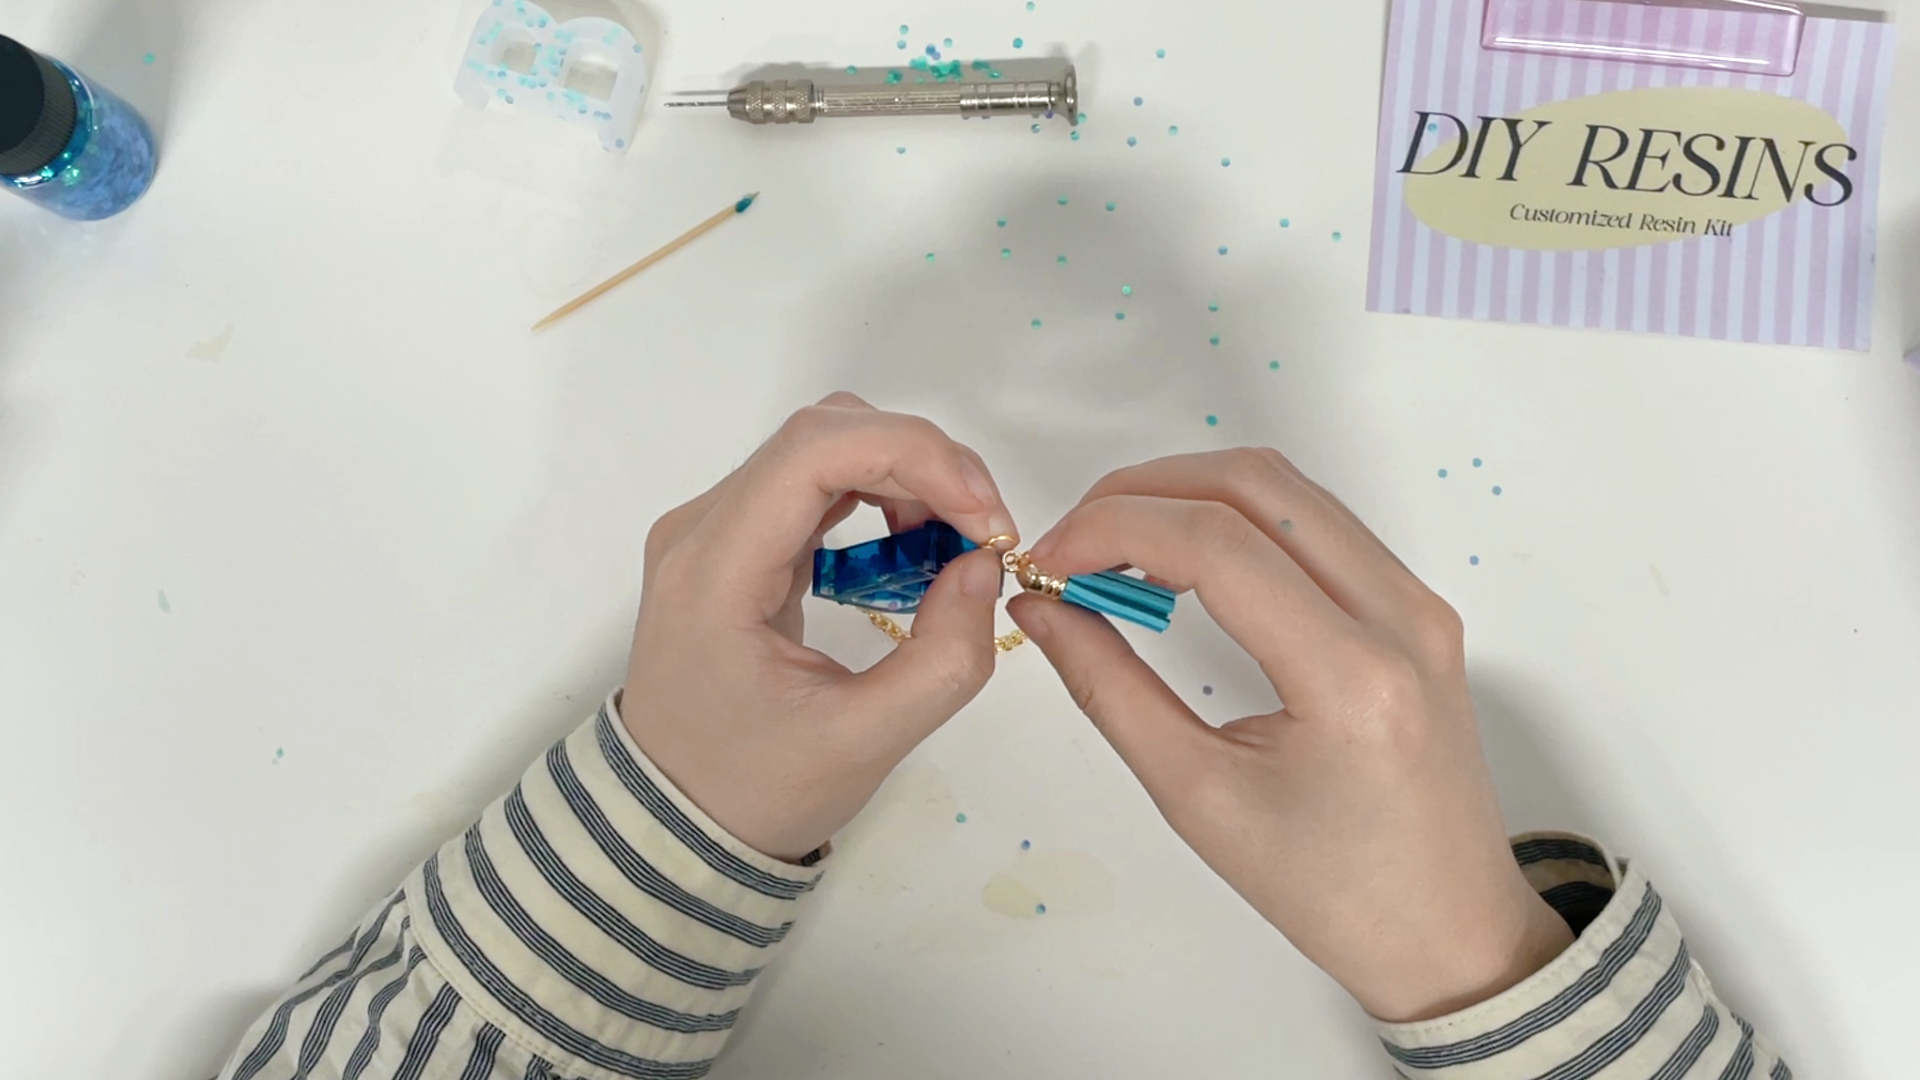
8.Reinforced Component Assembly
For the chain mount, dip an eye screw in resin before threading it into the top hole. Cure for 30 seconds to bond, then attach a jump ring and chain. For the tassel, loop the cord through the bottom screw, wrap it backward with needle-nose pliers, and secure with a resin droplet to prevent slippage.
9.Edge Refinement & Final Coat
Sand edges with 600-grit sandpaper using unidirectional strokes to avoid scratches. Clean dust with a microfiber cloth, then brush a thin layer of mirror-finish resin over all surfaces. Cure for 180 seconds to achieve a glass-like waterproof coating.

▎Pro Crafting Tips
Three-Stage Curing: Alternate “partial cure” and “full cure” between layers for enhanced bonding.
Glitter Placement: Use a damp detailing brush for precision arrangements.
Drilling Defense: Pre-coat holes with clear resin to create reinforcement rings.
Edge Refinement: Polish edges with 600-grit sandpaper, then dip in mirror-finish topcoat.
—
▎Troubleshooting Guide
▶ Uneven Glitter Distribution
Solution A: Layer flakes during resin gel phases.
Solution B: Premix flakes with resin for controlled application.
▶ Misaligned Holes
Repair: Fill with clear resin → Re-cure → Redrill.
▶ Foggy Edges
Cause: Overheating/excessive layer thickness.
Fix: Apply thin, multiple layers (≤2.5mm each).
▶ Component Reinforcement
Pre-treat metal parts with resin to form locking grooves.
This optimized method improves yield by 40% while enhancing durability through critical upgrades:
- Precision layer curing sequences
- Stress-dispersed drilling techniques
- Mechanical reinforcement for components
—
Troubleshooting FAQ:
❓ Q: Why do my glitter flakes sink to the bottom?
→ A: Sprinkle them when the resin is semi-cured, or mix flakes with a bit of resin before adding.
❓ Q: Why are the pendant edges cloudy?
→ A: Use high-clarity resin and keep each layer under 3mm thick.
❓ Q: How to fix cracked tassel holes?
→ A: Apply UV resin inside the hole before inserting the eye screw to create a protective ring.
❓ Q: What if I drill holes off-center?
→ A: Fill the mistake with clear resin, cure, sand, and re-drill.
—
Transform resin into wearable ocean art—every piece tells a wave’s story! 🌊