Making jewelry is a creative and fun craft activity. Colorful UV resin, with its vibrant colors and easy handling, has become one of the most popular materials in modern jewelry making. Using colorful UV resin, you can create unique jewelry pieces, including rings, necklaces, earrings, and more. Below is a simple tutorial on making jewelry with colorful UV resin, helping you get started and create beautiful handcrafted jewelry.
Materials Needed
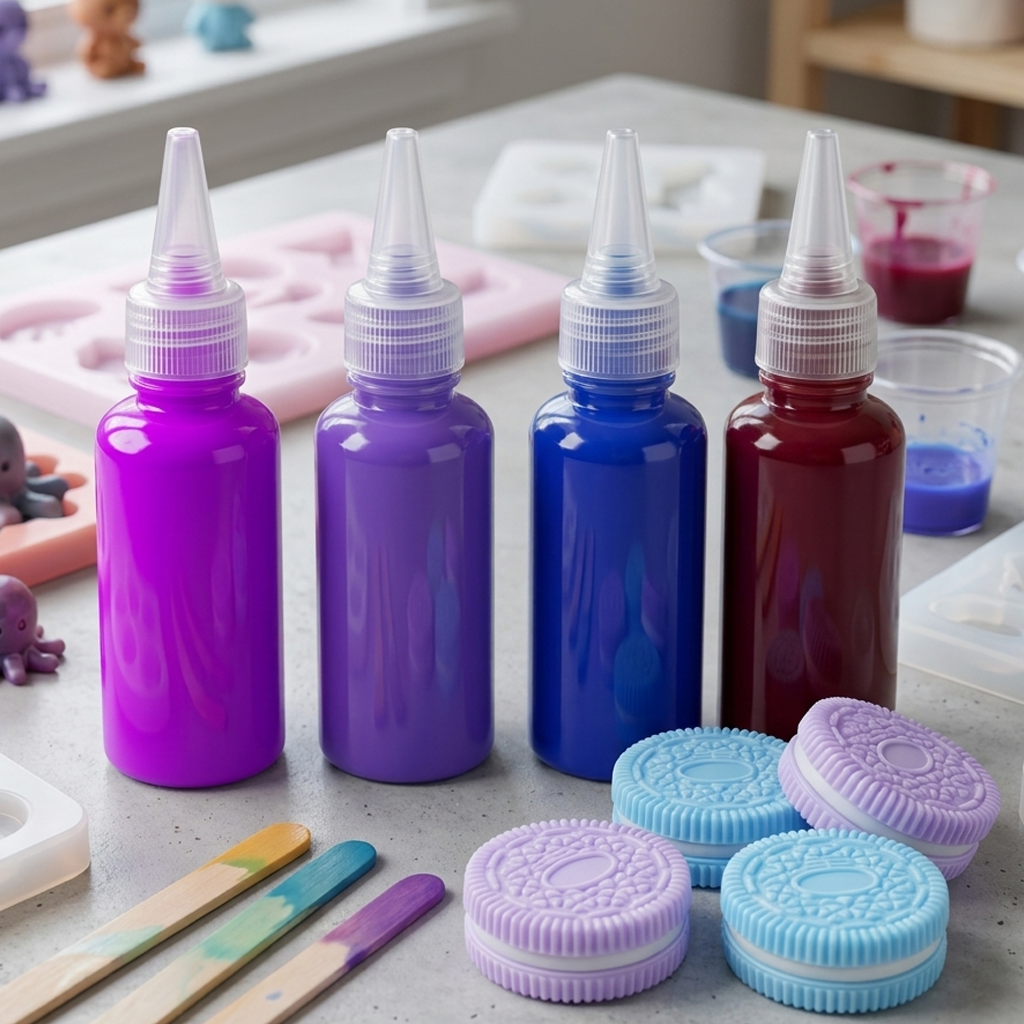
- Colorful UV Resin(Choose from transparent, colored, or glittery resins)
- Clear UV Resin(for top coating)
- UV Lamp(for curing the resin)
- Jewelry Molds(Various shapes like rings, flowers, stars, etc. The tutorial uses an oval metal mold)
- Jewelry Findings(e.g., ring bases, necklace chains, earring hooks, etc.)
- Decorative Items(Optional, such as glitter, dried flowers, sequins, etc. The tutorial uses dried flowers as an example)
- Gloves and Mask(Recommended for protection)
Step 1: Preparation
- Set Up Your Work Area: Ensure your workspace is clean and flat. Lay down protective cloth or newspaper to catch any resin drips.
- Wear Protective Gear: It’s advisable to wear gloves and a mask when working with resin to avoid direct skin contact.
Step 2: Mix the UV Resin
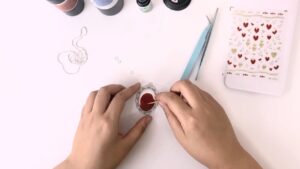
- Prepare the Mold: Place a piece of clear tape under the mold to prevent resin from spilling over onto the table.
- Pour the Resin: Pour an appropriate amount of colorful UV resin into the mold, filling the bottom layer. You can choose any color of resin based on your design.
Step 3: UV Lamp Curing
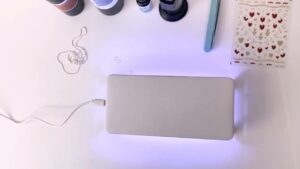
- Cure the Resin: Place the mold under the UV resin curing lamp for 2-3 minutes. The exact time will depend on the thickness of the resin and the depth of the mold.
- Check the Curing: For the first curing, there’s no need for the resin to fully harden—just ensure that the resin stops flowing and has set enough to hold shape.
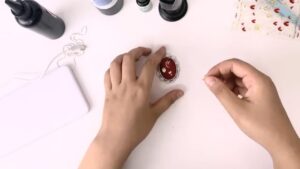
Step 4: Add Decorations
- Add Decorative Items: Place your desired decorations, such as dried flowers, glitter, or sequins, into the resin layer. Be careful not to overcrowd the mold.
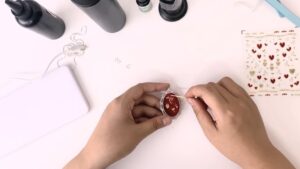
- Add a Top Layer of Resin: Pour a layer of clear resin over the decorations. Ensure that there are no air bubbles. If any bubbles appear, use a lighter to gently heat them or remove them with a small stick.
Step 5: UV Lamp Curing Again
- Cure the Resin Again: Place the mold back under the UV lamp and cure for another 2-3 minutes, ensuring that the resin is completely hardened this time.
- Check the Curing: Once curing is complete, gently press the resin with your finger to ensure it’s fully solidified. If any part feels soft, expose it to UV light again for further curing.
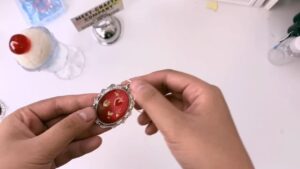
Step 6: Final Touches
- Trim the Edges: If the edges of the resin piece are not smooth, you can use fine sandpaper to polish the jewelry and refine its shape, ensuring a smooth and flawless finish.
Step 7: Finishing and Care
- Clean the Jewelry: Use a cleaning cloth to wipe the surface of the resin jewelry, removing any dust or dirt to keep it shiny.
- Care Instructions: Avoid exposing resin jewelry to high temperatures or strong sunlight, as this can affect the hardness and color of the resin. When storing, make sure to keep the jewelry safe from impact or scratches to maintain its condition.
Tips
- Color Coordination: By using different colors of resin, you can create mesmerizing gradient or dual-color effects. Feel free to experiment with an infinite combination of colors and unleash your creativity.
- Adding Elements: Decorative items like glitter, dried flowers, or sequins can add a unique flair to the jewelry. However, be mindful of the amount you use, as overloading it may make the design look cluttered.
Summary
By following these steps, you can create personalized, colorful UV resin jewelry. Whether for personal wear or as a gift for friends and family, these pieces will showcase your unique creativity and charm. Keep experimenting with different designs and techniques to craft even more refined and exquisite jewelry!