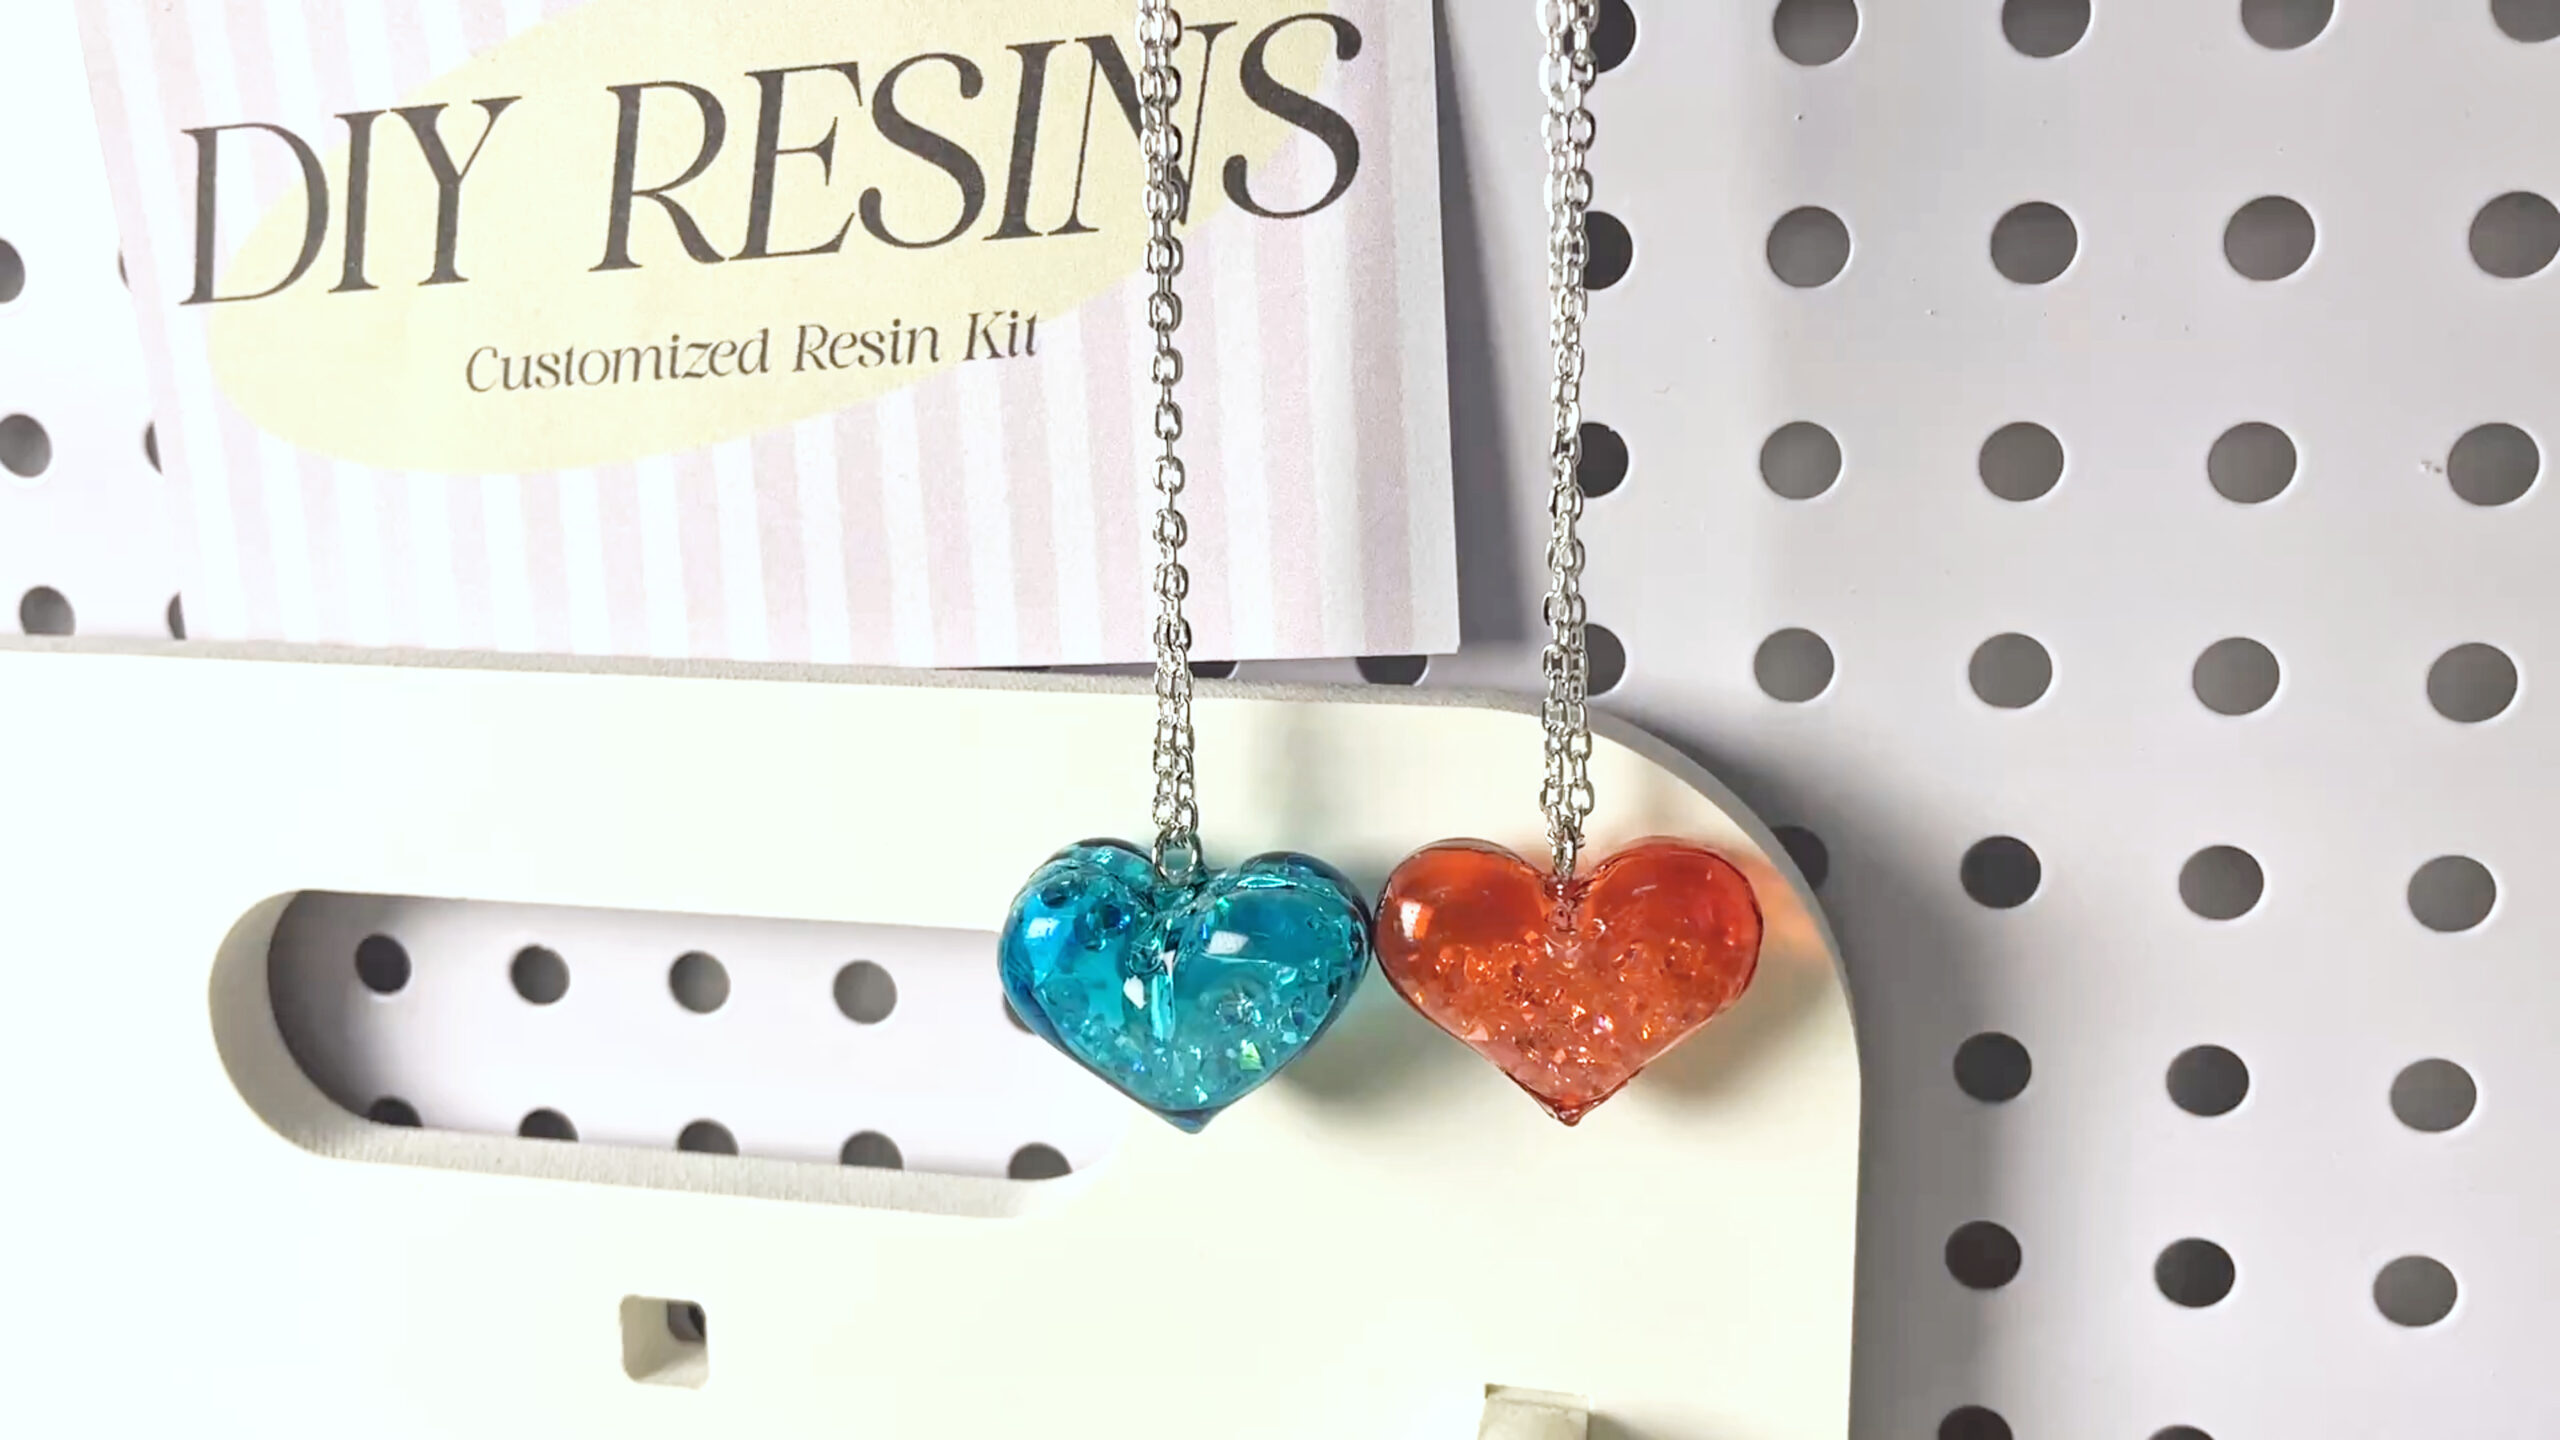
UV Resin Heart Pendant
DIY Guide for Makers & Sellers
Looking for a vibrant DIY project that’s perfect for gifting, selling, or personal style? To begin with, our Orange UV Resin Heart Pendant combines creativity with simplicity! Whether you’re a crafting enthusiast or a wholesale supplier, this step-by-step guide will not only help you master resin techniques but also create stunning, glossy jewelry. Now, let’s dive in and turn resin into wearable art!
—
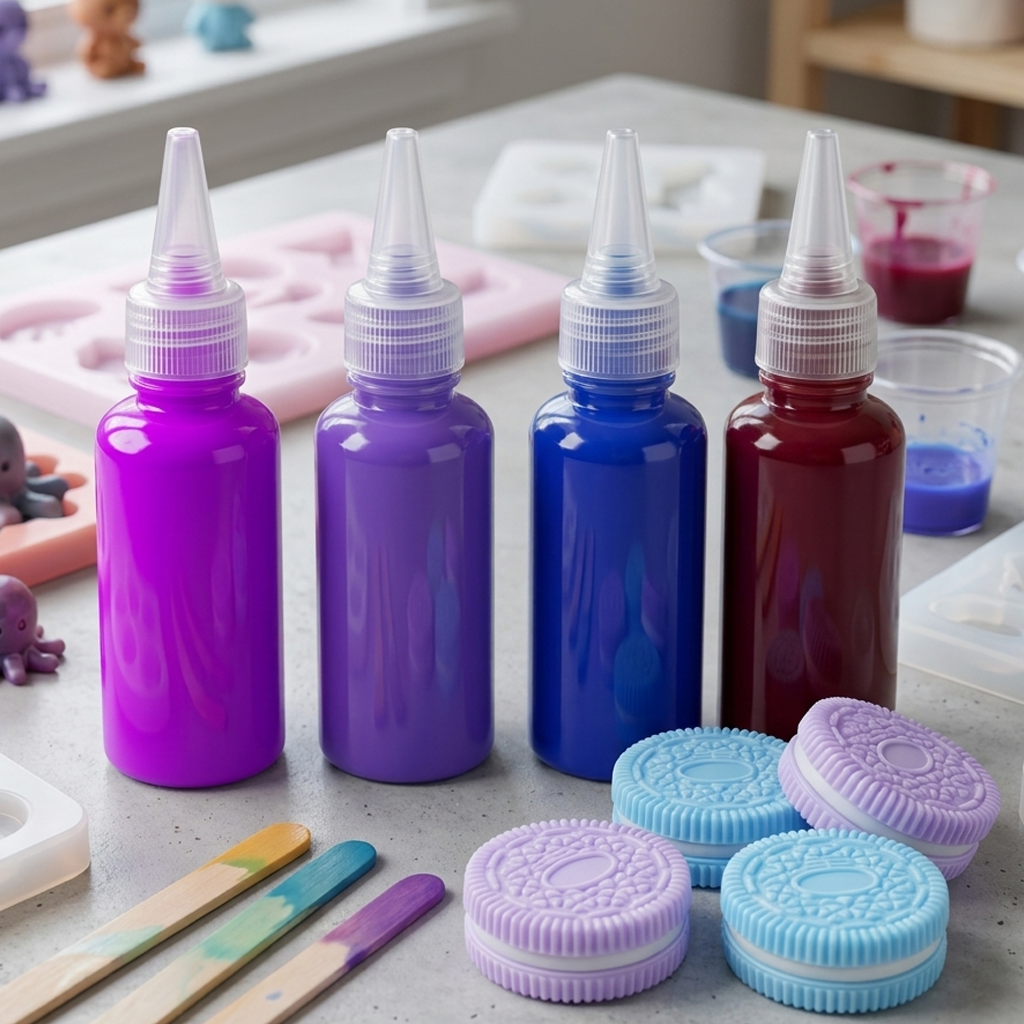
Materials Needed
- Orange colored UV resin
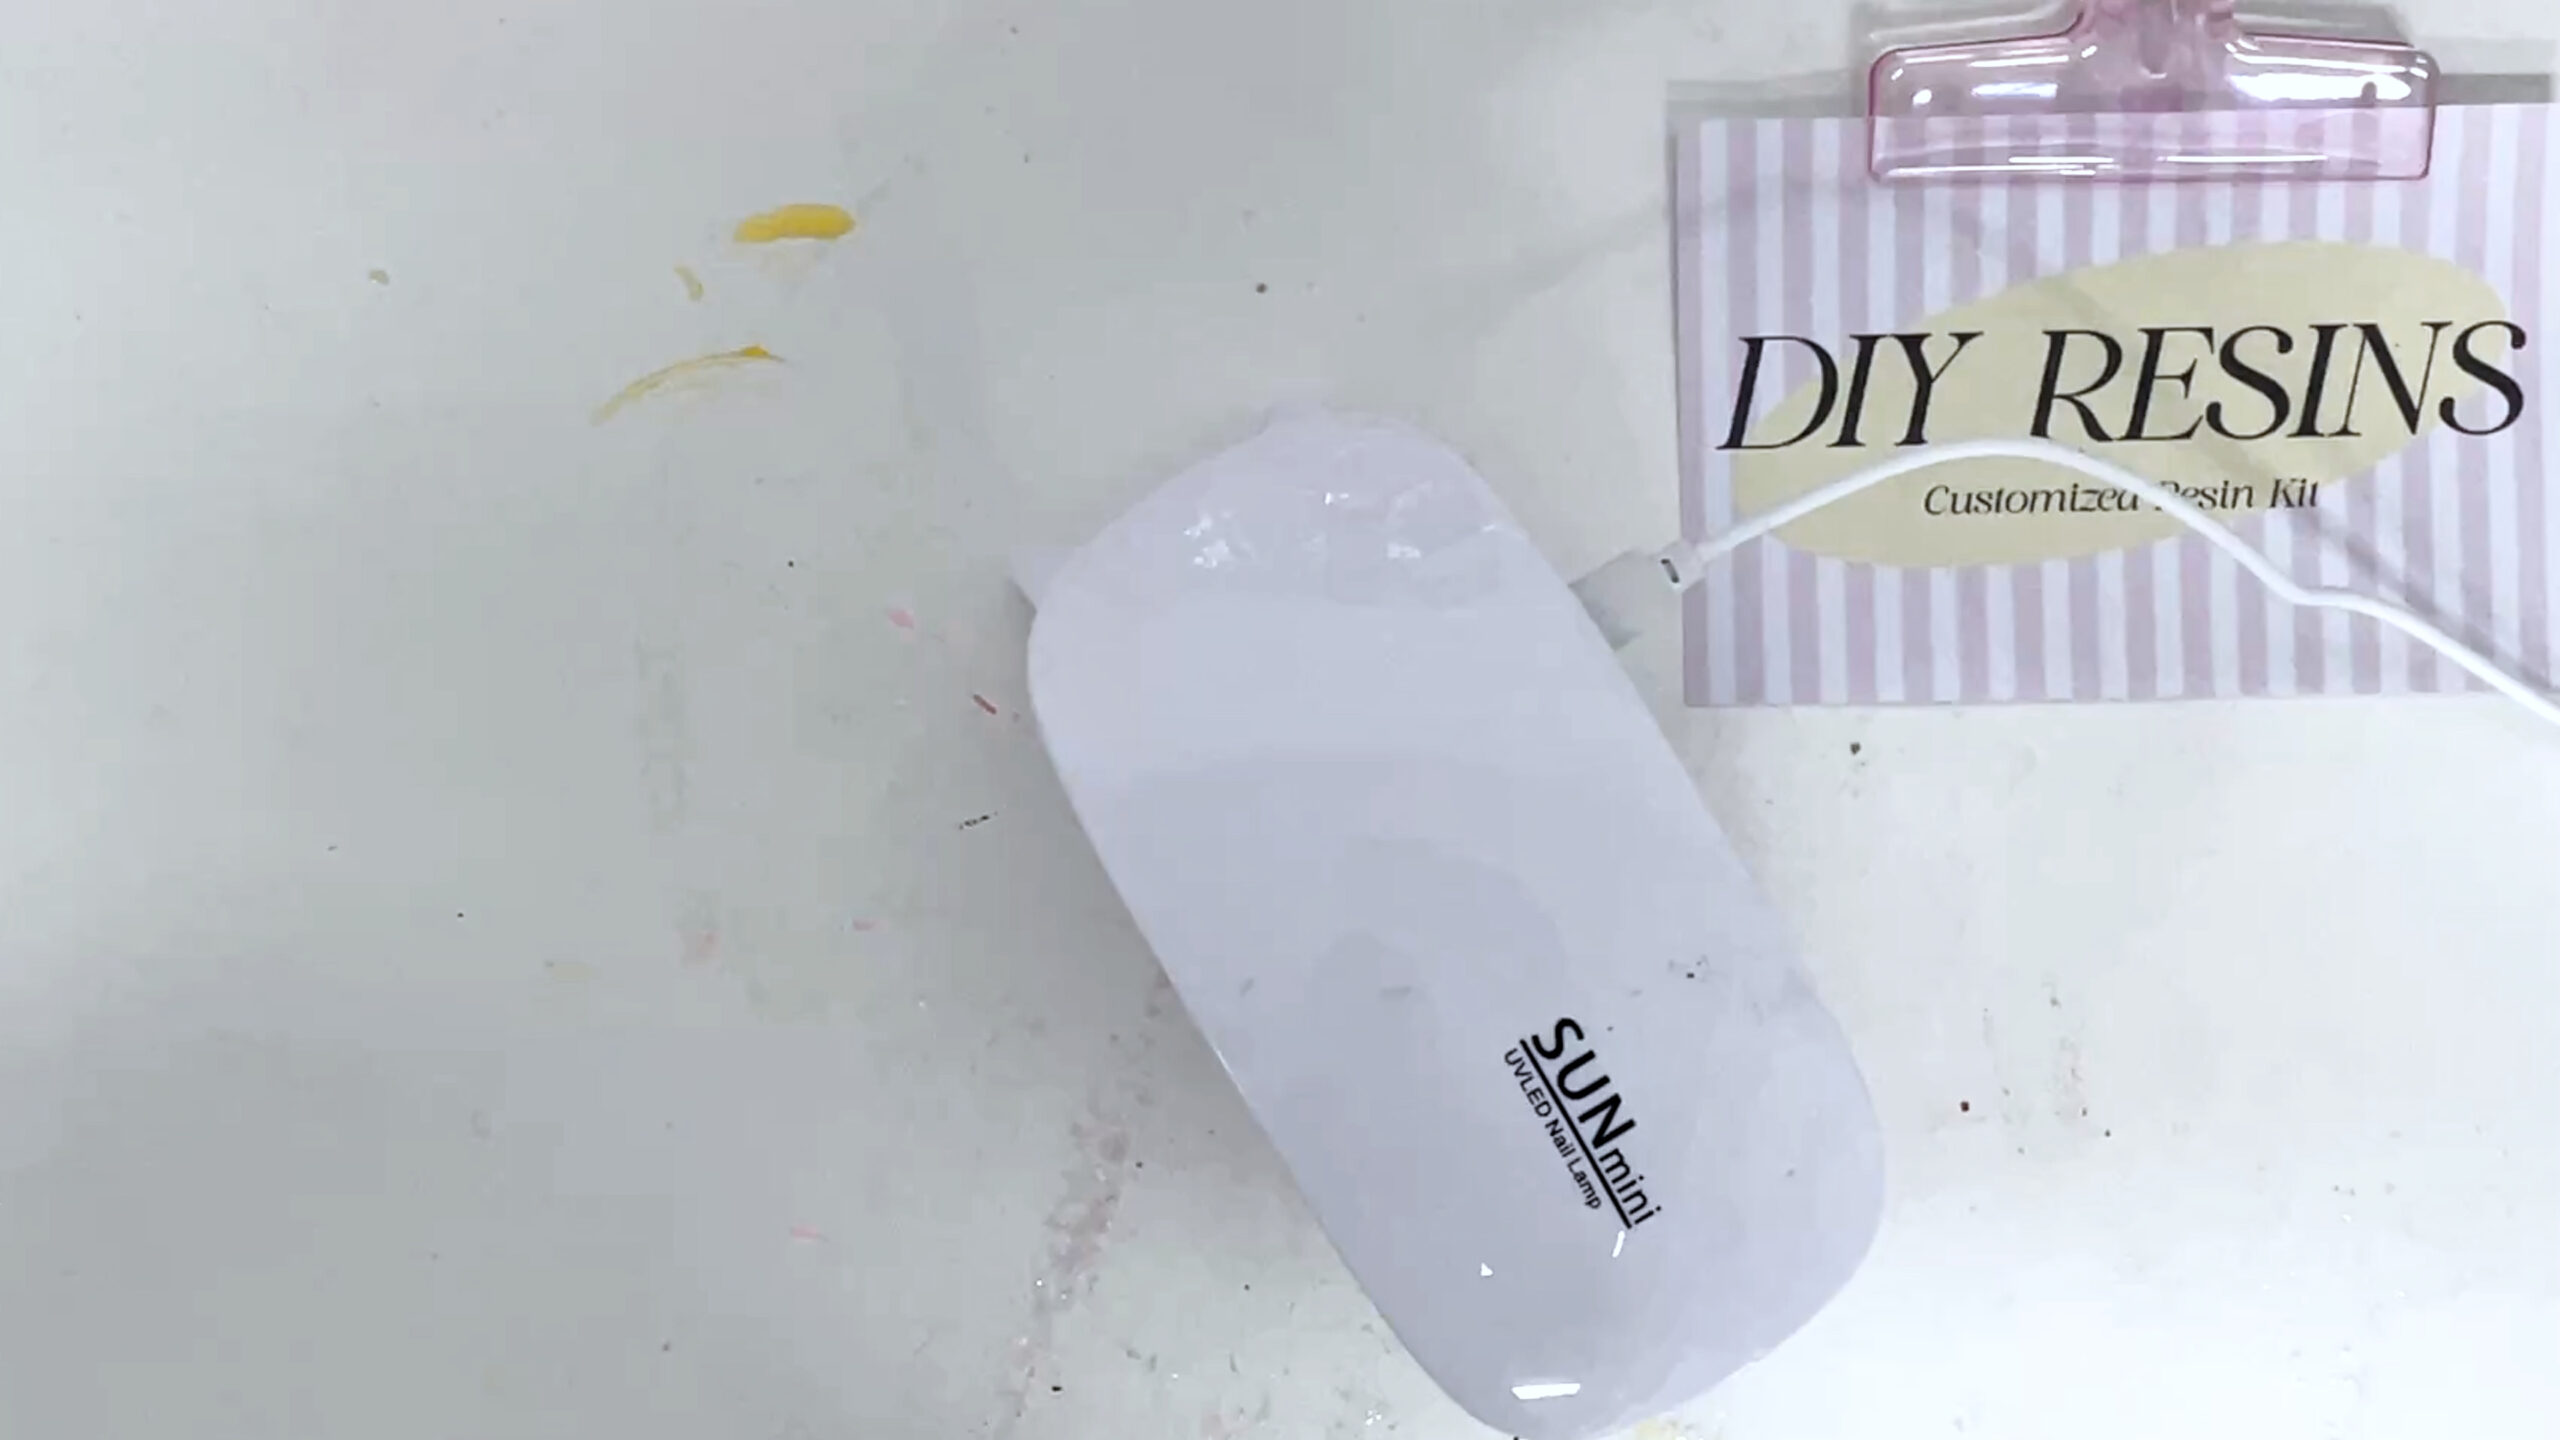
- UV lamp (auto-shutoff recommended)
- Heart-shaped silicone mold (2 cavities)
- Additionally, decorative crushed beads/sequins
- Clear top coat/sealant resin
- Toothpick or craft stick
- Jump ring (for pendant attachment)
- Necklace chain
- Lastly, gloves & protective mat
—
Ⅱ. Safety Precautions
- Always work in a well-ventilated area.
- Similarly important, wear gloves to avoid skin contact with uncured resin.
- Furthermore, keep UV lamp away from eyes during curing.
—
Ⅲ. Step-by-Step Instructions
Step 1: Prepare Mold
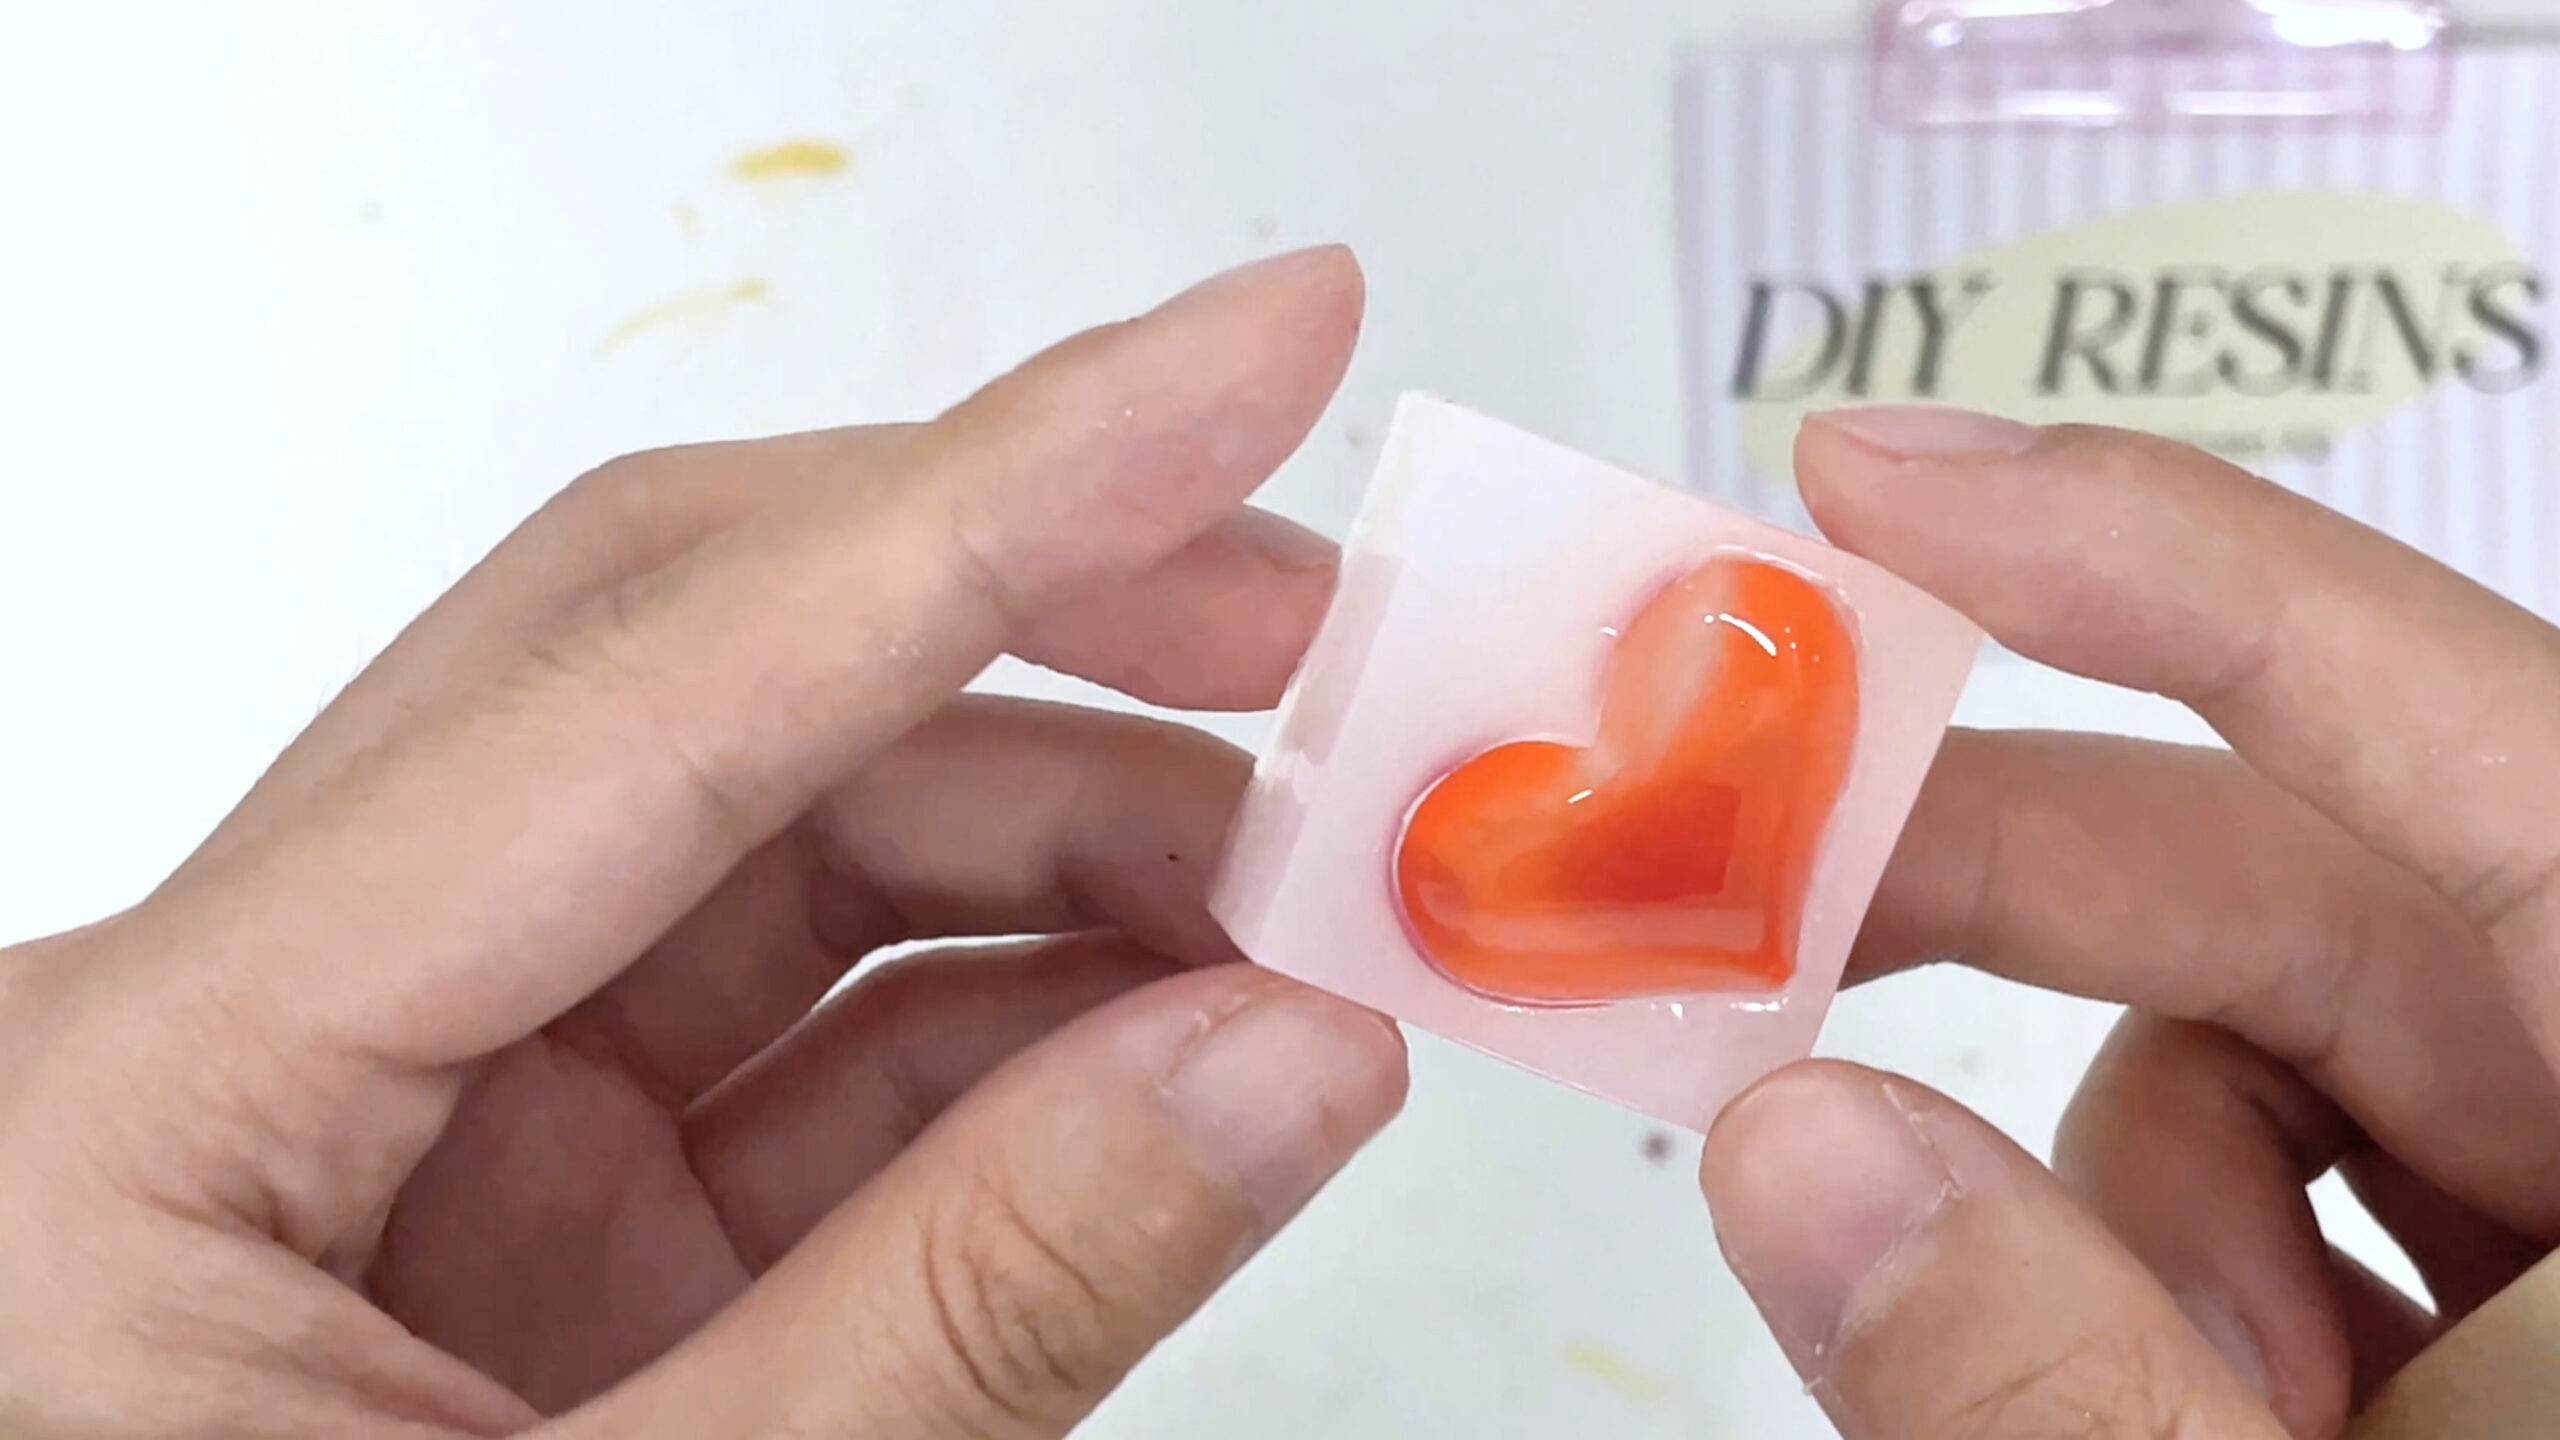
- First, fill one cavity of the heart mold with orange UV resin, covering the bottom. Next, rotate and tilt the mold to spread resin evenly. For precision, use a toothpick to reach intricate areas.
—
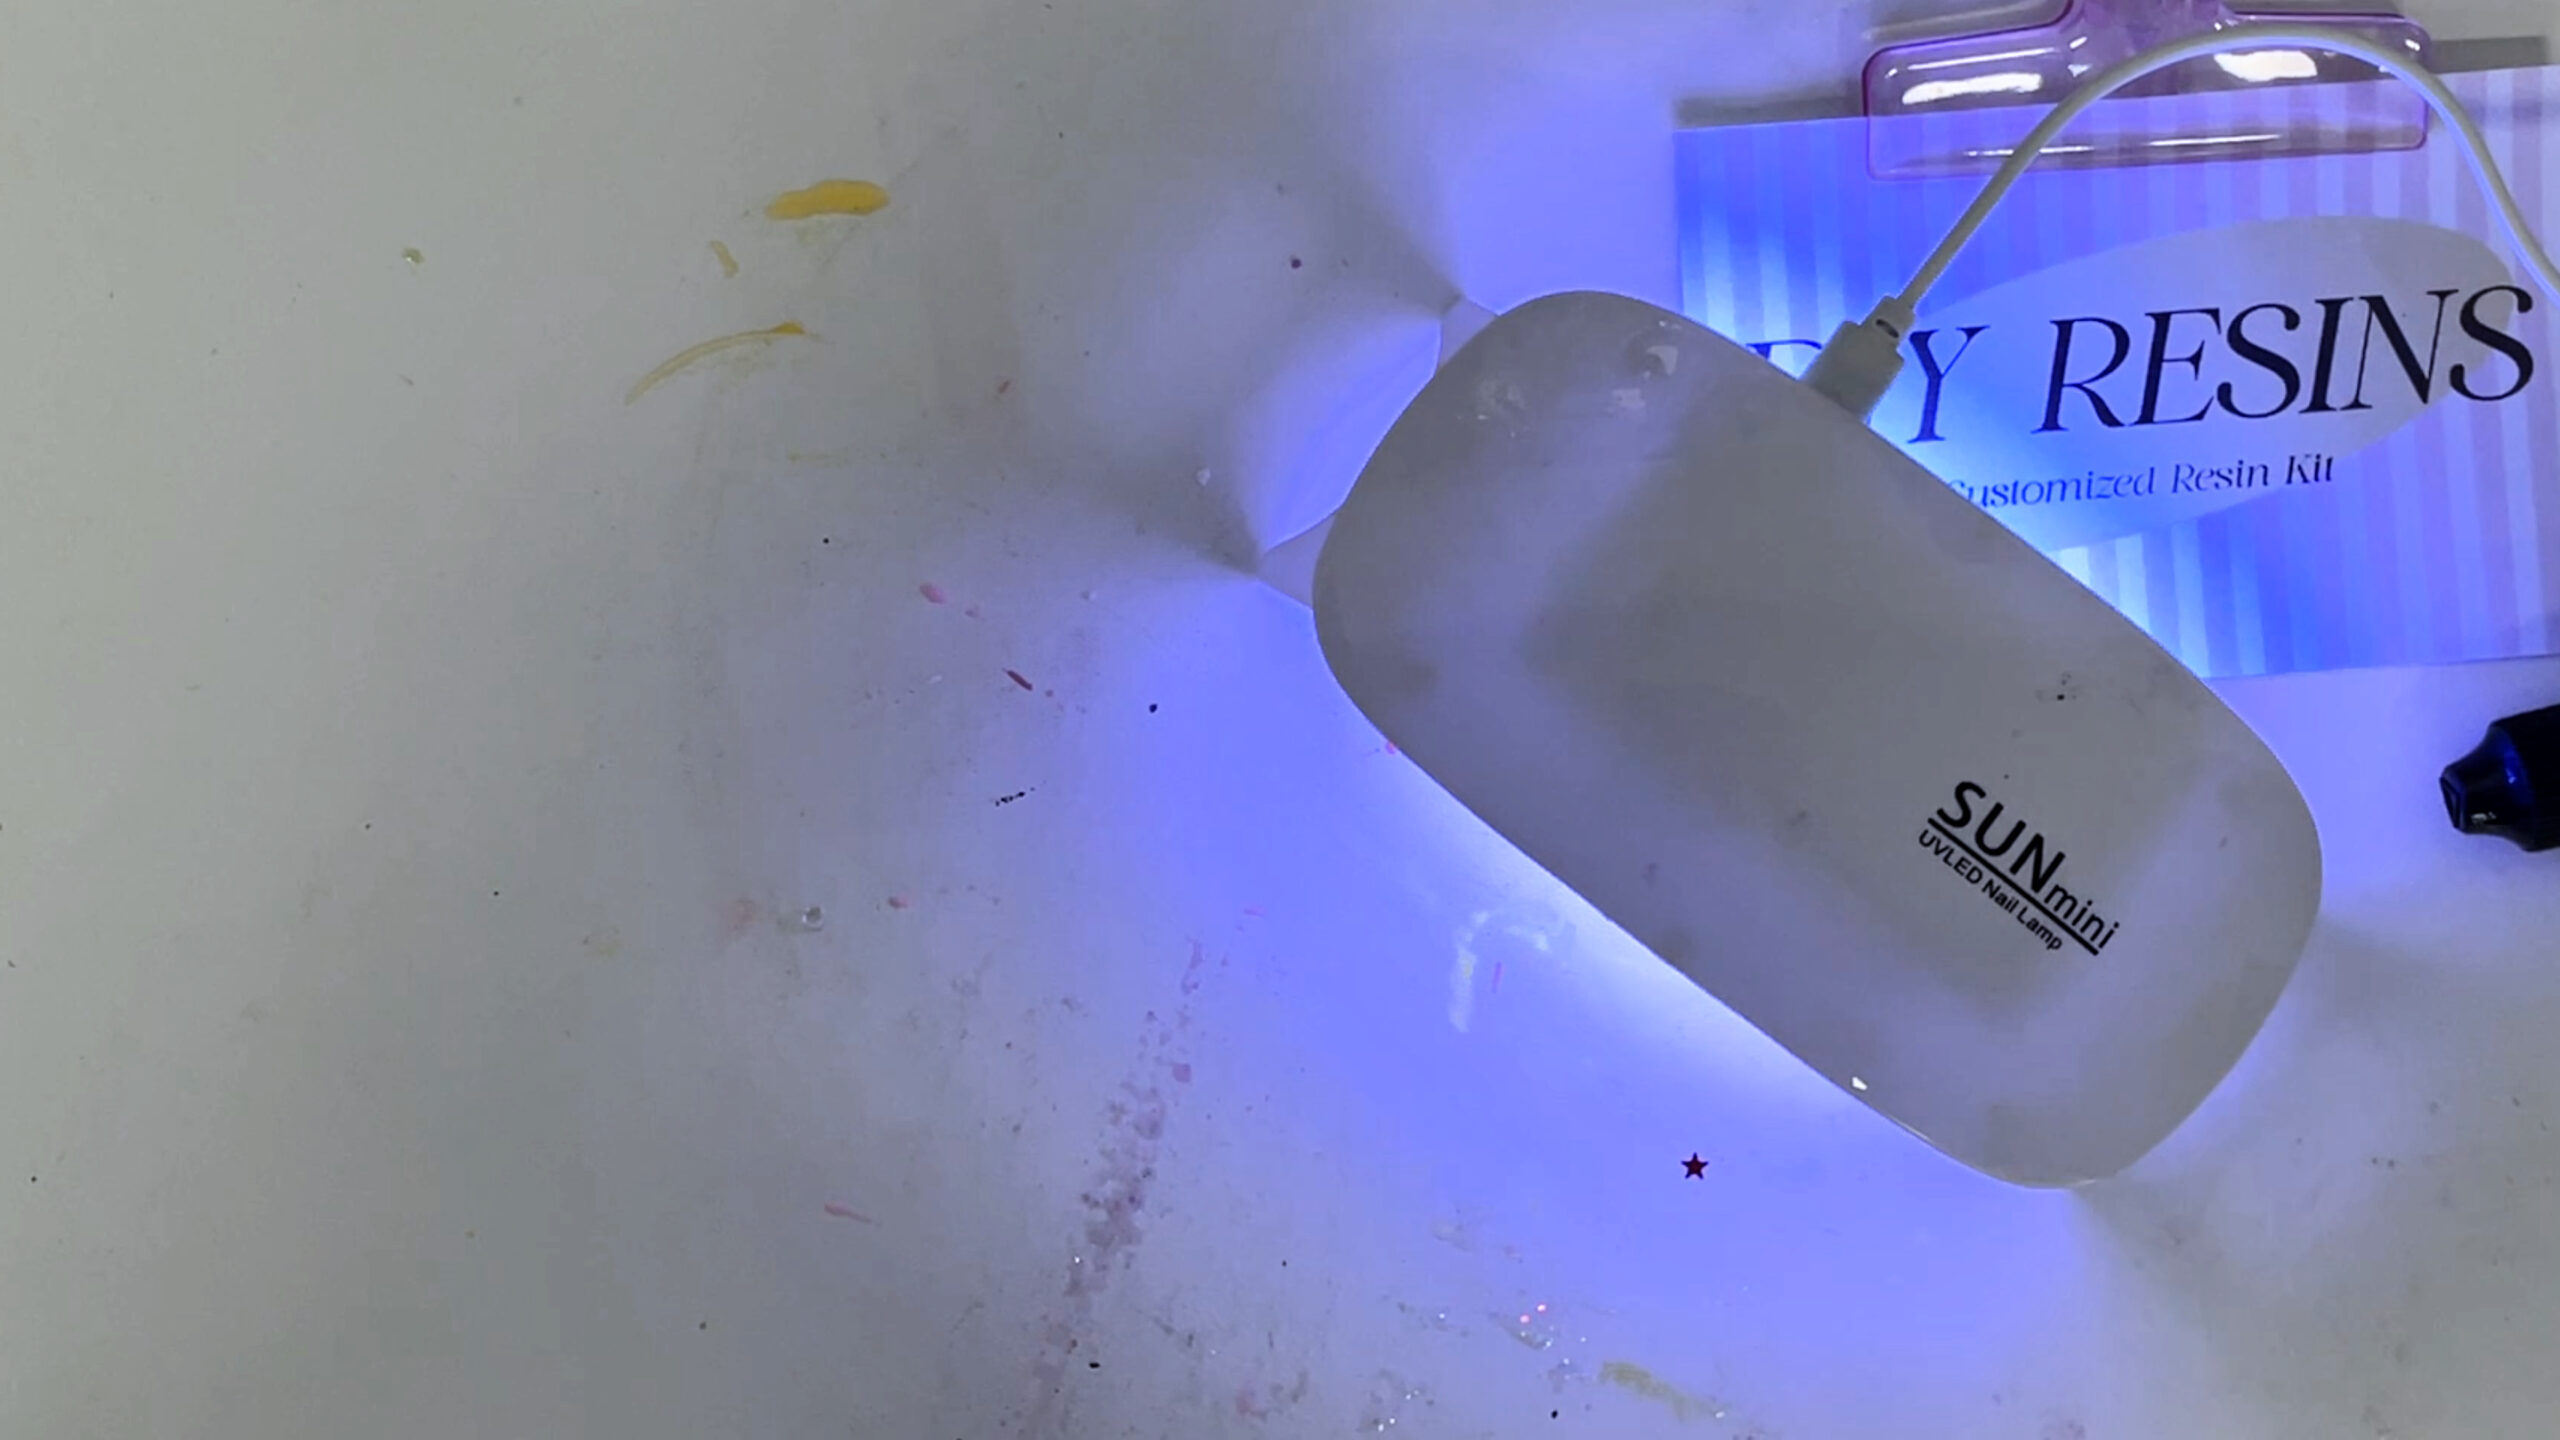
Step 2: Initial Curing
- Once ready, ensure the resin is level and bubble-free. Then, cure under a UV lamp until it automatically turns off (typically 2-3 minutes).
—
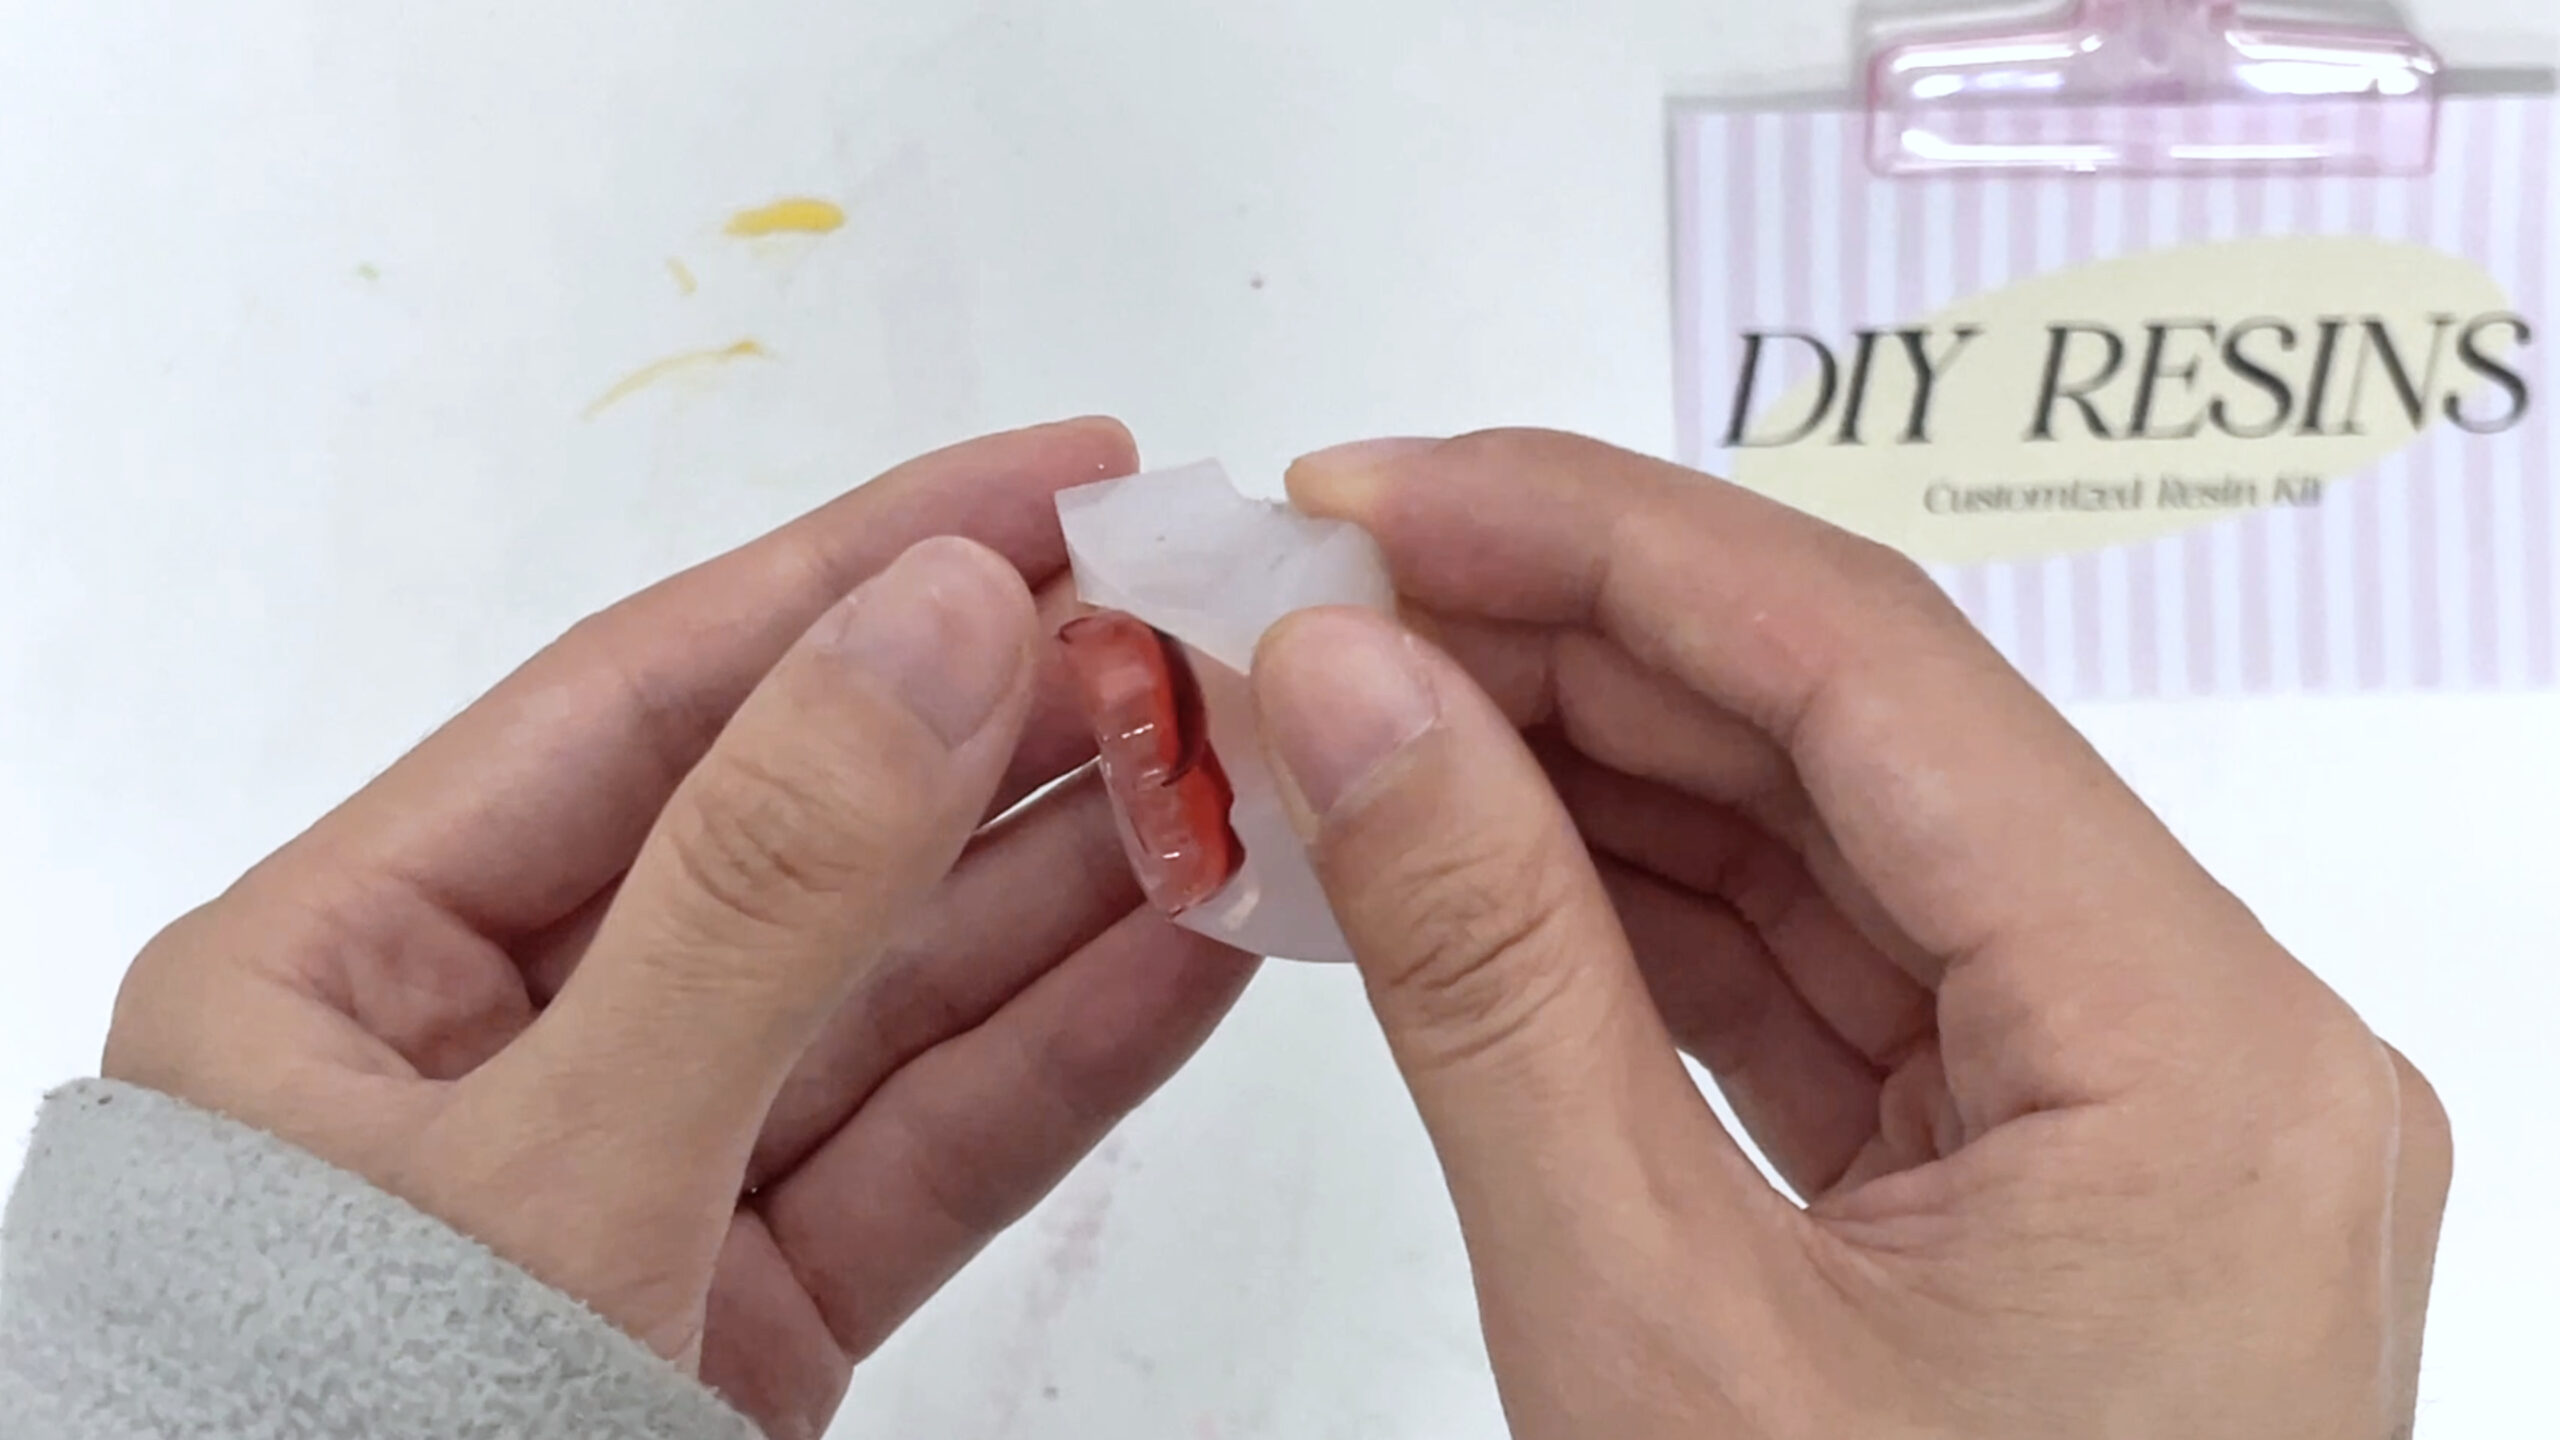
Step 3: Repeat for Second Half
- After demolding the first heart piece, repeat the process to create an identical second heart.
—
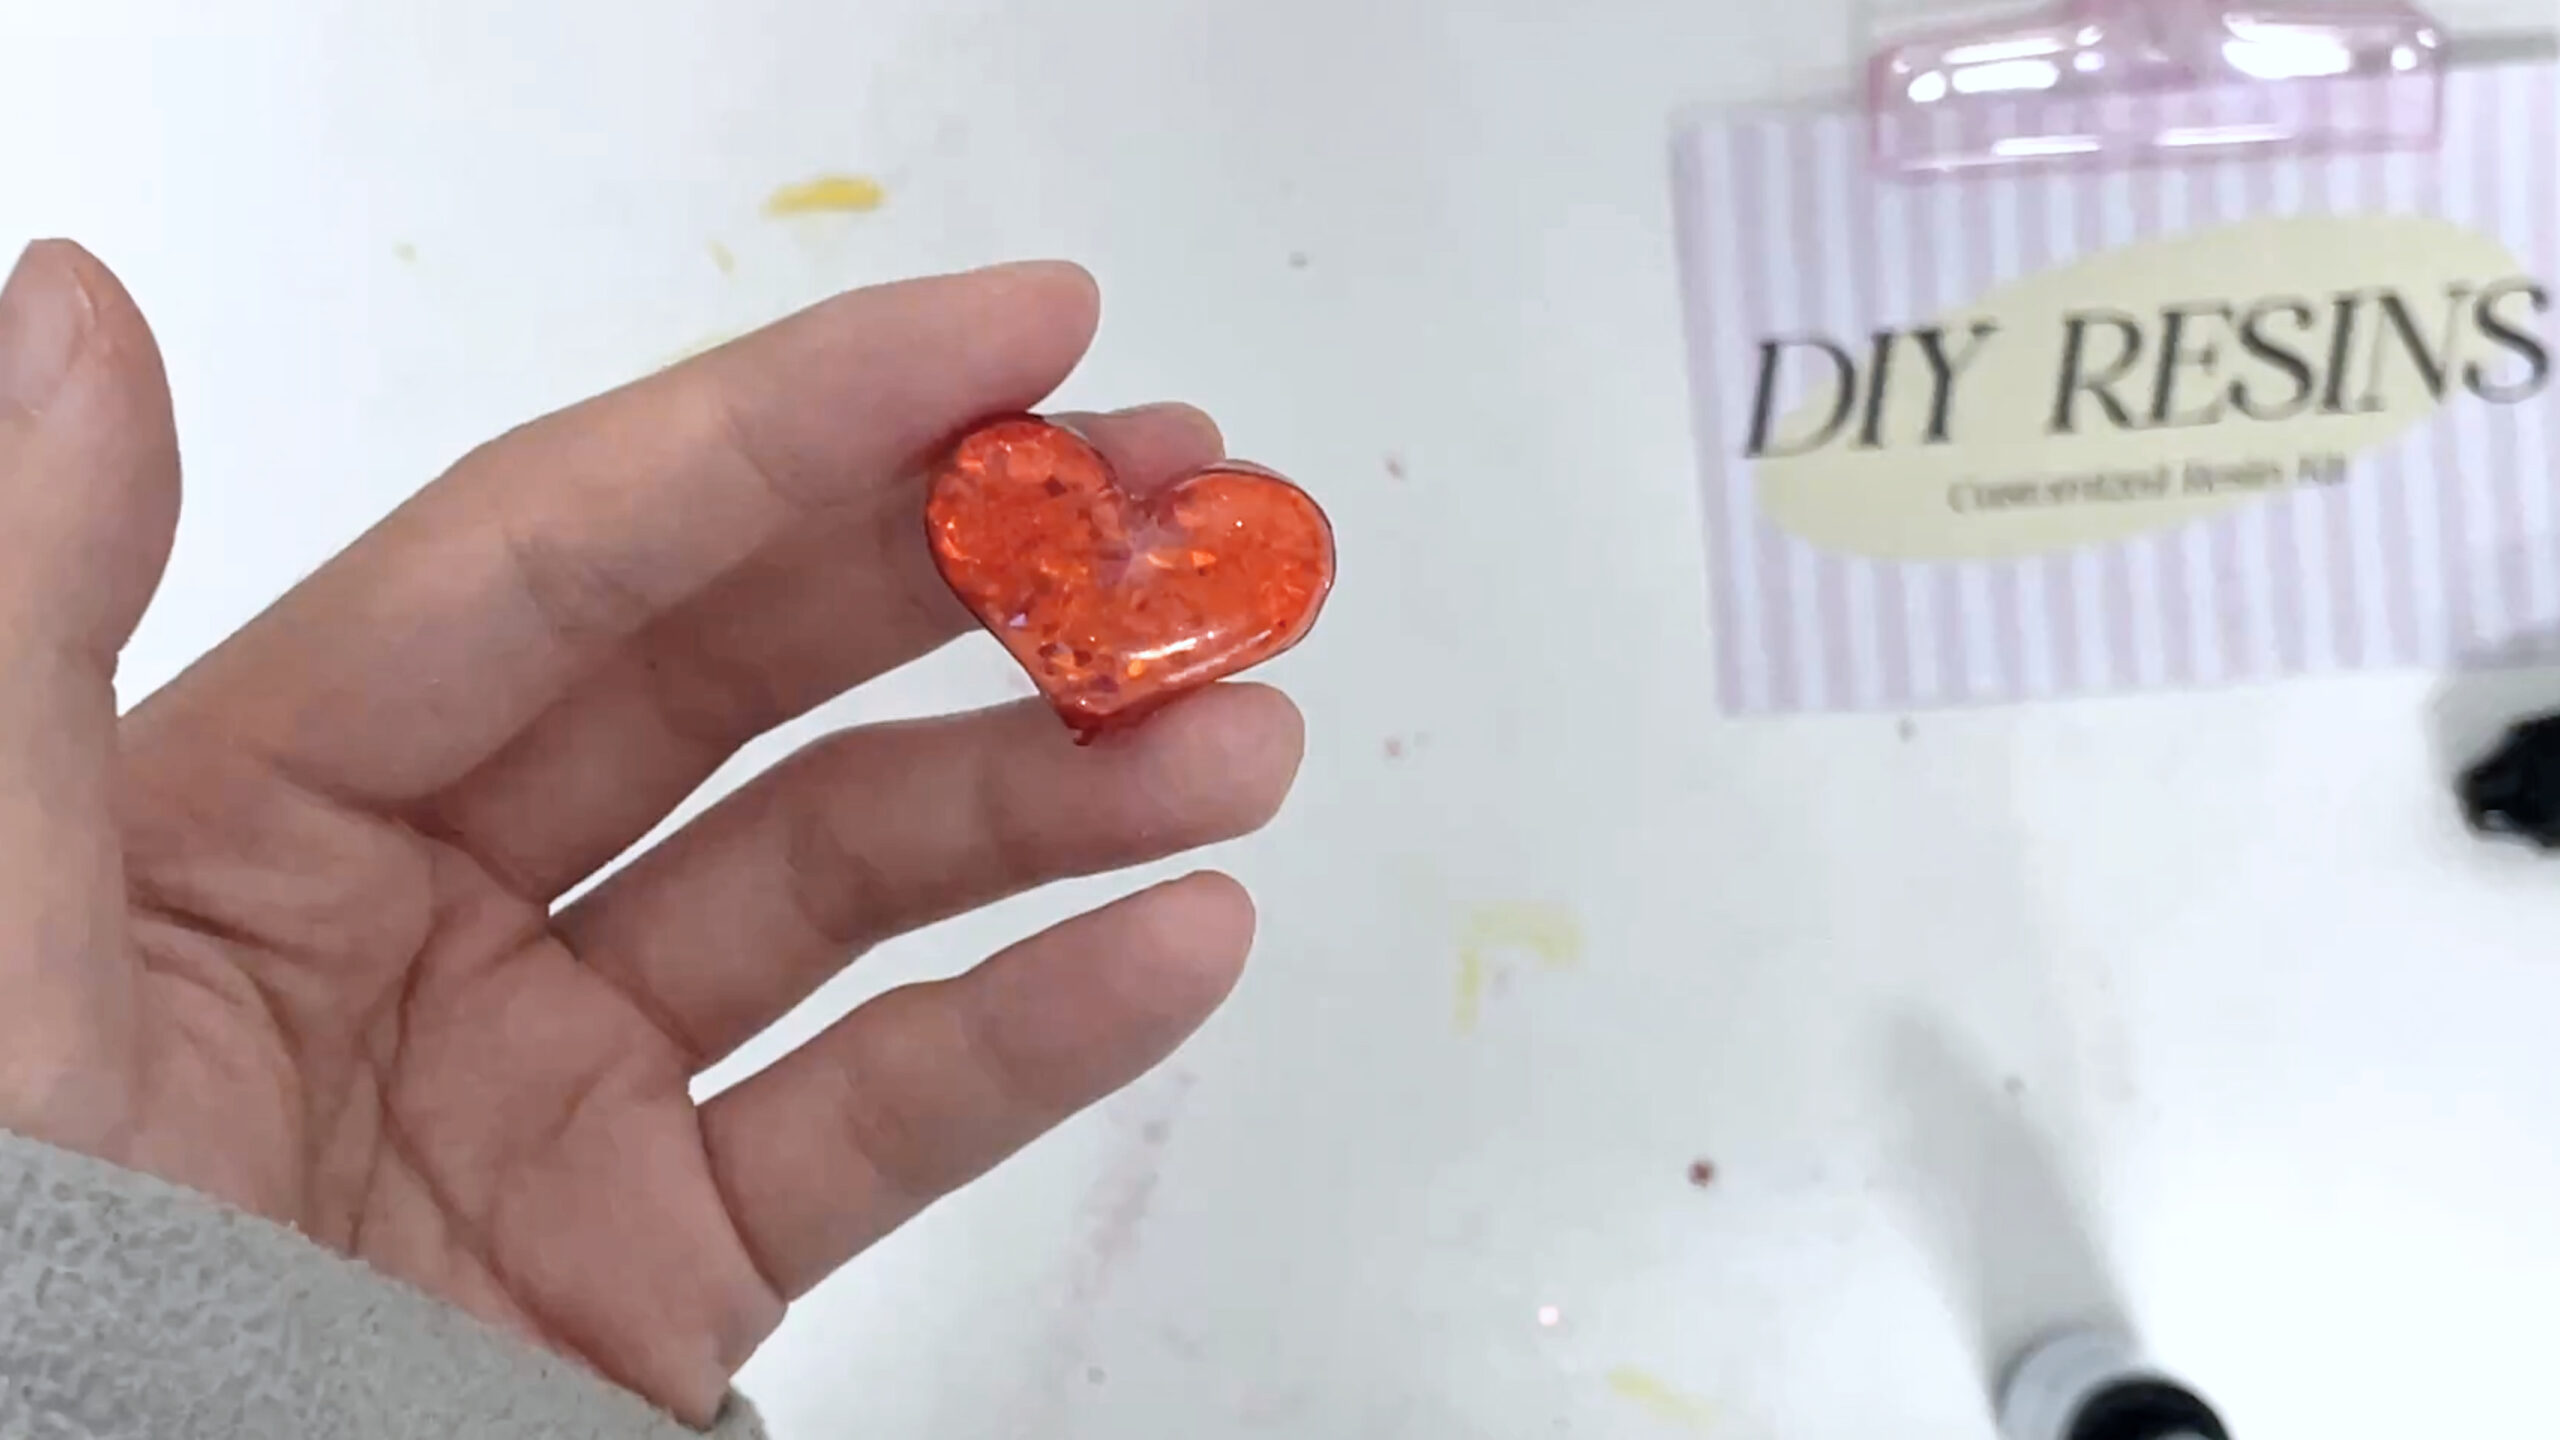
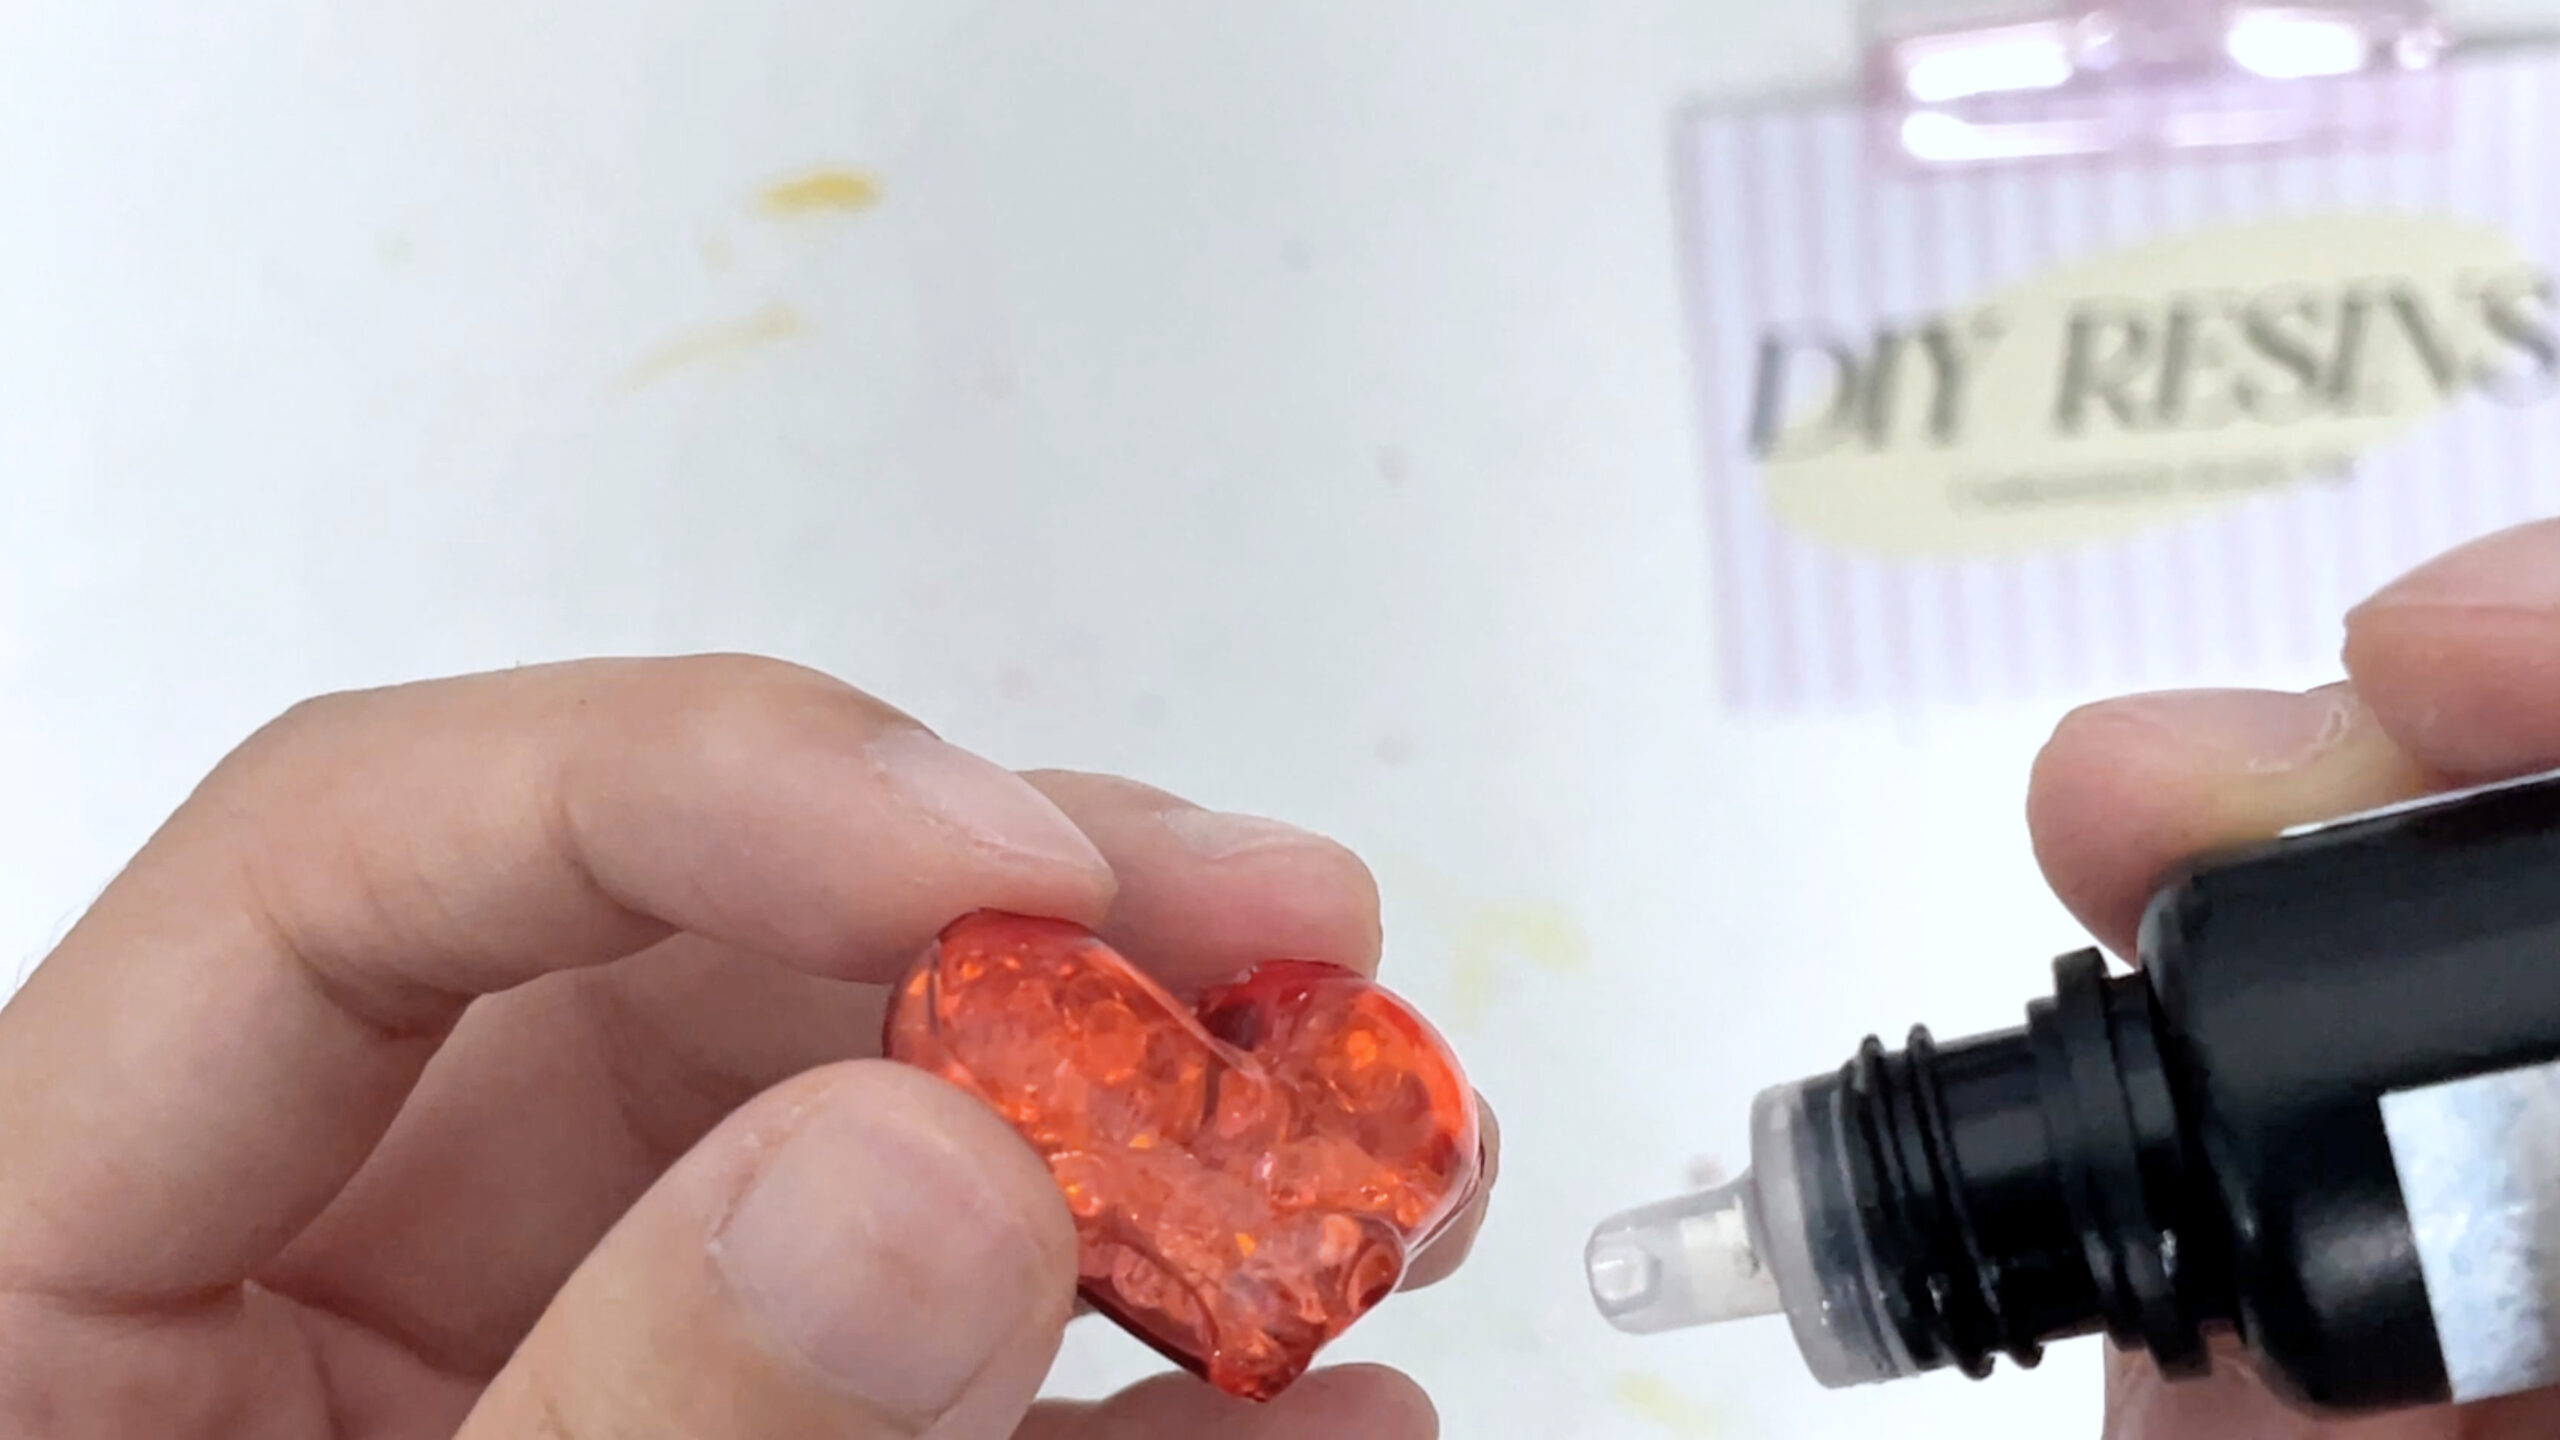
Step 4: Add Decoration
- Now, place one heart half back into the mold. Before curing, sprinkle crushed beads into the cavity.
—
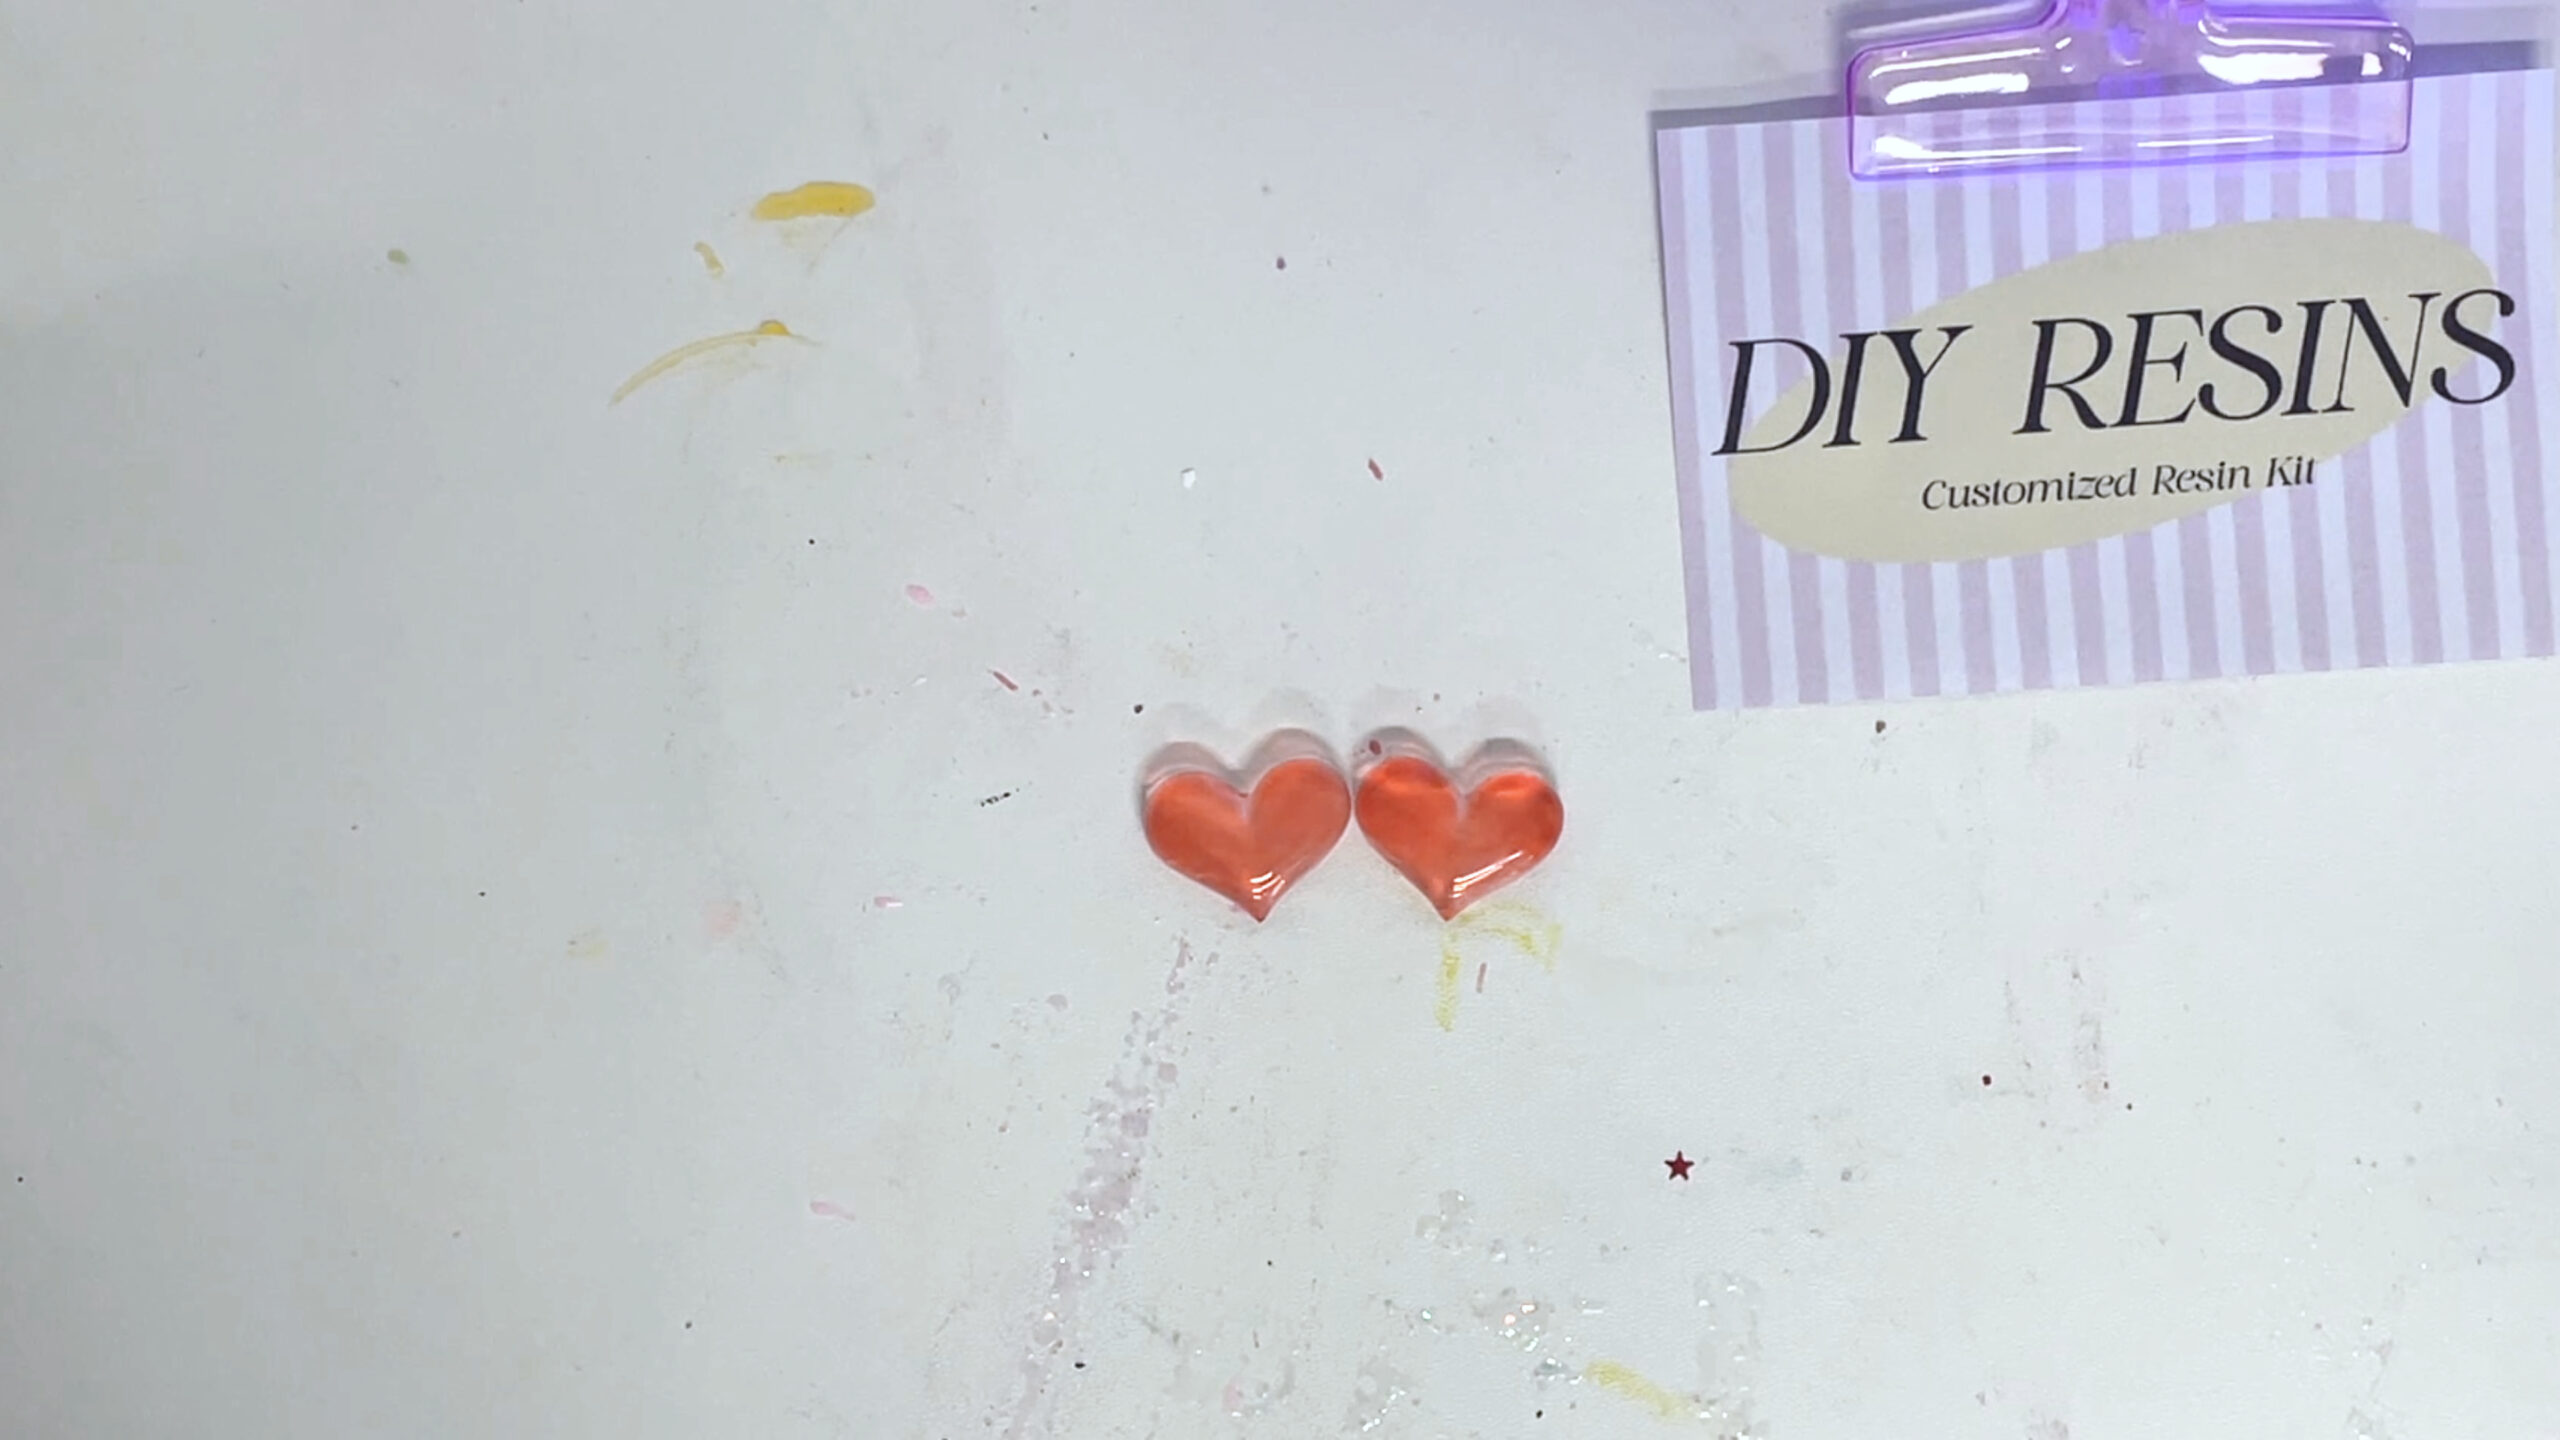
Step 5: Combine Both Halves
- Carefully align both heart halves and press gently to secure. To reinforce, use a clip or clamp for temporary fixation.
—
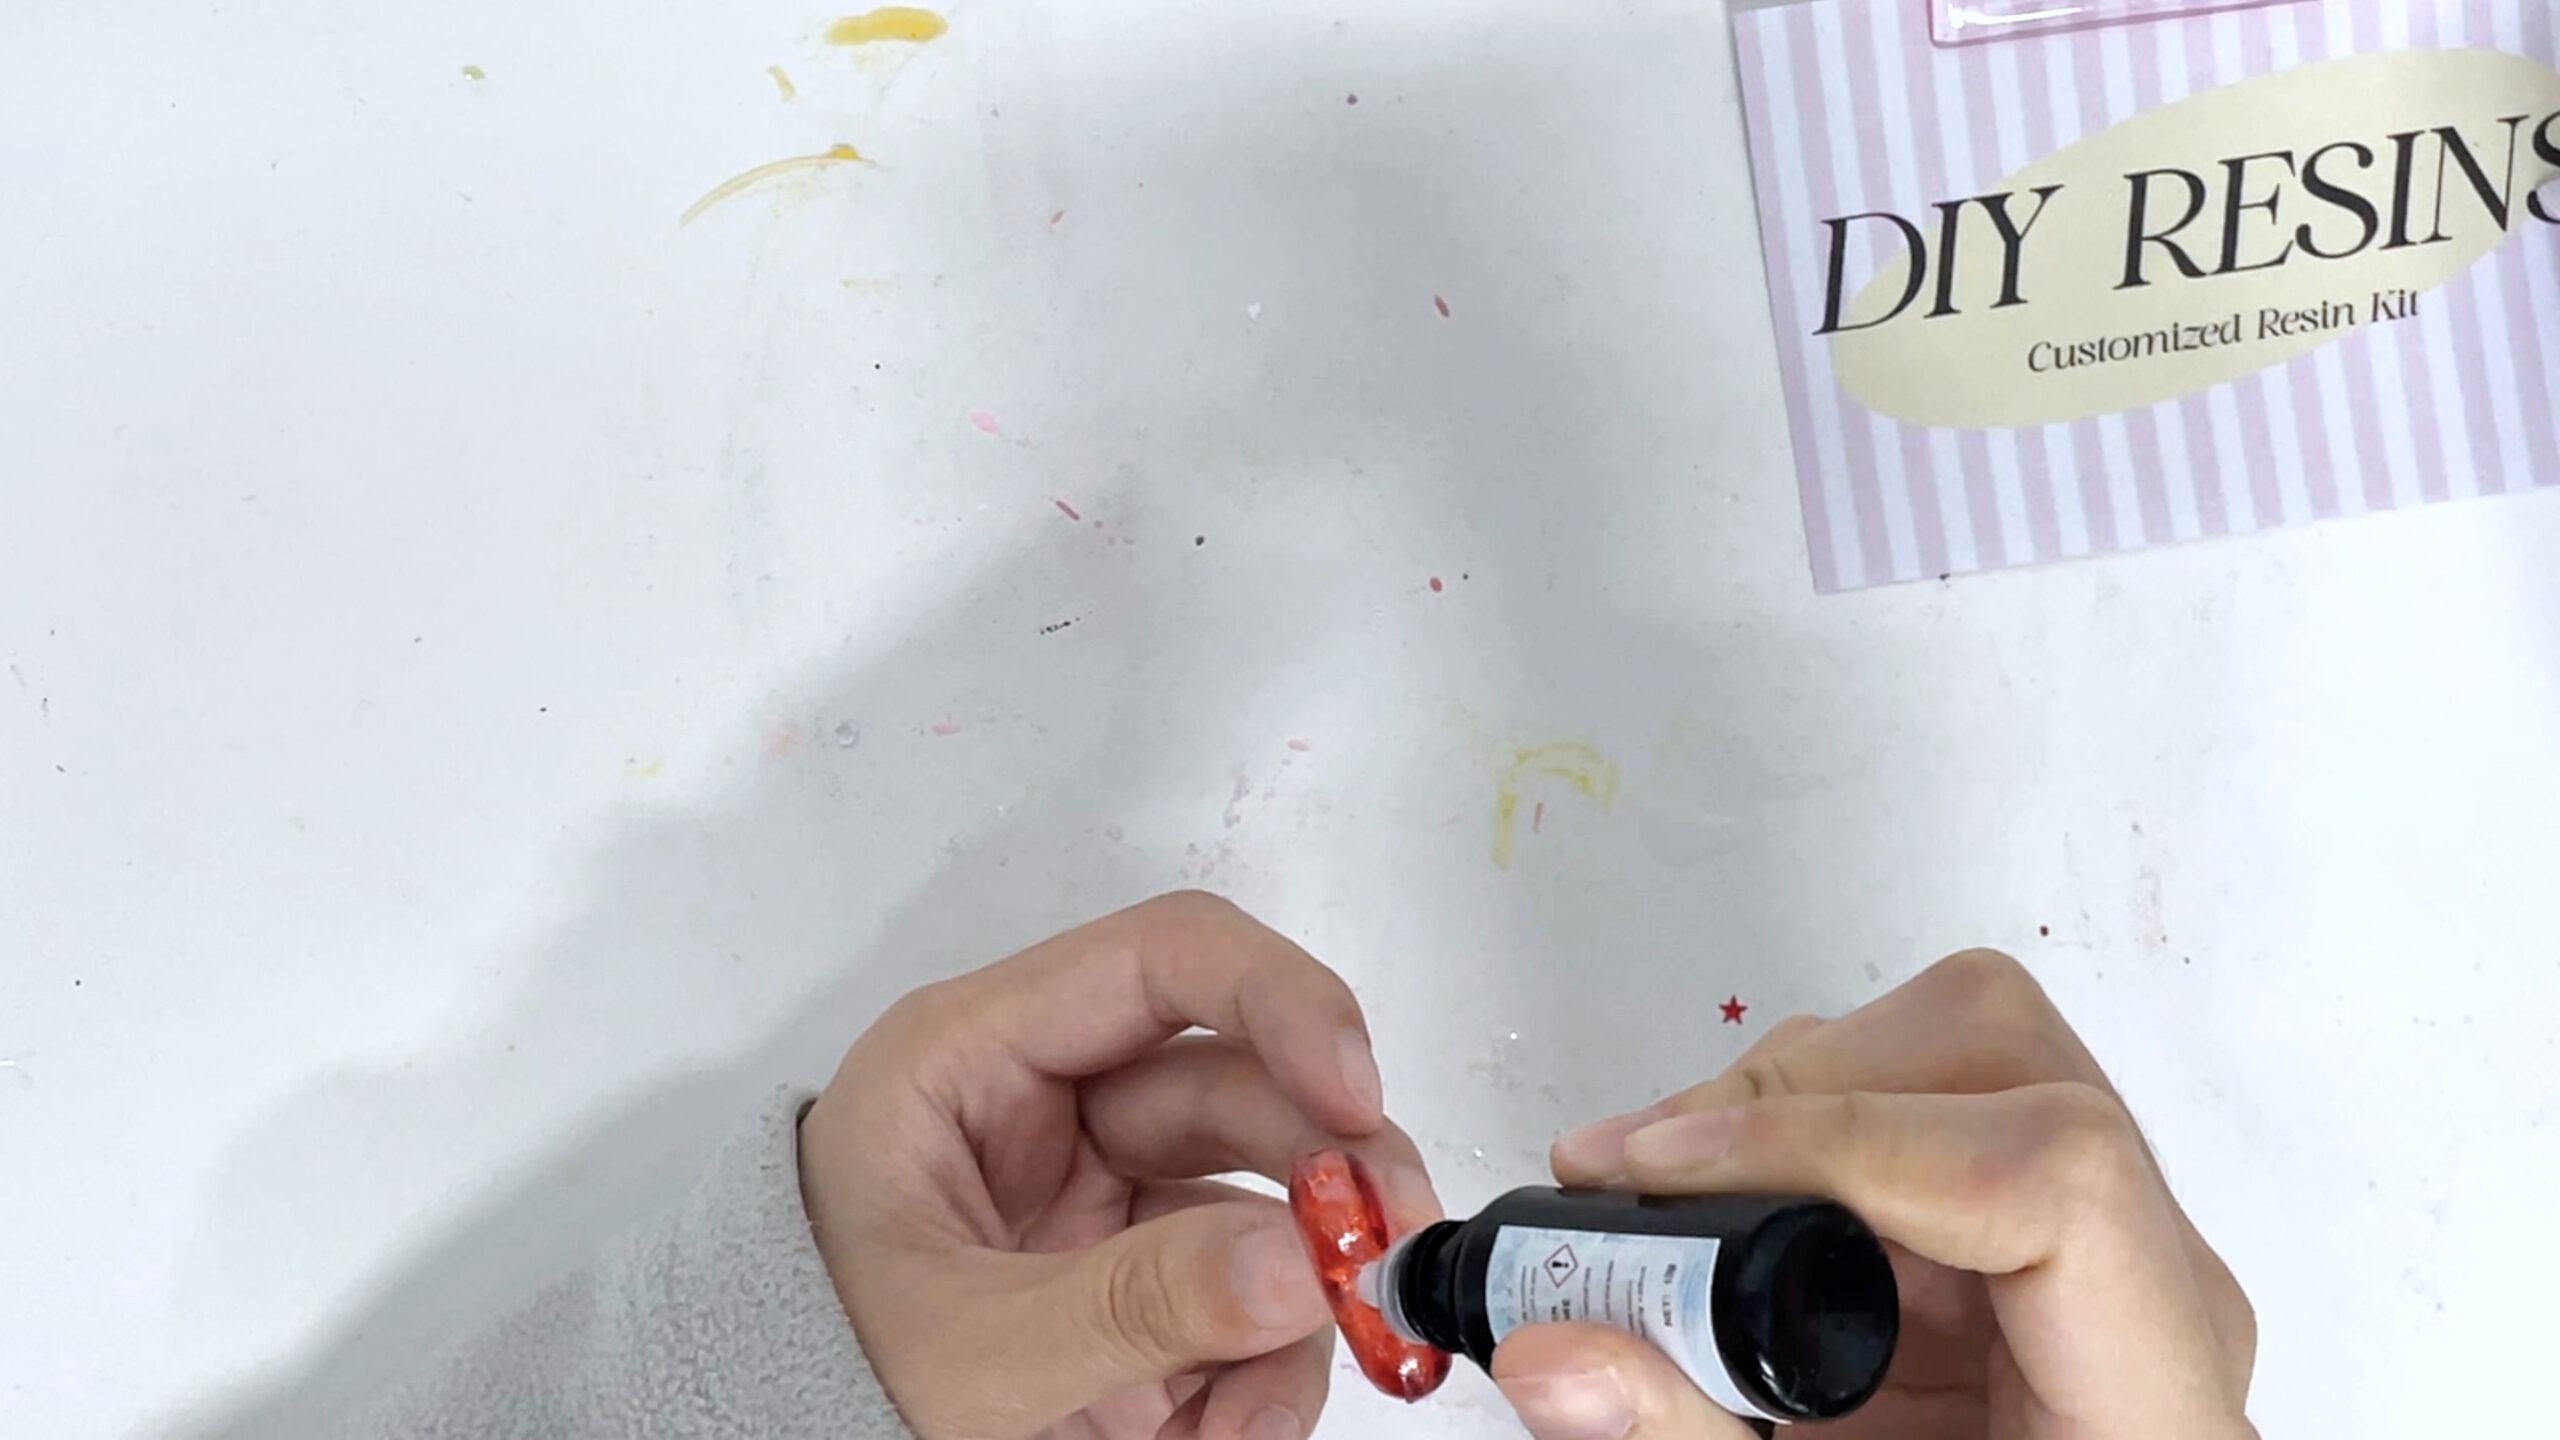
Step 6: Seal with Top Coat
- To ensure durability, apply clear resin along the edges to bond the halves. Important note: Cure in thin layers to prevent overflow.
—
Step 7: Attach Jump Ring
- Finally, add a drop of resin on the pendant’s top. While positioning the jump ring vertically, cure under UV light. Pro tip: Adjust before full hardening.
—
Step 8: Final Assembly
- Once fully cured, attach the pendant to a chain. For quality assurance, inspect for durability and shine.
—
Ⅳ. Pro Tips
- To avoid bubbles: Stir resin slowly and pour from a height.
- For quick adjustments: Use a UV lamp with a 30s timer.
- When customizing: Offer beads in multiple colors for bulk buyers.
—
Ⅴ. Product Photography Tips
- To highlight details, capture close-ups of beads and glossy finishes. Additionally, show the pendant in both standalone and styled shots.
—