How to Make Handmade Crafts Look Professional with UV Resin
In the world of handmade crafts, the details often define the quality of a piece. Smooth edges, clear textures, and flawless surfaces are all critical factors in creating a professional look. UV resin, with its high transparency and fast curing properties, has become an essential tool in enhancing the quality of handcrafted items. Not only does it elevate the appearance, but it also significantly increases durability. This article will explore the techniques for using UV resin in crafting, helping you achieve a more professional result.
1. Why Is UV Resin the Key to a Professional Finish?
Efficient Curing and Precise Application
One of the main advantages of UV resin is its fast curing time. Under UV light, it can harden in just 1-5 minutes, much faster than traditional epoxy resin, which requires a long waiting period. This significantly reduces production time and eliminates the inconvenience of waiting. As a single-component material, UV resin does not require mixing with a hardener, which reduces the chance of errors during preparation.
Excellent Visual Effects
UV resin is highly transparent, which allows for perfect clarity when embedding decorative elements such as dried flowers, gold leaf, or mineral fragments. This ensures the piece’s intricate details are preserved and highlighted. Additionally, UV resin has moderate flow, which allows it to naturally form smooth, rounded surfaces once poured. This is especially useful when creating jewelry or pendants.
2. How to Use UV Resin Effectively?
Choosing the Right Materials and Tools
To achieve the best results, selecting the right materials and tools is crucial. Using high-quality, transparent UV resin ensures that your pieces have a flawless, glossy finish. For curing, a UV lamp with a power rating of 36W or more is recommended. A lamp with a timer function is ideal to avoid under-curing the piece. Silicone molds are commonly used, and mirror-finished silicone molds are preferred as they minimize the need for post-finishing.
Key Techniques and Details
- Layered Pouring Method
For thicker pieces, resin should be poured in layers. Each layer should not exceed 4mm in thickness to ensure proper curing. After each layer, the piece should be cured before adding the next layer. This method ensures deep layers cure completely.
- Bubble Elimination
Bubbles are a common issue when working with resin. Preheating the resin to 25°C can help reduce its viscosity and minimize bubbles. Before curing, bubbles can be removed using a needle tool or a heat gun (held about 20 cm from the surface) to help them rise to the top.
- Embedding Techniques
For plant materials like preserved flowers, it is crucial to ensure they are fully dried to prevent yellowing. Mineral materials like opal chips can be pre-coated with shellac to enhance adhesion with the resin and prevent detachment during embedding.
- Post-Processing
If the edges of the piece have burrs after demolding, use 1500 grit or higher sandpaper to smooth them out. Then, apply a polishing compound to restore a glossy, mirror-like finish.
3. Creative Applications of UV Resin
Case 1: Opal Ring
The ring’s groove is coated with black shellac, and 2-3mm opal fragments are added. After pouring UV resin and curing it under the UV lamp, the opal chips appear more colorful, creating a unique visual effect.
Case 2: Resin Insect Brooch
This brooch encapsulates a metal frame with a preserved insect specimen sealed in UV resin. A brooch pin is soldered to the back, combining both aesthetic and functional aspects.
Case 3: Recycled Material Projects
Crushed ceramic pieces mixed with UV resin can create modern coffee tables. Additionally, cracks in wood can be filled with blue UV resin to mimic the look of river-like patterns (note: UV resin is only suitable for repair work on smaller items; epoxy resin is recommended for larger pieces).
4. How to Achieve Greater Professionalism in Your Work?
Environmental Control
Temperature plays a significant role in resin flow. The optimal temperature range for working with UV resin is 18-25°C. Low temperatures increase viscosity, while high temperatures accelerate curing, making it harder to control the process. The humidity should be kept below 60% to avoid water vapor, which can cause surface fogging.
Safety Guidelines
UV resin curing requires UV light, which can harm your eyes. Always wear UV protective goggles during the process. Additionally, using a silicone mat under the workspace helps to manage spills and ensures easy cleanup of any excess resin.
Common Defects and Solutions
- Sticky Surface: This is often caused by insufficient curing. Extend the exposure time or flip the piece to cure the back.
- Sunken Edges: This is due to resin shrinkage. Use layered pouring and increase the resin amount slightly with each layer.
- Internal Cracks: Caused by overheating during curing. Switch to a low-power UV lamp and cure in short intervals.
5. UV Resin vs. Epoxy Resin: Which Should You Choose?
UV Resin vs. Epoxy Resin
UV resin is best suited for small projects that require fast turnaround, such as jewelry and keychains. It is also beginner-friendly and easy to use. Epoxy resin, on the other hand, is ideal for larger projects, such as river tables, which require more mechanical strength and durability.
Durability of UV Resin Pieces
UV resin pieces should be kept out of direct sunlight to prevent yellowing over time. Regular polishing with beeswax can extend the piece’s lifespan, often maintaining excellent condition for over five years.
Conclusion
Mastering UV resin techniques not only enhances the visual appeal of your handmade crafts but also improves their durability and professionalism. By controlling the resin flow, curing time, and material selection, you can create high-quality, professional-grade pieces that showcase your craftsmanship.
 DIY Beeswax Candles: Complete Beginner Guide
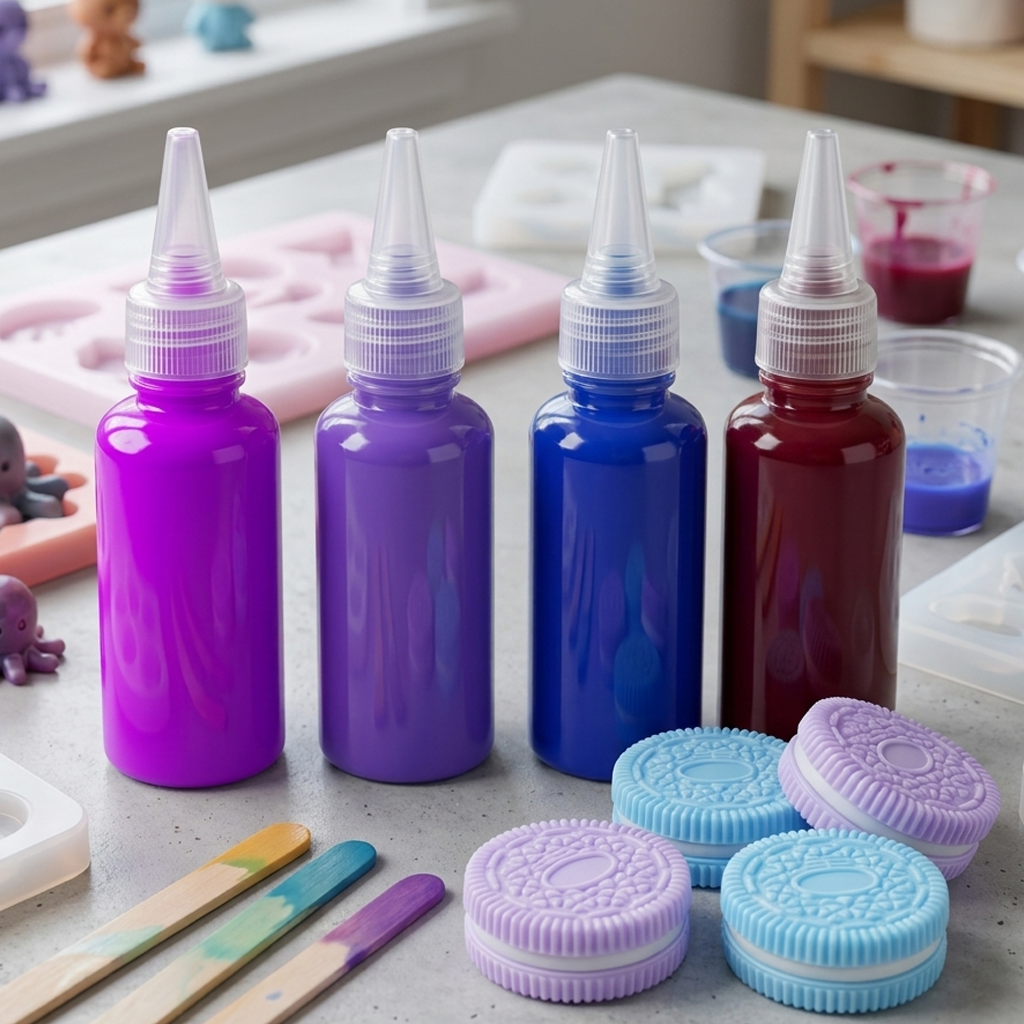 How Much Silicone Pigment Should Be Added to Silicone?
 Discover Amazing Candle-Making Colors: Best Hues & Waxes