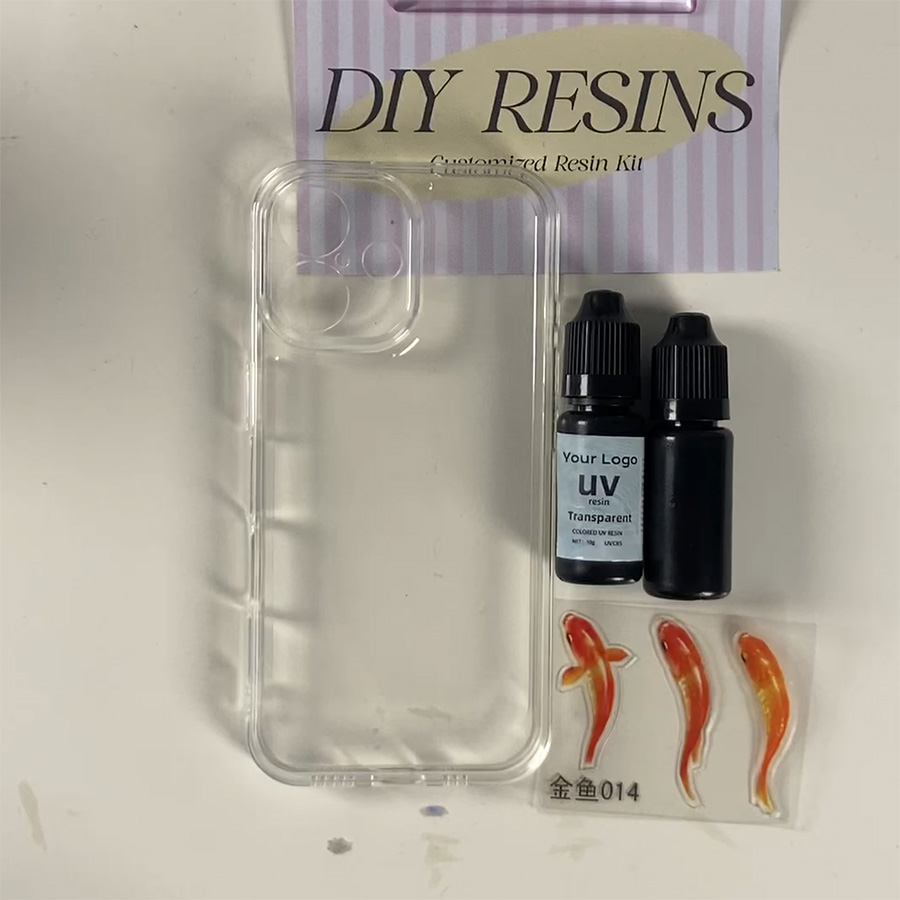
Water Ripple Resin Phone Cases Tutorial
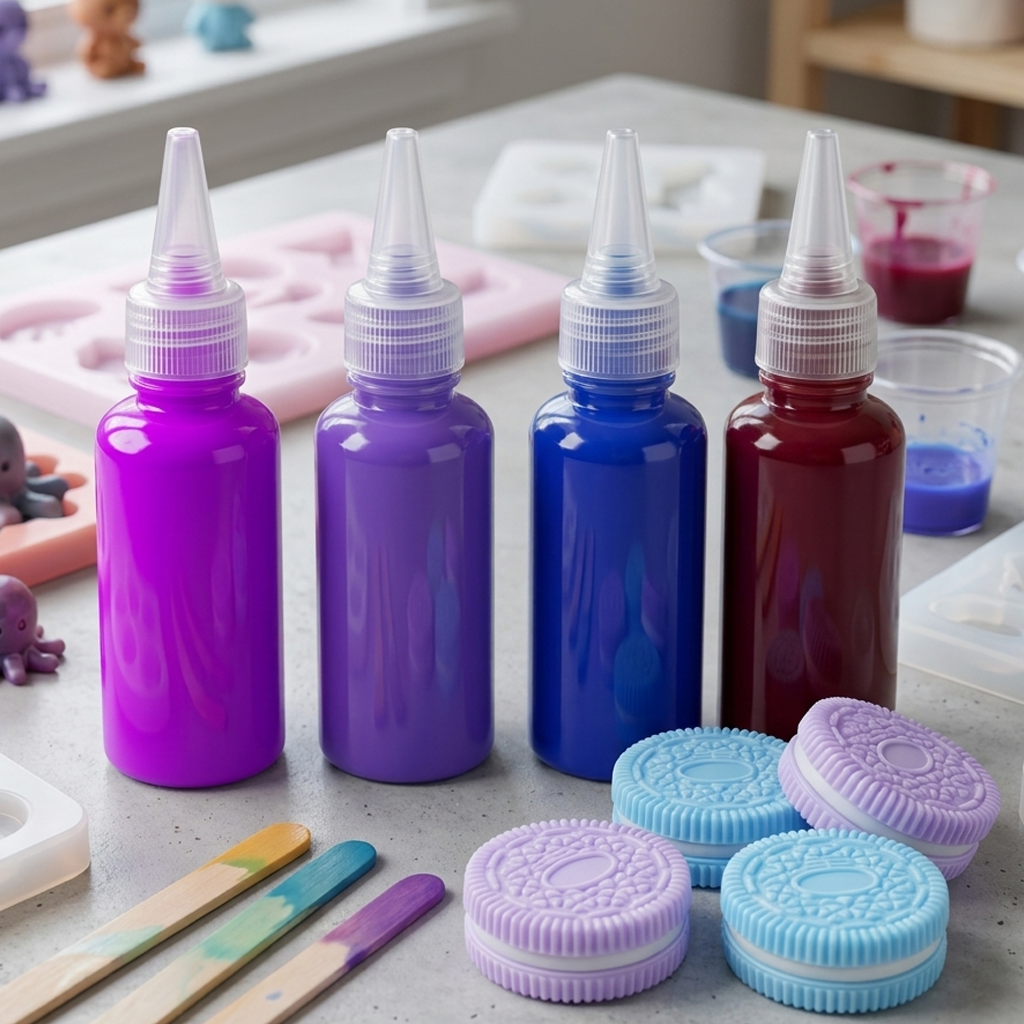
Our ‘To-Customisation Kits’ Collection
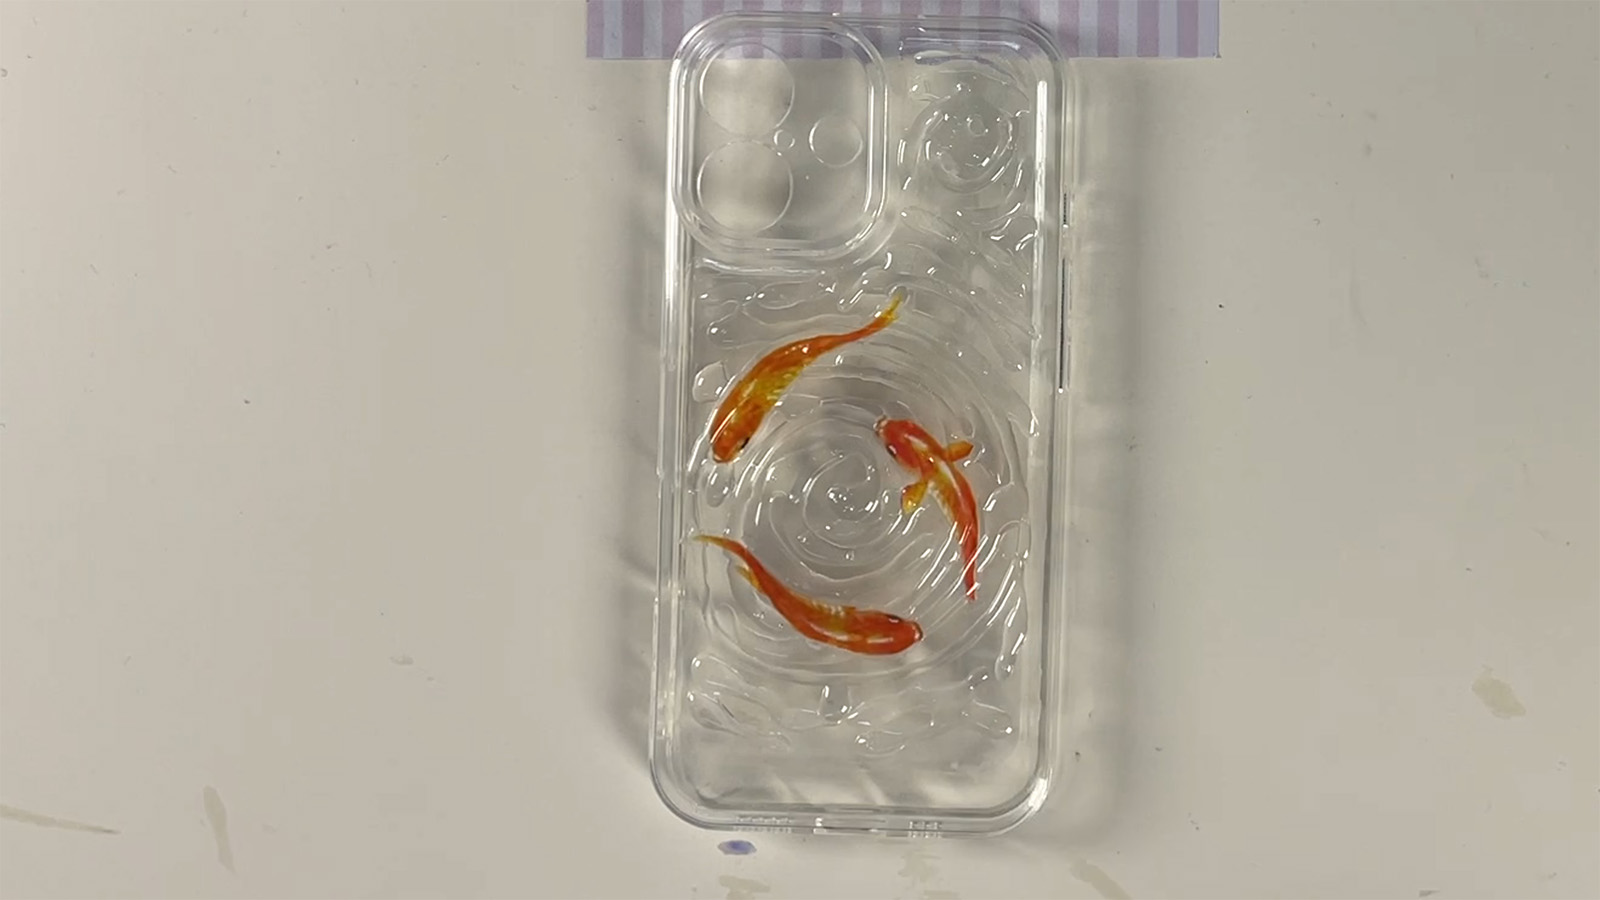
Transform your phone case into a flowing “aquatic world” with realistic water ripples and swimming goldfish! Follow this step-by-step guide to craft a unique, eye-catching design on the outer side of your case. No advanced tools needed—just creativity and patience!
When fully cured, resin becomes a transparent, lightweight plastic that initially exists as two separate liquid components. It’s readily available in craft stores and is commonly used for making jewelry. The key advantage of resin is its ability to flawlessly preserve almost anything, creating an airtight encapsulation.
Materials Needed
Transparent phone case (smooth outer surface, silicone or hard plastic recommended).
Softening agent (to enhance flexibility for shaping).
UV transparent resin (low viscosity, high clarity).
Realistic goldfish stickers (waterproof, semi-transparent material).
UV lamp (standard household model).
Tools: Toothpicks, alcohol wipes, dropper, tweezers, non-slip mat.
Step-by-Step Instructions
Step 1: Clean & Soften the Outer Surface
Deep cleaning: Wipe the outer side of the case with alcohol wipes to remove grease and dust.
Softening:
- Apply the softening agent evenly on the outer surface and let it sit for 1 minute to increase flexibility.
- Place the case on a non-slip mat and air-dry for 10 minutes until fully dry.
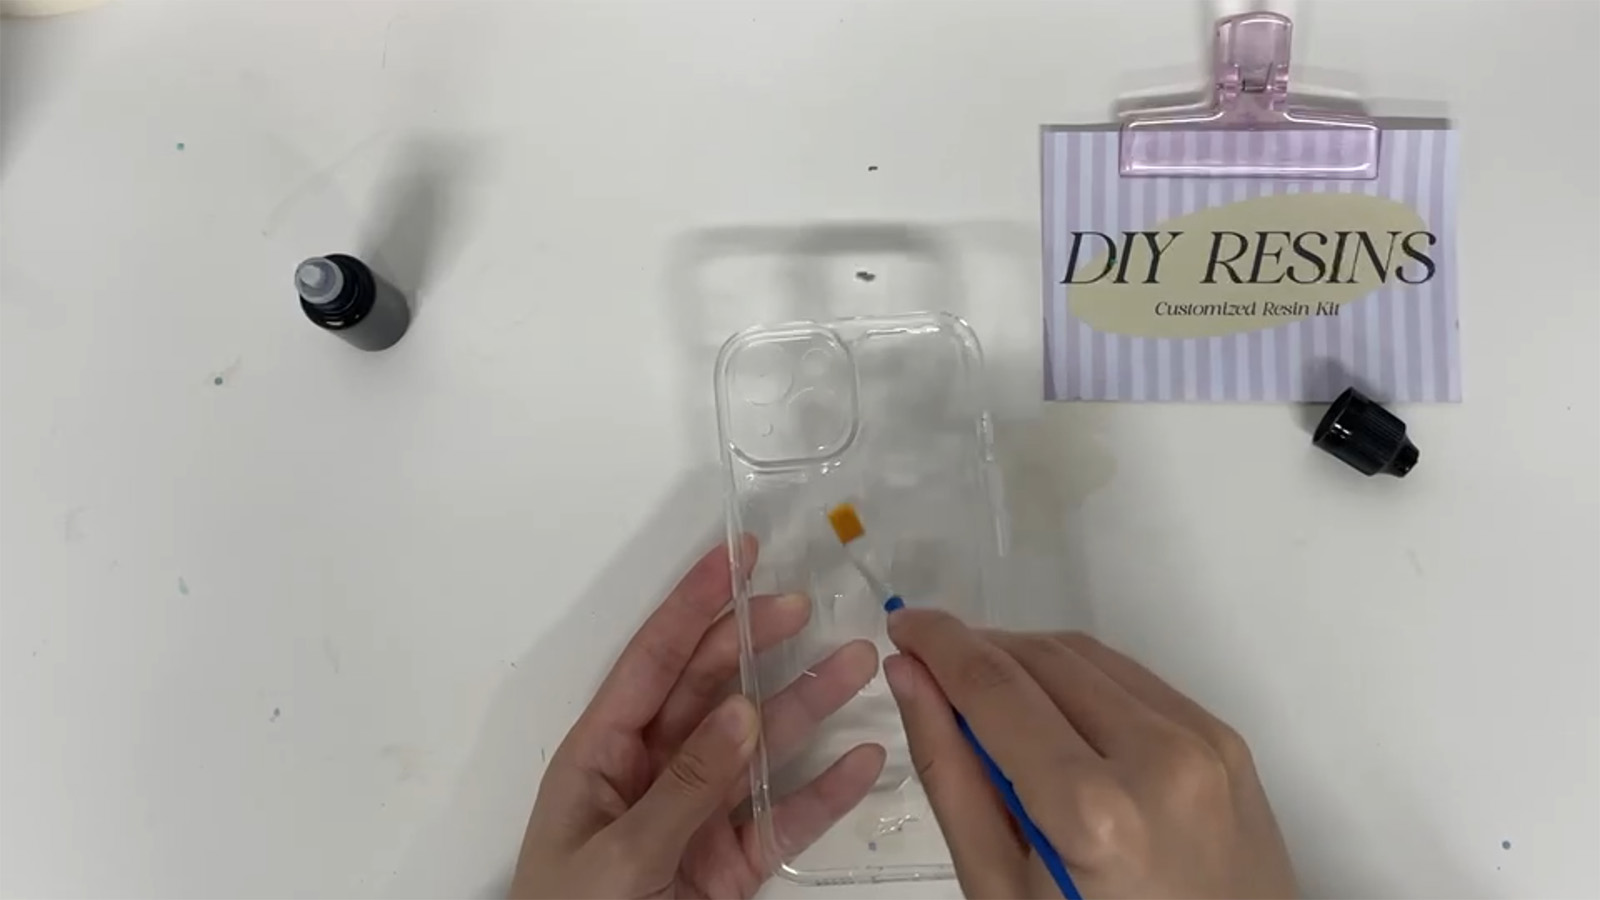
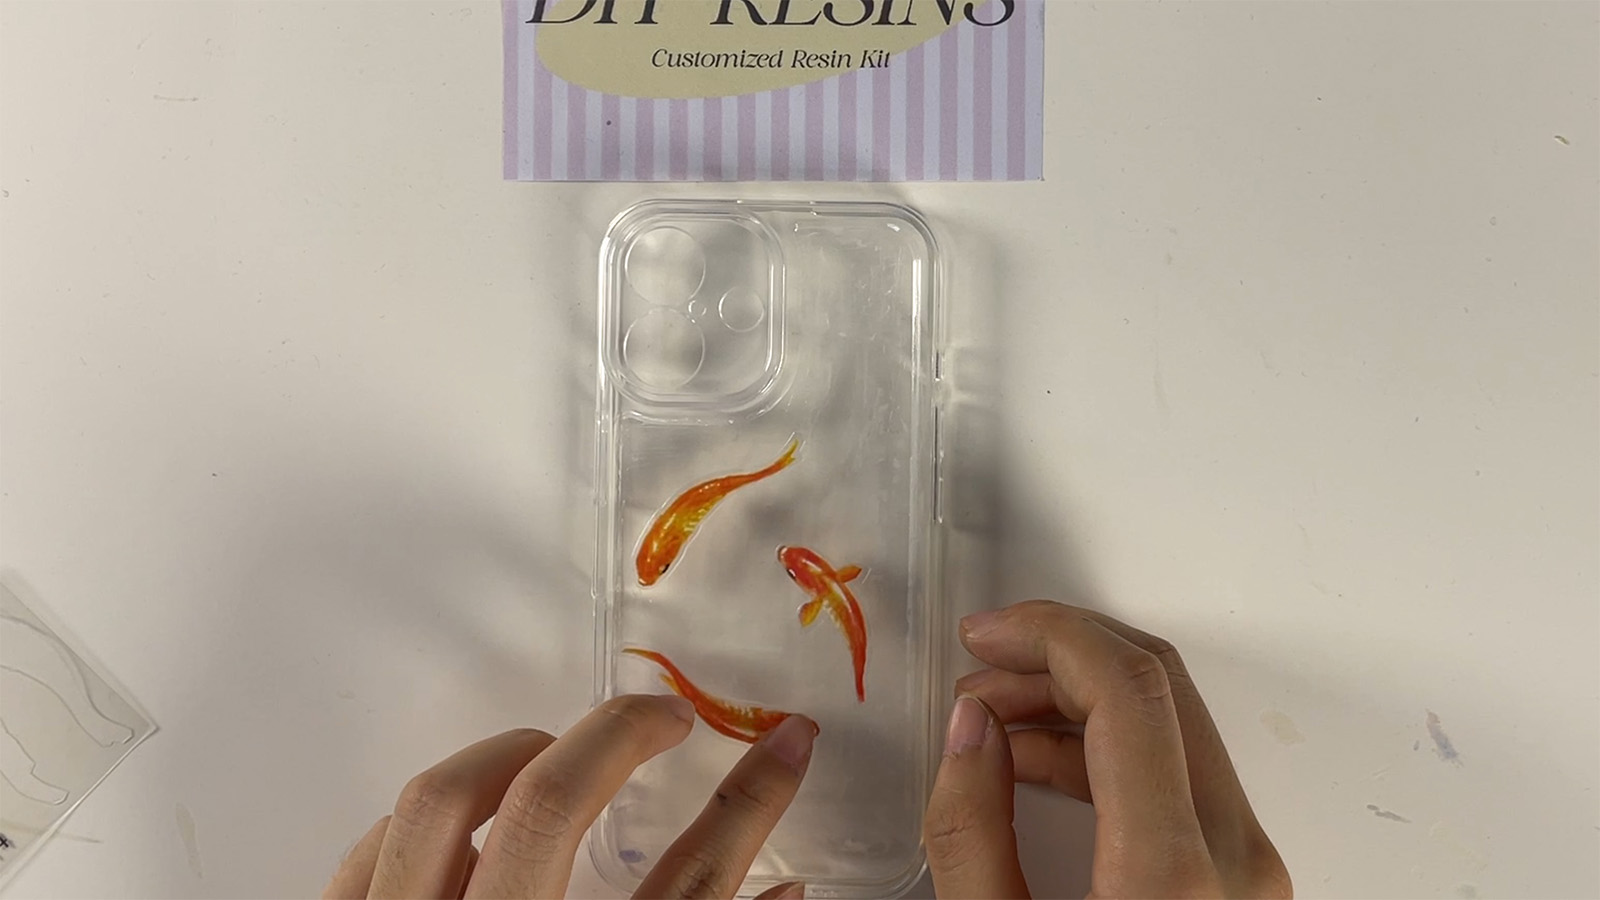
Step 2: Attach Goldfish Stickers
Positioning: Use tweezers to place the stickers on the outer surface, avoiding camera and button areas. Position them slightly lower to leave space for ripples.
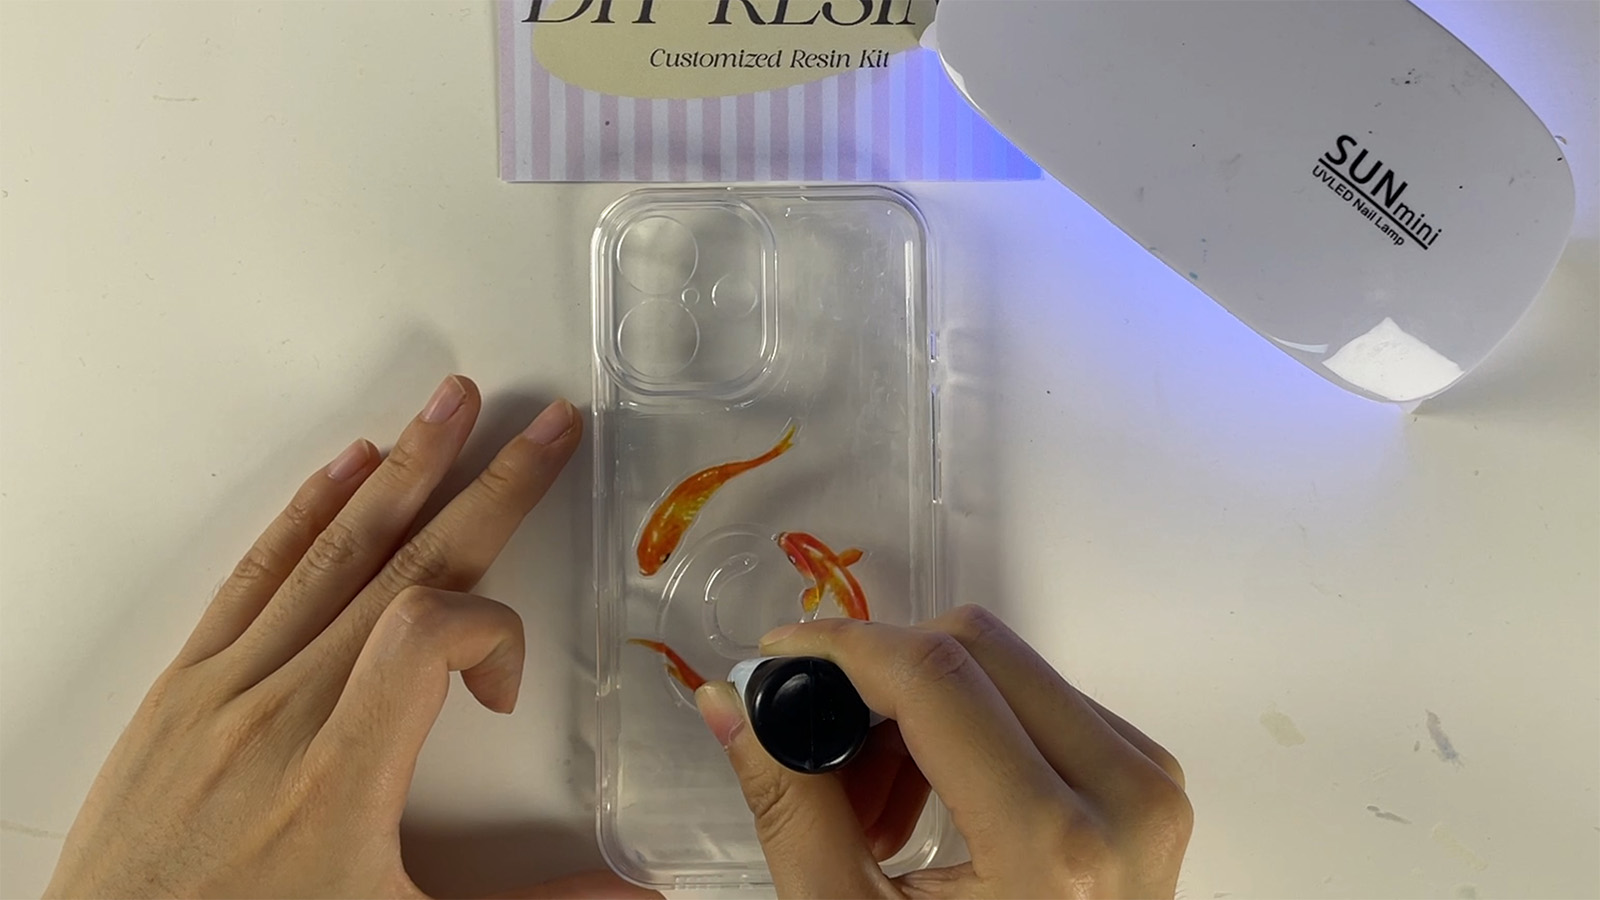
Secure edges: Dab a small amount of UV resin on sticker edges and cure for 5 seconds under the UV lamp to prevent shifting.
Step 3: Apply UV Resin & Prevent Bubbles
Resin coating: Use a dropper to spread UV resin over the stickers, maintaining a 1.5mm thickness.
Anti-leak tip: Temporarily cover camera holes with tape to avoid resin seepage.
Bubble removal: Tilt the case and use a toothpick to gently push bubbles to the edges. Alternatively, briefly pass a lighter flame over the surface (keep 5cm away).
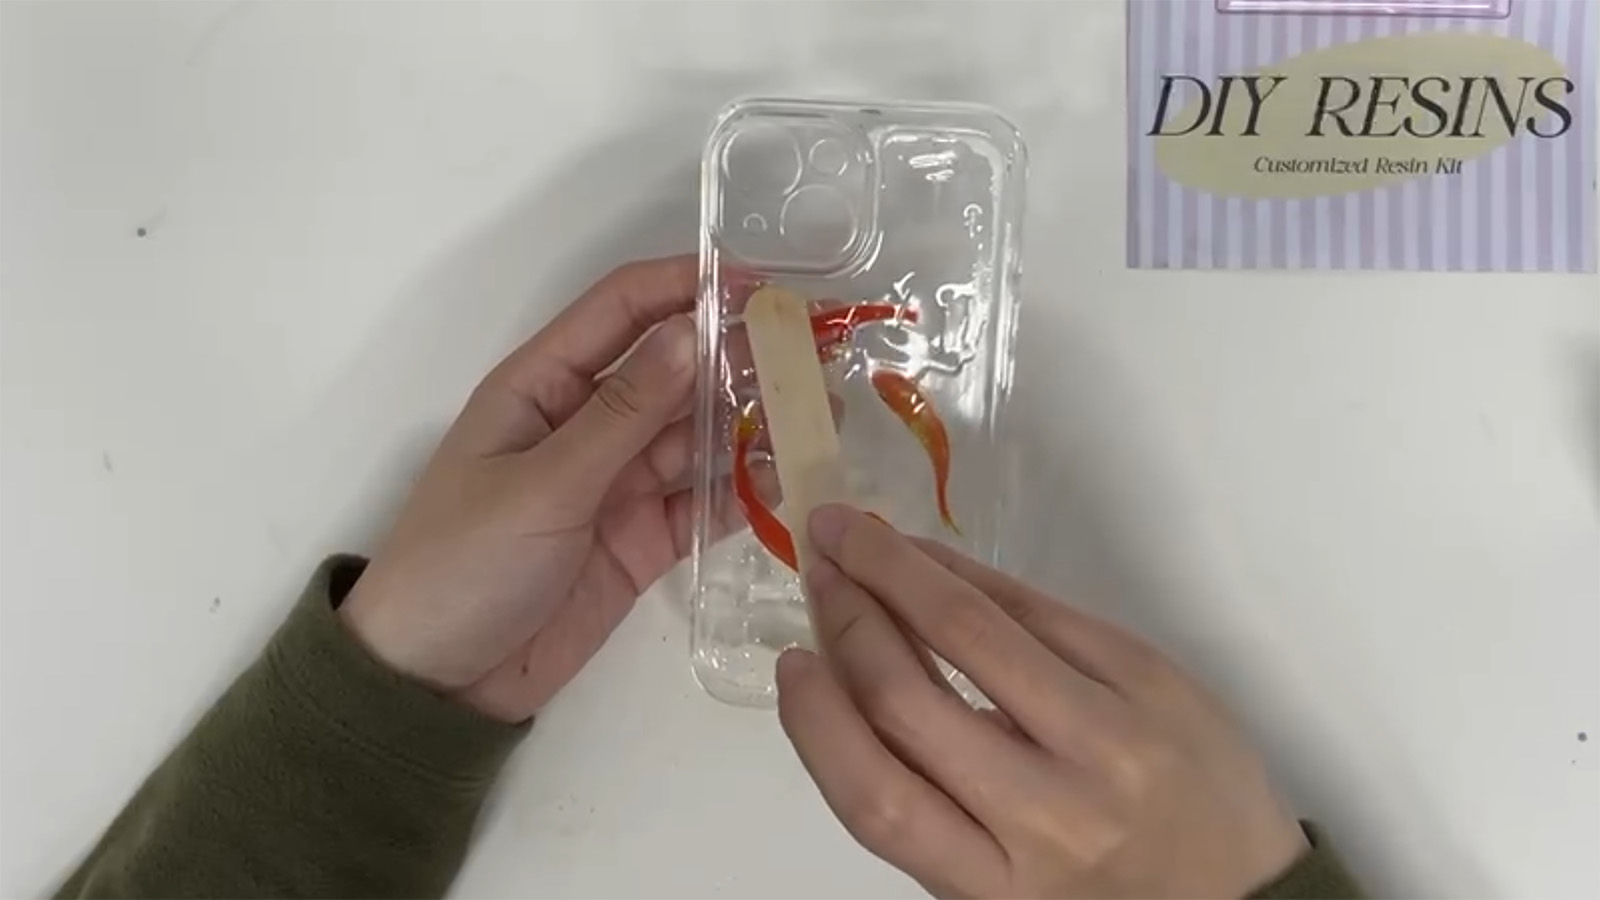
Step 4: Create Water Ripple Textures
Design techniques:
- Foreground ripples: Use a toothpick tip to draw short “Z”-shaped lines for splashing effects.
- Background waves: Drag the toothpick sideways in smooth “S”-shaped curves, spacing lines from dense to sparse.
- 3D enhancement: Lift resin near the goldfish tail with a toothpick to create flow marks.
- Add tiny resin droplets at wave intersections and cure for 10 seconds under UV light.
Step 5: Layered Curing & Finishing
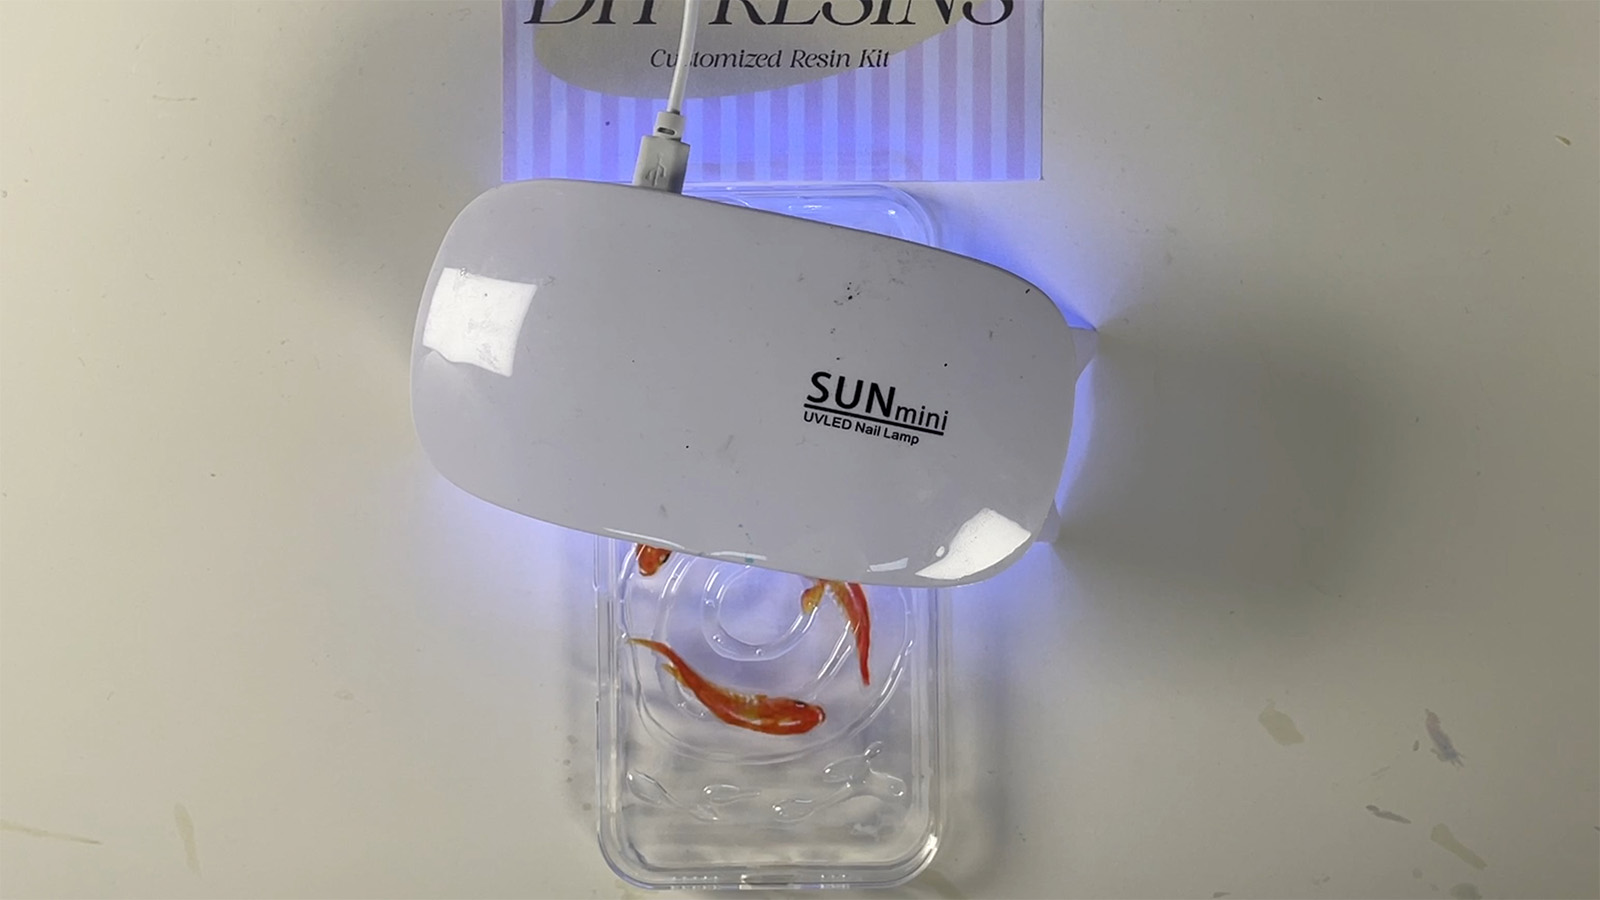
Initial curing: Expose to UV light for 1 minute at 10cm distance to fix textures.
Detail refinement: Apply extra resin to depressed areas and cure locally for 30 seconds.
Final hardening: Cure the entire case for 3-5 minutes until fully rigid. Flip the case to ensure even curing.
Creative Upgrades & Tips
Color effects: Mix blue/green UV dye into resin for underwater light refraction.
Sparkling details: Sprinkle fine glitter before curing for a shimmering surface.
Multi-layer depth: Add translucent aquatic plant stickers beneath the goldfish for depth.
Safety notes:
Wear gloves and UV-protective glasses.
Let the case rest for 10 minutes after curing before use.
Finished masterpiece: Under sunlight, the goldfish appear to swim through transparent ripples, with every texture capturing liquid motion. Whether held or displayed, this case becomes an instant conversation starter!
Grab your tools and turn your phone into a pocket-sized “aquarium” today!