Melt and pour soap making is one of the simplest ways to start creating handmade soap. It is beginner-friendly, requires no handling of lye, and does not need a curing period. The process is straightforward: melt, customize, pour, and let it set.
Good results depend less on complexity and more on control. Temperature, timing, and consistency are the key factors that determine the final quality.
What You’ll Need
- Basic ingredients:
- Melt and pour soap base – 16 oz (454 g)
- Fragrance oil – 0.5 oz (14 g)
- Soap-safe colorant – as needed
Tools:
- Silicone spatula
- Cutting board with parchment paper or plastic wrap
- Heat-safe glass container (for fragrance oil only)
- Spray bottle with isopropyl alcohol
- Plastic wrap
- Thermometer (optional)
- Microwave
- Gloves
Before starting, ensure all tools and surfaces are completely clean. Even small amounts of water or dust can affect the final finish.
Step 1: Measure the Fragrance Oil
Weigh 0.5 oz (14 g) of fragrance oil using a small glass container and a scale. Set it aside before melting the soap base.
Preparation is important because once the soap is melted, the working time is limited. Glass is preferred since fragrance oils may degrade some plastics.
Step 2: Prepare the Soap Base
Cut the soap base into small, even cubes (about 1 inch / 2.5 cm). Smaller pieces melt more evenly and reduce the risk of overheating.
Weigh out 16 oz (454 g) and place it in a heat-safe container.
Step 3: Melt the Soap Base
Microwave in 1-minute intervals, then stir gently. Continue heating in 20-second bursts if needed until fully melted.
Key points:
- Do not exceed 160°F (71°C)
- Stop heating if foam appears (overheating sign)
- Small unmelted pieces are acceptable and will dissolve during stirring
- The goal is a smooth, liquid consistency, not perfect clarity.
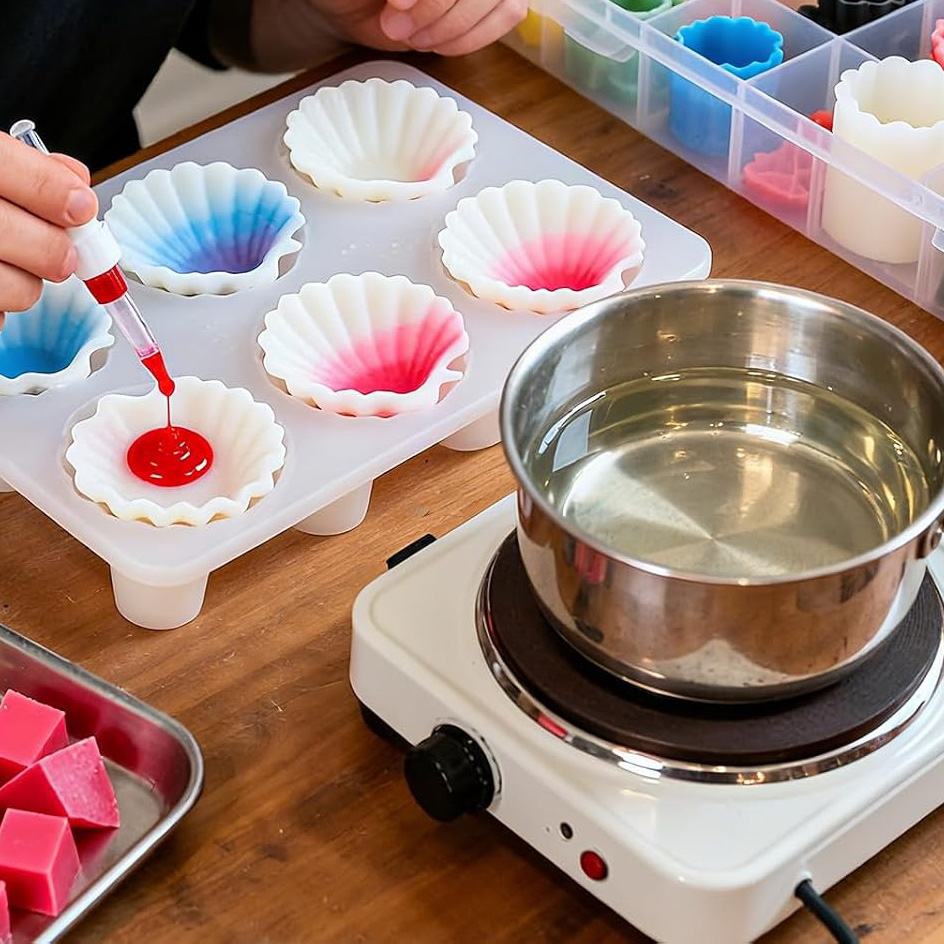
Step 4: Add Color
Add soap-safe colorant gradually, starting with 3–4 drops. Stir until evenly mixed.
A thin surface film may form; this is normal and can be stirred back in. If the mixture begins to thicken, reheat briefly in short bursts.
Step 5: Add Fragrance
Allow the soap to cool to 140–150°F (60–65°C), then add the pre-measured fragrance oil.
Stir gently to avoid introducing air bubbles. Overmixing can affect clarity and texture.
Step 6: Pour into Molds
Pour slowly into molds to minimize bubbles. Once filled, lightly spray the surface with isopropyl alcohol to remove surface bubbles.
Avoid over-spraying, which may cause foaming.
Step 7: Cooling and Setting
Let the soap sit undisturbed for about 30 minutes until a thin skin forms on the surface. Cover loosely with plastic wrap.
Allow it to fully set for 24 hours at room temperature. Place molds on a stable tray to prevent movement.
Step 8: Clean Up
Soap residue cleans easily with warm water. If any leftover soap is still warm, remove it before it hardens.
Scraps can be reshaped into small pieces and reused immediately.
Step 9: Unmold the Soap
After 24 hours, gently press the mold sides and release the soap from the bottom.
If it sticks, refrigerate for 20–30 minutes and try again. Do not force removal.
Final Notes
The soap is ready to use immediately after unmolding—no curing required.
Common issues such as small surface bubbles usually come from mixing speed or pouring technique. Slower stirring and brief resting before pouring can help improve results.
Timing is critical after adding fragrance. The soap will begin to thicken, so the pouring step should be done efficiently.
Silicone molds are recommended for beginners due to easy release and better detail retention.
Advanced techniques such as layering, gradients, or embedding dried flowers require tighter temperature control and faster workflow.
Unused soap base can be remelted and reused, making experimentation low-risk.
Overall, melt and pour soap making relies on process control rather than complexity. Once the workflow is stable, consistency improves naturally with practice.
 Melt and Pour Soap Making Guide Easy Beginner Handmade Soap Tutorial Step by Step
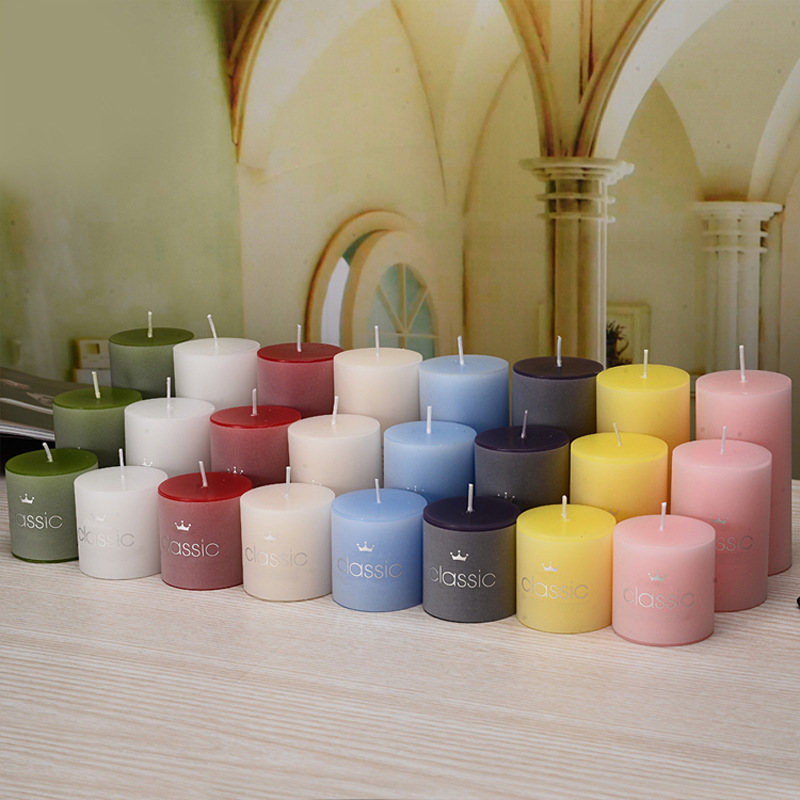 Making Scented Outdoor Candles with Liquid Candle Dye: A Practical Guide
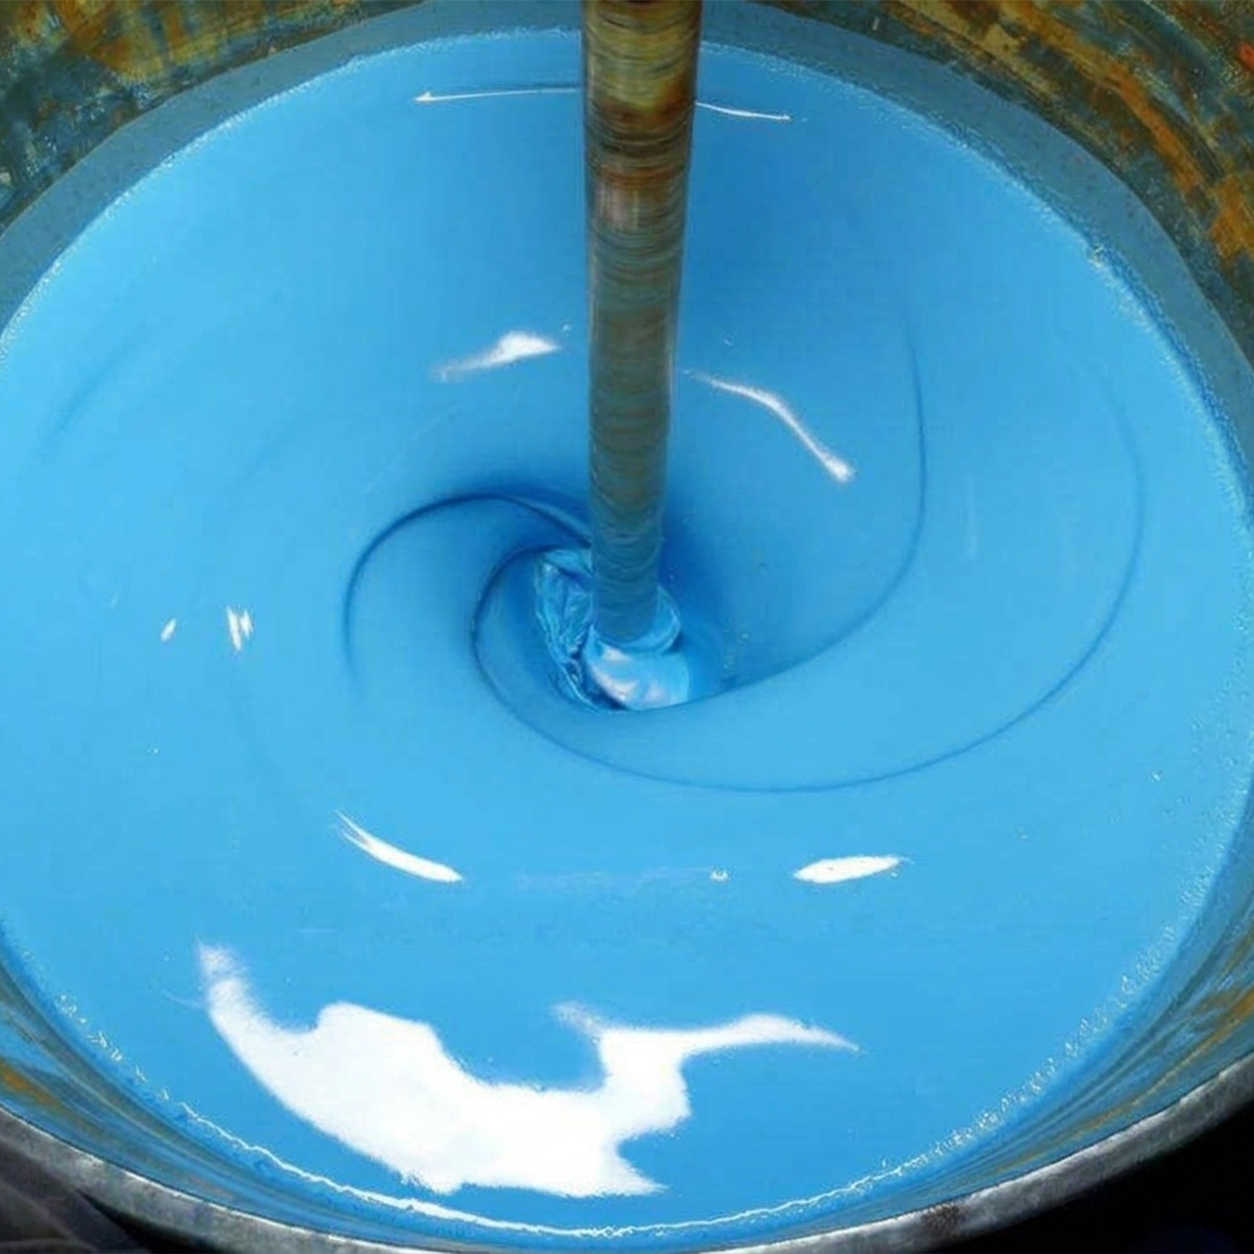 Common Coloration Issues in Silicone Pigments and Their Solutions