Discover Why Your UV Resin Isn’t Curing Properly!
Get expert insights & solutions in this must-read blog post. Don’t let your UV resin projects stall!
If you’ve put in all the effort, but your UV resin isn’t curing correctly, it can be incredibly frustrating. Whether you’re working on jewelry, art, or crafts, curing issues with UV resin are common. But don’t worry, this happens even to the most experienced resin artists. By identifying the root causes of why your UV resin is not curing properly, you can troubleshoot effectively and avoid similar problems in the future.
In this guide, we’ll dive deep into the top reasons why UV resin fails to cure, common mistakes, and techniques to make sure your resin cures thoroughly every time.
What is UV Resin and How Does It Cure?
UV resin is a synthetic polymer that hardens when exposed to UV light, making it a popular choice for various crafting projects. Whether you are into resin art, jewelry making, or 3D printing, UV resin offers a quick curing time and a clear, glossy finish. However, if your UV resin doesn’t cure fully, it can leave you with a sticky, uneven finish.
To cure UV resin, you need exposure to UV light, which triggers a chemical process called photopolymerization. If this light exposure is inadequate or the environmental conditions aren’t ideal, your resin may remain uncured, sticky, or uneven. Understanding the proper UV resin curing process is key to successful outcomes.
Common Issues When Your UV Resin Won’t Cure Fully
If your UV resin is not curing properly, here are some common issues and their solutions:
-
Sticky or Uncured UV Resin
One of the most common problems with UV resin is that it remains sticky or doesn’t cure properly. Why isn’t my UV resin curing? Here’s why this could happen:
Insufficient UV Light Exposure: Your UV light source may not be strong enough or may not be exposing the resin to enough UV light. UV resin typically cures best under light with wavelengths around 395-405 nm.
Thick Resin Layers: When the resin layer is too thick, UV light may not penetrate deeply enough to trigger complete curing. Always use thin layers of UV resin.
Expired Resin: UV resin has a shelf life. If you’re using old or expired resin, it may not cure properly, even under the correct light exposure.
-
Bubbles in UV Resin
Air bubbles trapped in your resin can create unsightly imperfections.
The best way to avoid bubbles is by mixing the resin slowly and thoroughly. If bubbles do form, use a torch or heat gun to pop them before curing.
-
Tacky Surface After Curing
A tacky or sticky surface on your cured UV resin could mean:
Too Much Resin: Applying too thick a layer can prevent full curing. Try applying resin in thin layers for the best results.
Under-cured Resin: If the UV resin doesn’t cure completely, try curing it for a longer time or with a stronger UV light source.
-
Environmental Conditions
Factors like humidity, temperature, and sunlight can affect how your UV resin cures.
Direct Sunlight: Although UV resin can cure in sunlight, prolonged exposure to direct sunlight can cause yellowing or brittleness. Use UV lamps for a controlled environment.
Humidity: High humidity can slow down curing, while low humidity can make it cure too fast, creating cracks or brittleness.
Room Temperature: Ensure your workspace is neither too hot nor too cold. Extreme temperatures can affect the curing speed and consistency of your resin.
-
Improper Tools and Equipment
Low-Powered UV Lamp: If your lamp has low intensity, it may not cure the resin completely.
Make sure you’re using a UV lamp that emits sufficient power (at least 36 watts).
Mold Issues: If you’re using molds, ensure they are clean and made from materials that allow UV light to penetrate. Silicone molds work best as they allow easy release and are light-transparent.Techniques for Successful UV Resin Curing
To avoid issues with UV resin not curing properly, follow these essential UV resin curing tips:
-
Proper Layering and Thickness Control
Thin layers of UV resin cure more efficiently. Avoid pouring thick layers, as the light will struggle to cure the deeper layers. Instead, apply resin in thin, even layers.
-
Thorough Mixing and Application
Mix the resin and hardener (if applicable) thoroughly to ensure even curing. Scrape the edges of the mixing cup to make sure no resin is left un-mixed.
-
Controlled Exposure to UV Light
Use a high-quality UV light source with the correct wavelength (395-405nm).
Cure your resin for the time specified by the manufacturer or experiment with exposure time based on the resin’s thickness.
Post-Curing: Ensuring a Smooth, High-Quality Finish After the initial curing process, it’s important to follow post-curing techniques to achieve a durable, shiny finish:
Sanding and Polishing: After curing, you can sand the resin with fine-grit sandpaper and then polish it to achieve a glossy, smooth surface.Fixing Holes and Bubbles: If there are imperfections, you can fill them with more resin and cure again. Use a heat gun to pop any remaining bubbles.
Frequently Asked Questions About UV Resin Curing
Why is my UV resin still tacky after curing?
This could be due to insufficient curing time or exposure to UV light. Ensure the resin has been exposed to the correct UV wavelength for the required time.
Can UV resin cure in sunlight?
Yes, UV resin can cure in sunlight, but it may take longer and can lead to brittleness over time. It’s always best to use a UV lamp for consistent results.
How do I avoid bubbles in UV resin?
To prevent bubbles, mix the resin slowly and avoid vigorous stirring. You can also place the resin mixture under a vacuum chamber before pouring to remove air bubbles.
What can I do if my UV resin does not cure properly?
Ensure you’re using fresh resin, a strong UV lamp, and proper curing times. If the resin remains uncured, consider using thinner layers, improving your workspace conditions, and checking for any mold contamination.
Final Thoughts: Troubleshooting Your UV Resin Curing Issues
UV resin curing problems are frustrating, but they are often caused by common mistakes that can be easily corrected. By understanding the curing process, adjusting environmental factors, using the right tools, and following proper techniques, you’ll be able to achieve perfect cures every time.
Remember, practice and patience are key.
By identifying why your UV resin isn’t curing and troubleshooting accordingly, you’ll gain more confidence and experience with resin projects.
 How to Color Silicone Parts?
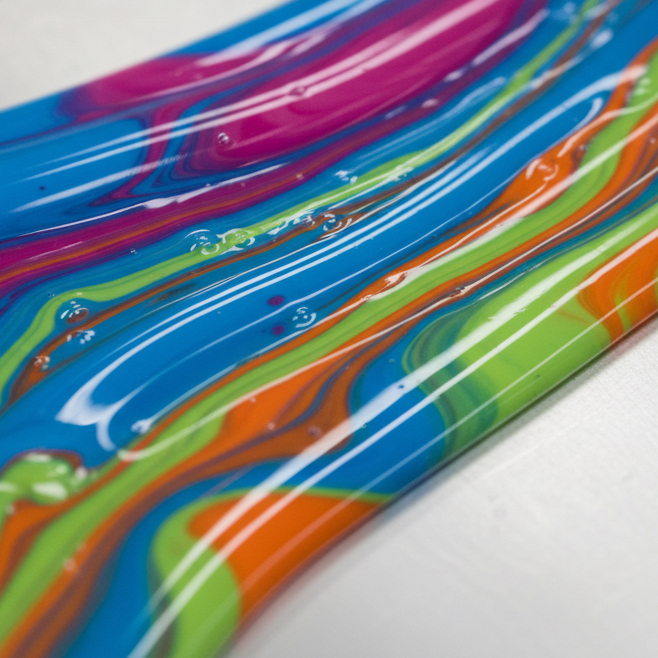 How Much Silicone Pigment Should You Add to Silicone?
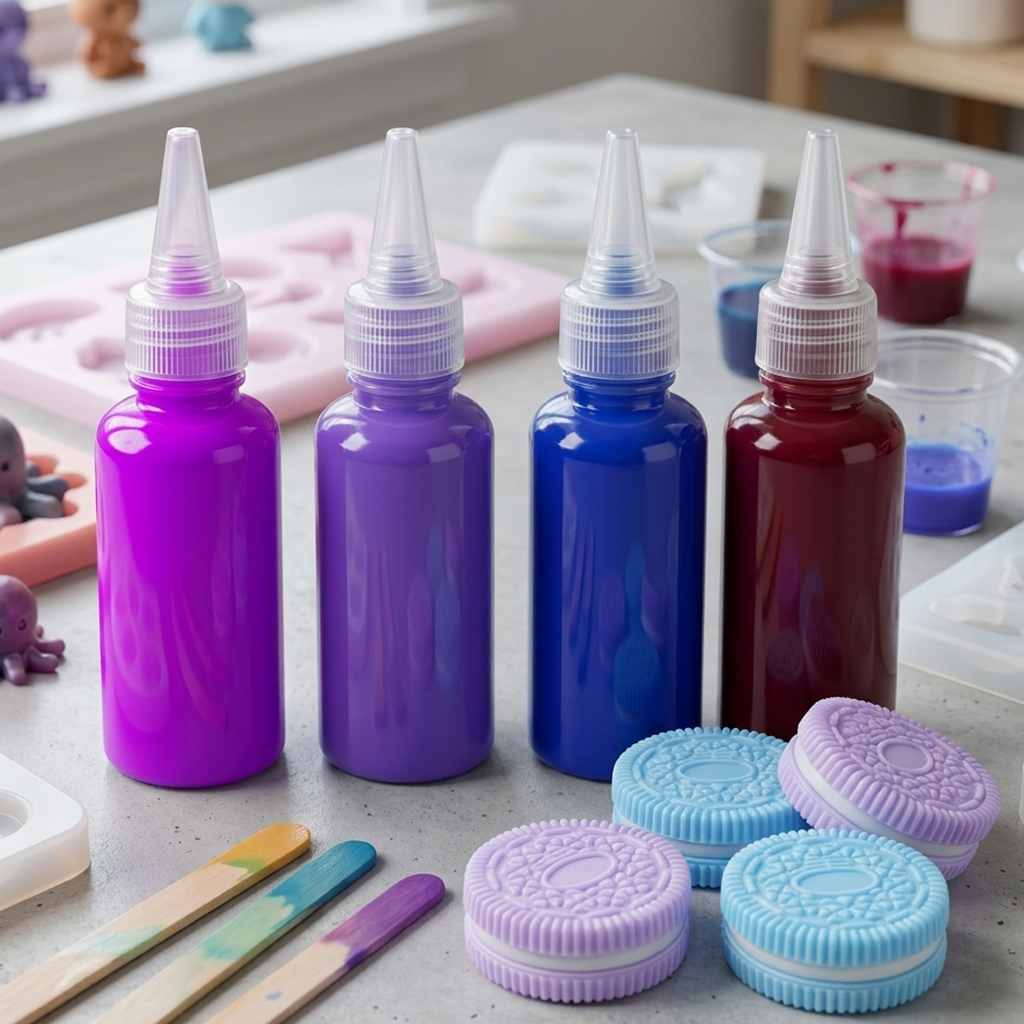 How to Use Pigment Paste for Silicone Projects: A Practical Guide