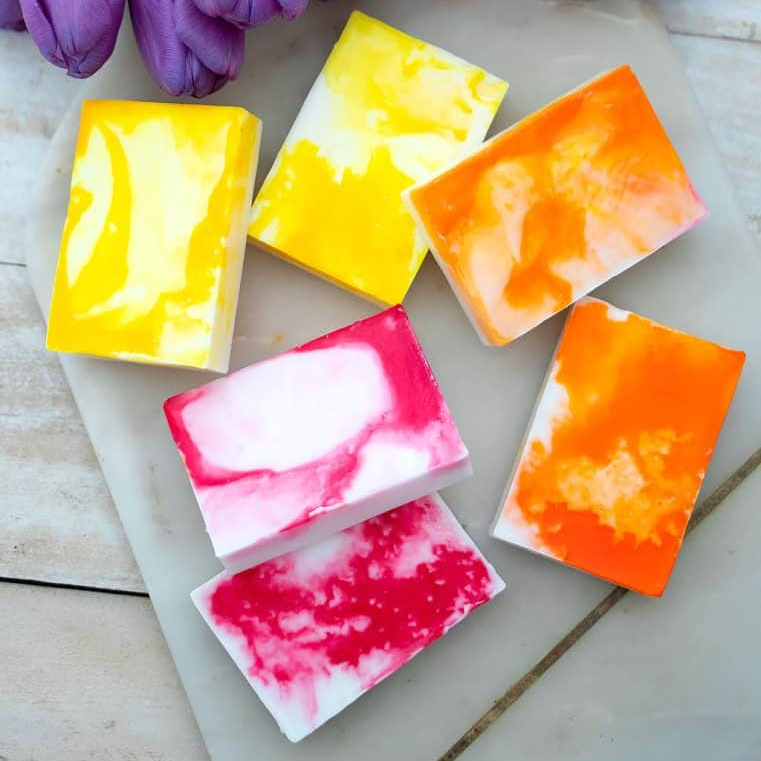
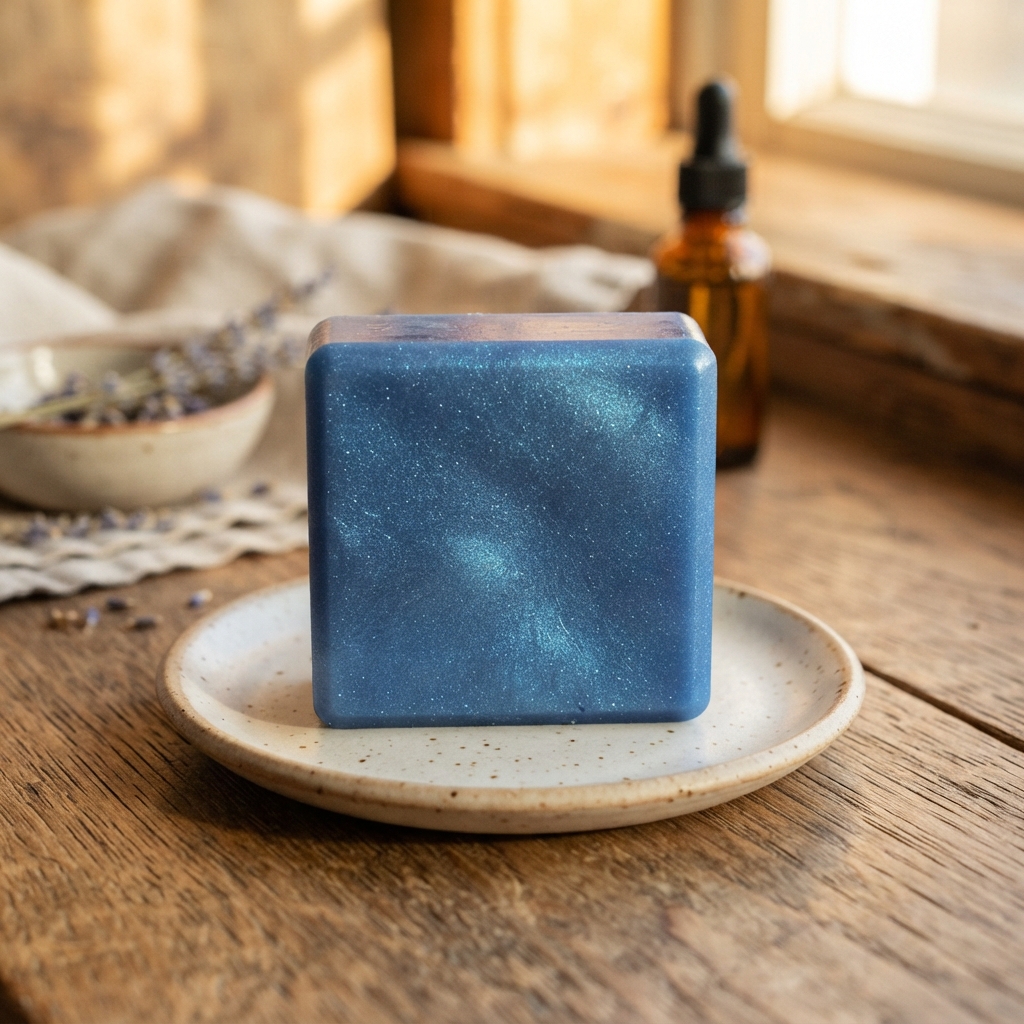
Melt & Pour soap is one of the simplest ways to make handmade soap because the soap base has already been formulated and prepared. You only need to melt the base, add your preferred color and fragrance, and pour it into a mold.
When coloring Melt & Pour soap, liquid soap dye is particularly convenient because it can be added directly to the melted soap base. Unlike powdered colorants, liquid dyes do not need to be pre-dispersed, making it easier to achieve an even color with minimal mixing.
The key is to control the temperature, add the dye gradually, and avoid excessive stirring.
Preparing the Melt & Pour Soap Base
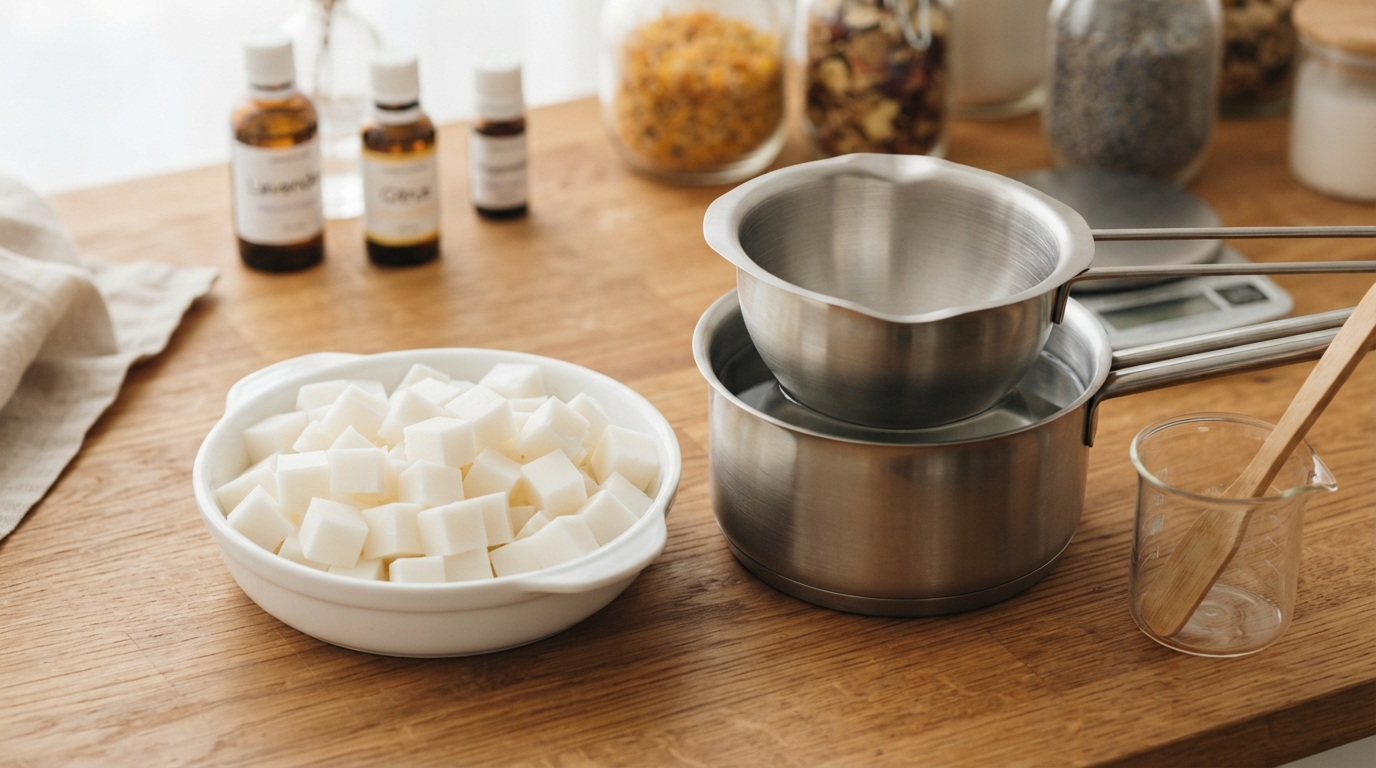
Unwrap the desired amount of Melt & Pour soap base and cut it into small, even cubes. Smaller pieces melt more quickly and evenly than a large block.
Place the soap pieces in a heat-resistant container and melt them using a double boiler or microwave.
When using a double boiler, keep the container covered while heating to help reduce moisture loss. If using a microwave, heat the soap in short intervals, usually around 20–30 seconds at a time depending on the amount of soap. Stir gently between intervals and continue heating only until the soap is completely melted.
Avoid overheating the soap base. Excessive heat can cause several problems, including increased sweating, changes in appearance, and a shorter working time after the soap has melted.
Once the soap is fully liquid, remove it from the heat before adding your color.
How to Add Liquid Soap Dye
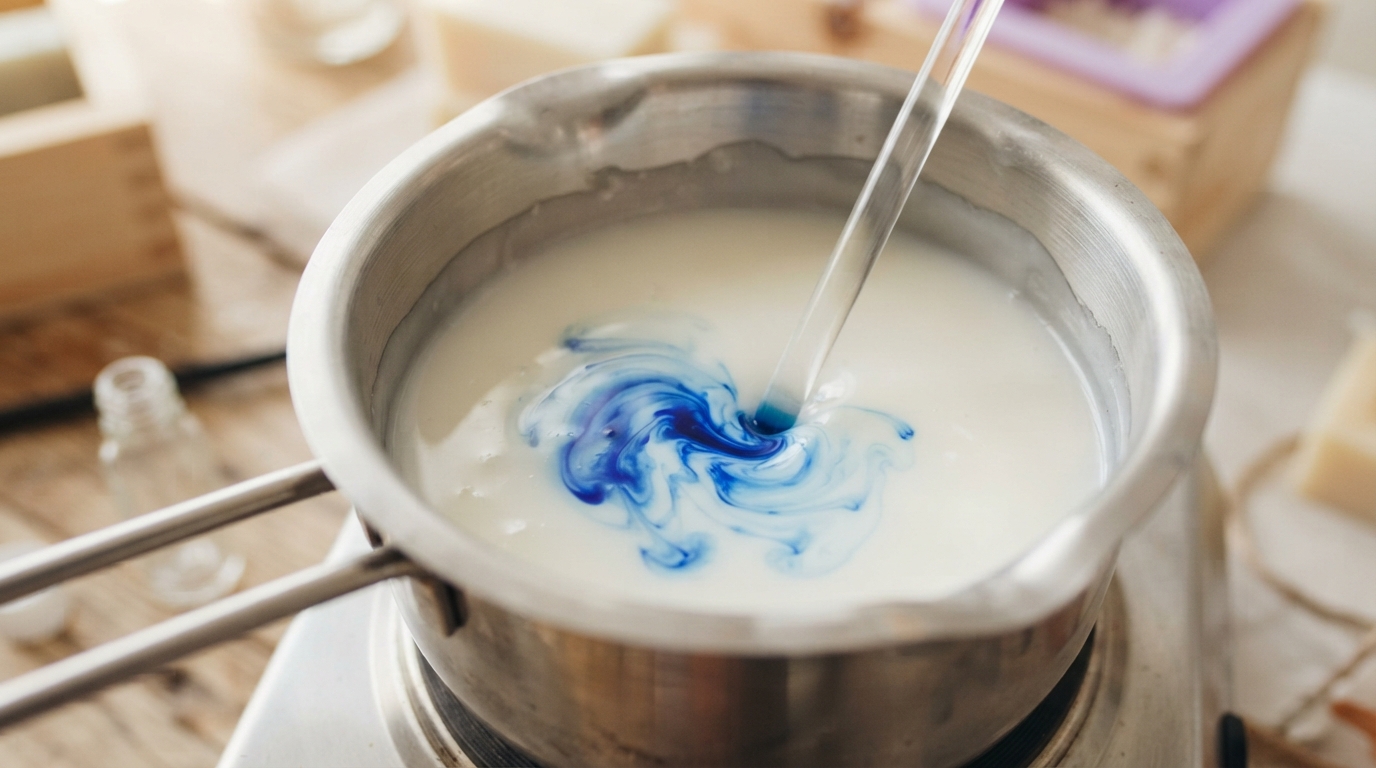
Liquid soap dye is one of the easiest colorants to use with Melt & Pour soap. Because the dye is already in liquid form, it can generally be added directly to the melted soap base without first mixing it with water or another dispersing medium.
Start with a small amount of dye. Add it gradually, then stir gently until the color is evenly distributed.
It is always easier to make the color darker by adding more dye than to correct a color that has become too strong. For this reason, adding the dye drop by drop gives you much better control, especially when working with transparent soap bases.
The amount of liquid dye required depends on several factors, including the type of soap base, the concentration of the dye, the desired color intensity, and whether the base is transparent or opaque. Instead of relying on a single fixed dosage, test a small batch first and record the amount needed to achieve your preferred shade.
For a lighter pastel color, use a small amount of dye. For a deeper or more saturated color, gradually increase the amount while checking the appearance of the soap.
How to Mix Liquid Soap Dye Without Creating Excessive Bubbles
One of the most common problems when coloring Melt & Pour soap is air bubbles.
The problem is usually not the liquid dye itself, but the way the melted soap is stirred. Vigorous or prolonged stirring can introduce air into the soap, leaving small bubbles throughout the finished bar.
After adding the liquid soap dye, stir slowly and gently. Use a spatula or spoon and move it through the melted soap rather than whisking or rapidly agitating it.
You do not need to stir for a long time. Once the dye has been evenly incorporated and no visible color streaks remain, stop stirring.
This is especially important when working with clear glycerin soap. Transparent soap makes air bubbles much more noticeable than opaque soap.
If bubbles appear on the surface after pouring, lightly mist the surface with rubbing alcohol. The alcohol helps break surface bubbles and can also improve adhesion when creating layered or embedded soap designs.
Controlling Color in Transparent and Opaque Soap Bases
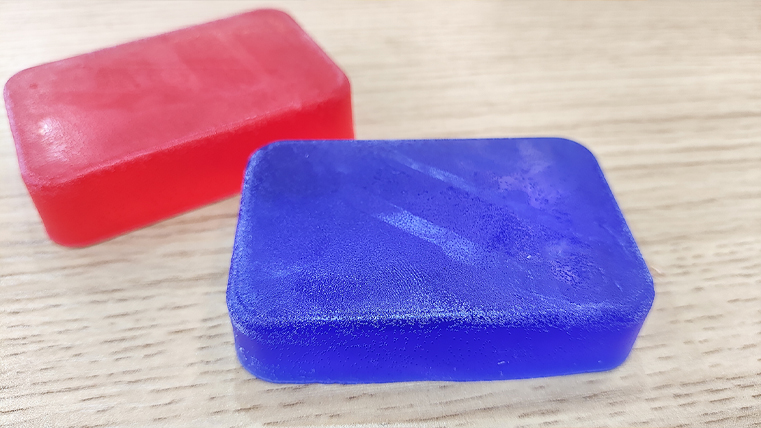
The same liquid soap dye can produce very different results depending on the soap base.
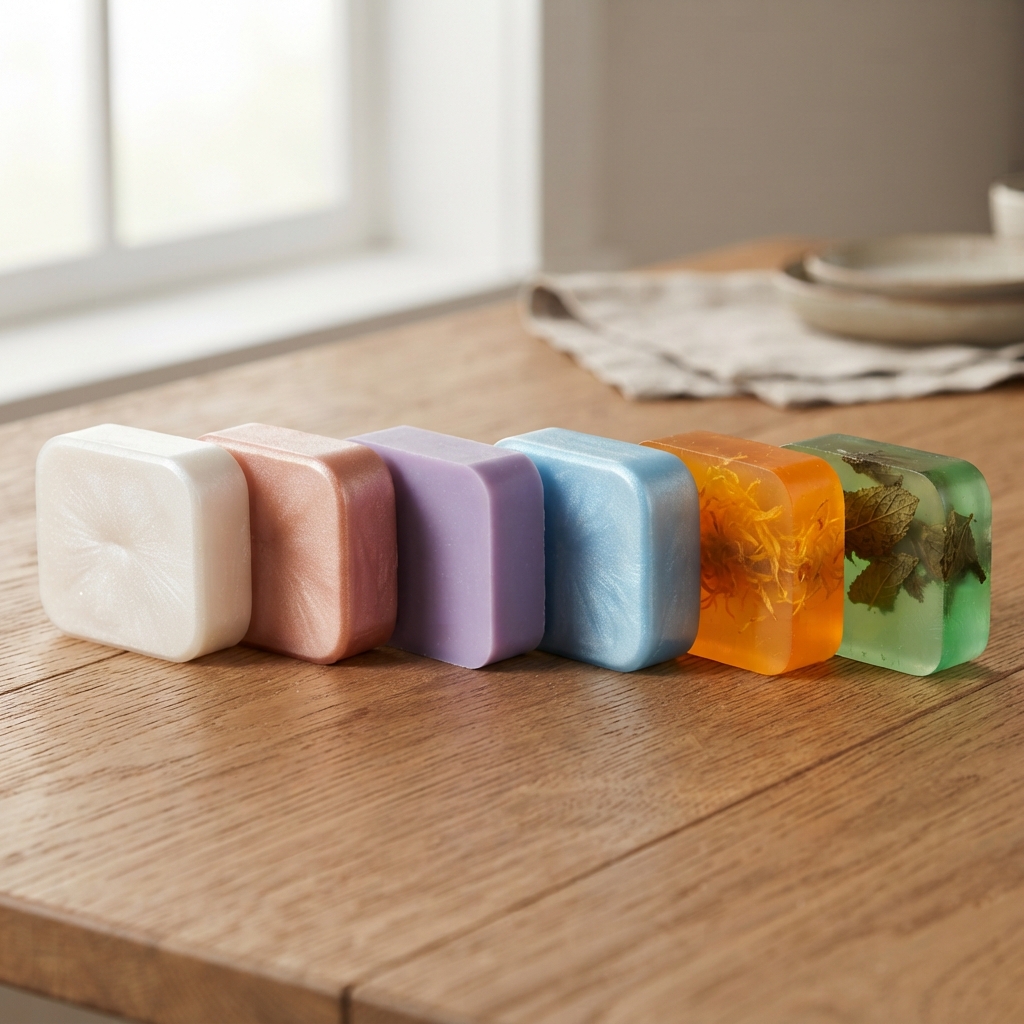
Transparent glycerin soap allows light to pass through the bar, so even a relatively small amount of dye can produce a bright, translucent color. Increasing the amount of dye can create a deeper and more saturated appearance.
Opaque or white soap bases produce a softer, more solid color. Because the base itself is white, the final shade may appear lighter or more pastel compared with the same amount of dye added to a transparent base.
For consistent results, it is useful to test the color in a small amount of melted soap before coloring a large batch. This allows you to check the final shade after the soap has cooled and hardened rather than judging the color only while the soap is still hot.
When Should You Add Liquid Soap Dye?
The best time to add liquid dye is after the soap base has completely melted and has been removed from direct heat.
If the soap is extremely hot, adding color immediately and stirring aggressively can increase the risk of bubbles and may affect the final appearance.
Allowing the melted soap to cool slightly before adding the dye can provide a more comfortable working window. However, do not allow the soap to cool so much that it begins to thicken or form lumps.
Once the soap is fully melted, you generally have a limited working time before it begins to cool and become more viscous. Prepare your dye, fragrance, mold, and other materials before melting the soap so that you can work efficiently.
Adding Fragrance and Other Ingredients
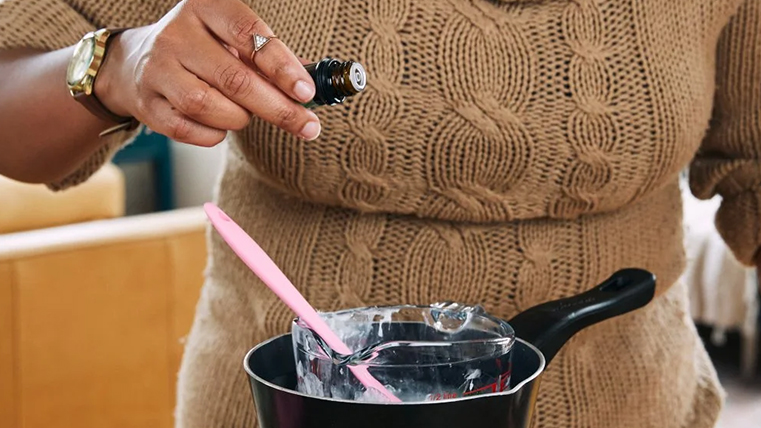
After the liquid soap dye has been incorporated, fragrance or essential oil can be added if desired.
The appropriate amount depends on the specific fragrance or essential oil and the supplier’s recommended usage rate. Rather than using one universal amount, check the recommended usage level for the particular fragrance or oil you are using.
Keep in mind that some fragrance oils and essential oils naturally have their own color. This can slightly change the final shade of the soap, particularly when using a light or transparent soap base.
Additional ingredients such as carrier oils, butter, milk, honey, or other liquids can also affect the finished soap. Adding too much of an extra ingredient may change the hardness, clarity, lather, or stability of the Melt & Pour base.
For this reason, when the main goal is to produce a firm, clear, evenly colored bar, it is better to keep additional ingredients within the limits recommended for the specific soap base.
Pouring the Colored Soap
Once the color and fragrance have been thoroughly incorporated, slowly pour the melted soap into the mold.
Pouring slowly helps reduce the amount of air introduced into the soap. If bubbles appear on the surface, lightly mist the finished surface with rubbing alcohol.
For layered soap, allow the first layer to partially set before adding the next layer. A light spray of rubbing alcohol between layers can help the layers adhere to each other.
If you are embedding an object inside the soap, pour a small amount of melted soap into the mold first and allow it to begin setting. Position the object, lightly spray with rubbing alcohol, and then add the remaining soap.
How to Get More Consistent Soap Colors
If you want to reproduce the same color in multiple batches, measuring the dye is more reliable than counting drops.
Drop size can vary depending on the bottle, nozzle, viscosity, and dispensing method. Recording the weight of both the soap base and the liquid dye allows you to calculate a more consistent dye ratio for future batches.
For example, you can record:
Soap base weight → Liquid dye weight → Final color
Once you find a color you like, keep the same ratio when making a larger or smaller batch.
It is also important to evaluate the color after the soap has completely cooled and hardened. Melted soap can appear different from the finished bar, particularly when working with transparent glycerin bases.
Common Problems When Coloring Melt & Pour Soap
If the finished soap contains many small bubbles, excessive stirring or pouring may be the cause. Stir the liquid soap more gently and use rubbing alcohol to remove surface bubbles.
If the color is uneven or appears streaky, the dye may not have been fully incorporated. Continue stirring gently until the color is uniformly distributed, but avoid prolonged agitation.
If the final color is too dark, reduce the dye concentration in the next batch. If it is too light, gradually increase the amount.
If the soap becomes cloudy or develops an unexpected appearance, check the soap base, dye, fragrance, and any additional ingredients being used. Different additives can affect the clarity and appearance of Melt & Pour soap.
Allowing the Soap to Set
Melt & Pour soap does not require the curing period associated with cold process soap. Once the soap has completely hardened, it can generally be removed from the mold and used.
Because glycerin is hygroscopic, finished Melt & Pour soap can absorb moisture from the surrounding air. This can result in small droplets appearing on the surface, commonly known as “glycerin dew” or “sweating.”
Humidity and temperature can affect this process. Once the soap has hardened, wrap it tightly in plastic film or another suitable packaging material to reduce exposure to moisture.
Store the finished soap in a cool, dry environment until it is ready to use.
Final Tips for Using Liquid Soap Dye
For Melt & Pour soap, good color results depend less on complicated techniques and more on controlling a few basic variables.
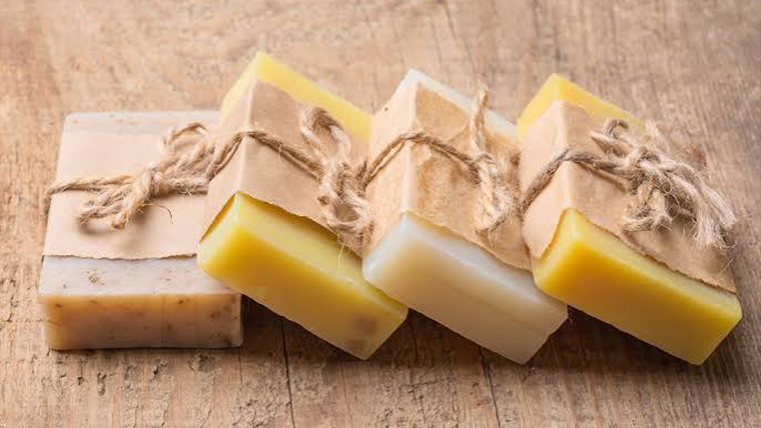
Start with a small amount of liquid soap dye and increase it gradually. Add the dye after the soap has completely melted and has been removed from direct heat. Stir slowly enough to distribute the color without introducing excessive air. Test the color before producing a large batch, and record your dye-to-soap ratio if you want repeatable results.
With a properly formulated Melt & Pour base and a suitable liquid soap dye, you can create transparent, translucent, or opaque colored soap while maintaining a smooth and consistent appearance.